
OpenID Connect
Glossary
| Term | Description |
|---|---|
| OpenID Token | A JWT token with a specified format that Cloudsmith receives from an OIDC provider which we use to enable users to authenticate as a service account |
| OpenID Connect (OIDC) Provider | The OIDC Token provider (GitHub Actions, CircleCI, etc) |
| Claims | Contained within the payload of the OpenID Token, used to verify the authenticity and restrict access of specific Provider requests to specific service accounts |
| ACCOUNT | Your Cloudsmith Organization slug/identifier |
How OIDC Works with an OIDC Identity Provider and Cloudsmith
The following diagram gives an overview of how an OIDC provider integrates with your workflows and Cloudsmith.
- Auth Server: OIDC provider
- Client: Service requesting authentication
- Implicit trust between Service and Auth Server is necessary to allow seamless OIDC token exchange and verification e.g. GitHub Actions OIDC Server (Auth Server) and its GitHub Actions Public Workers (Client).
- Cloudsmith creates an OIDC trust relationship between a Cloudsmith service account and a Client that needs access to Cloudsmith.

OIDC Flow
- Request token: The client initiates the workflow by requesting a token from the auth service to authenticate with Cloudsmith.
- Return token: The auth service receives the token request. After verification and validation, it generates a JWT token. The auth service and the client have implicit trust, allowing for this token exchange.
- Present token: The client presents a JWT token to Cloudsmith for access to resources.
- Verify token: Cloudsmith verifies the JWT token with the auth service to ensure its authenticity and validity. This step includes verifying claims.
- Return new token: Upon successful validation, Cloudsmith issues a short-lived access token to the client, granting access to Cloudsmith's resources for around 90 minutes to cover the duration of the job.
OIDC Settings
OIDC Provider Settings for your organization are configured at:
https://app.cloudsmith.com/{ACCOUNT}/settings/authentication/openid
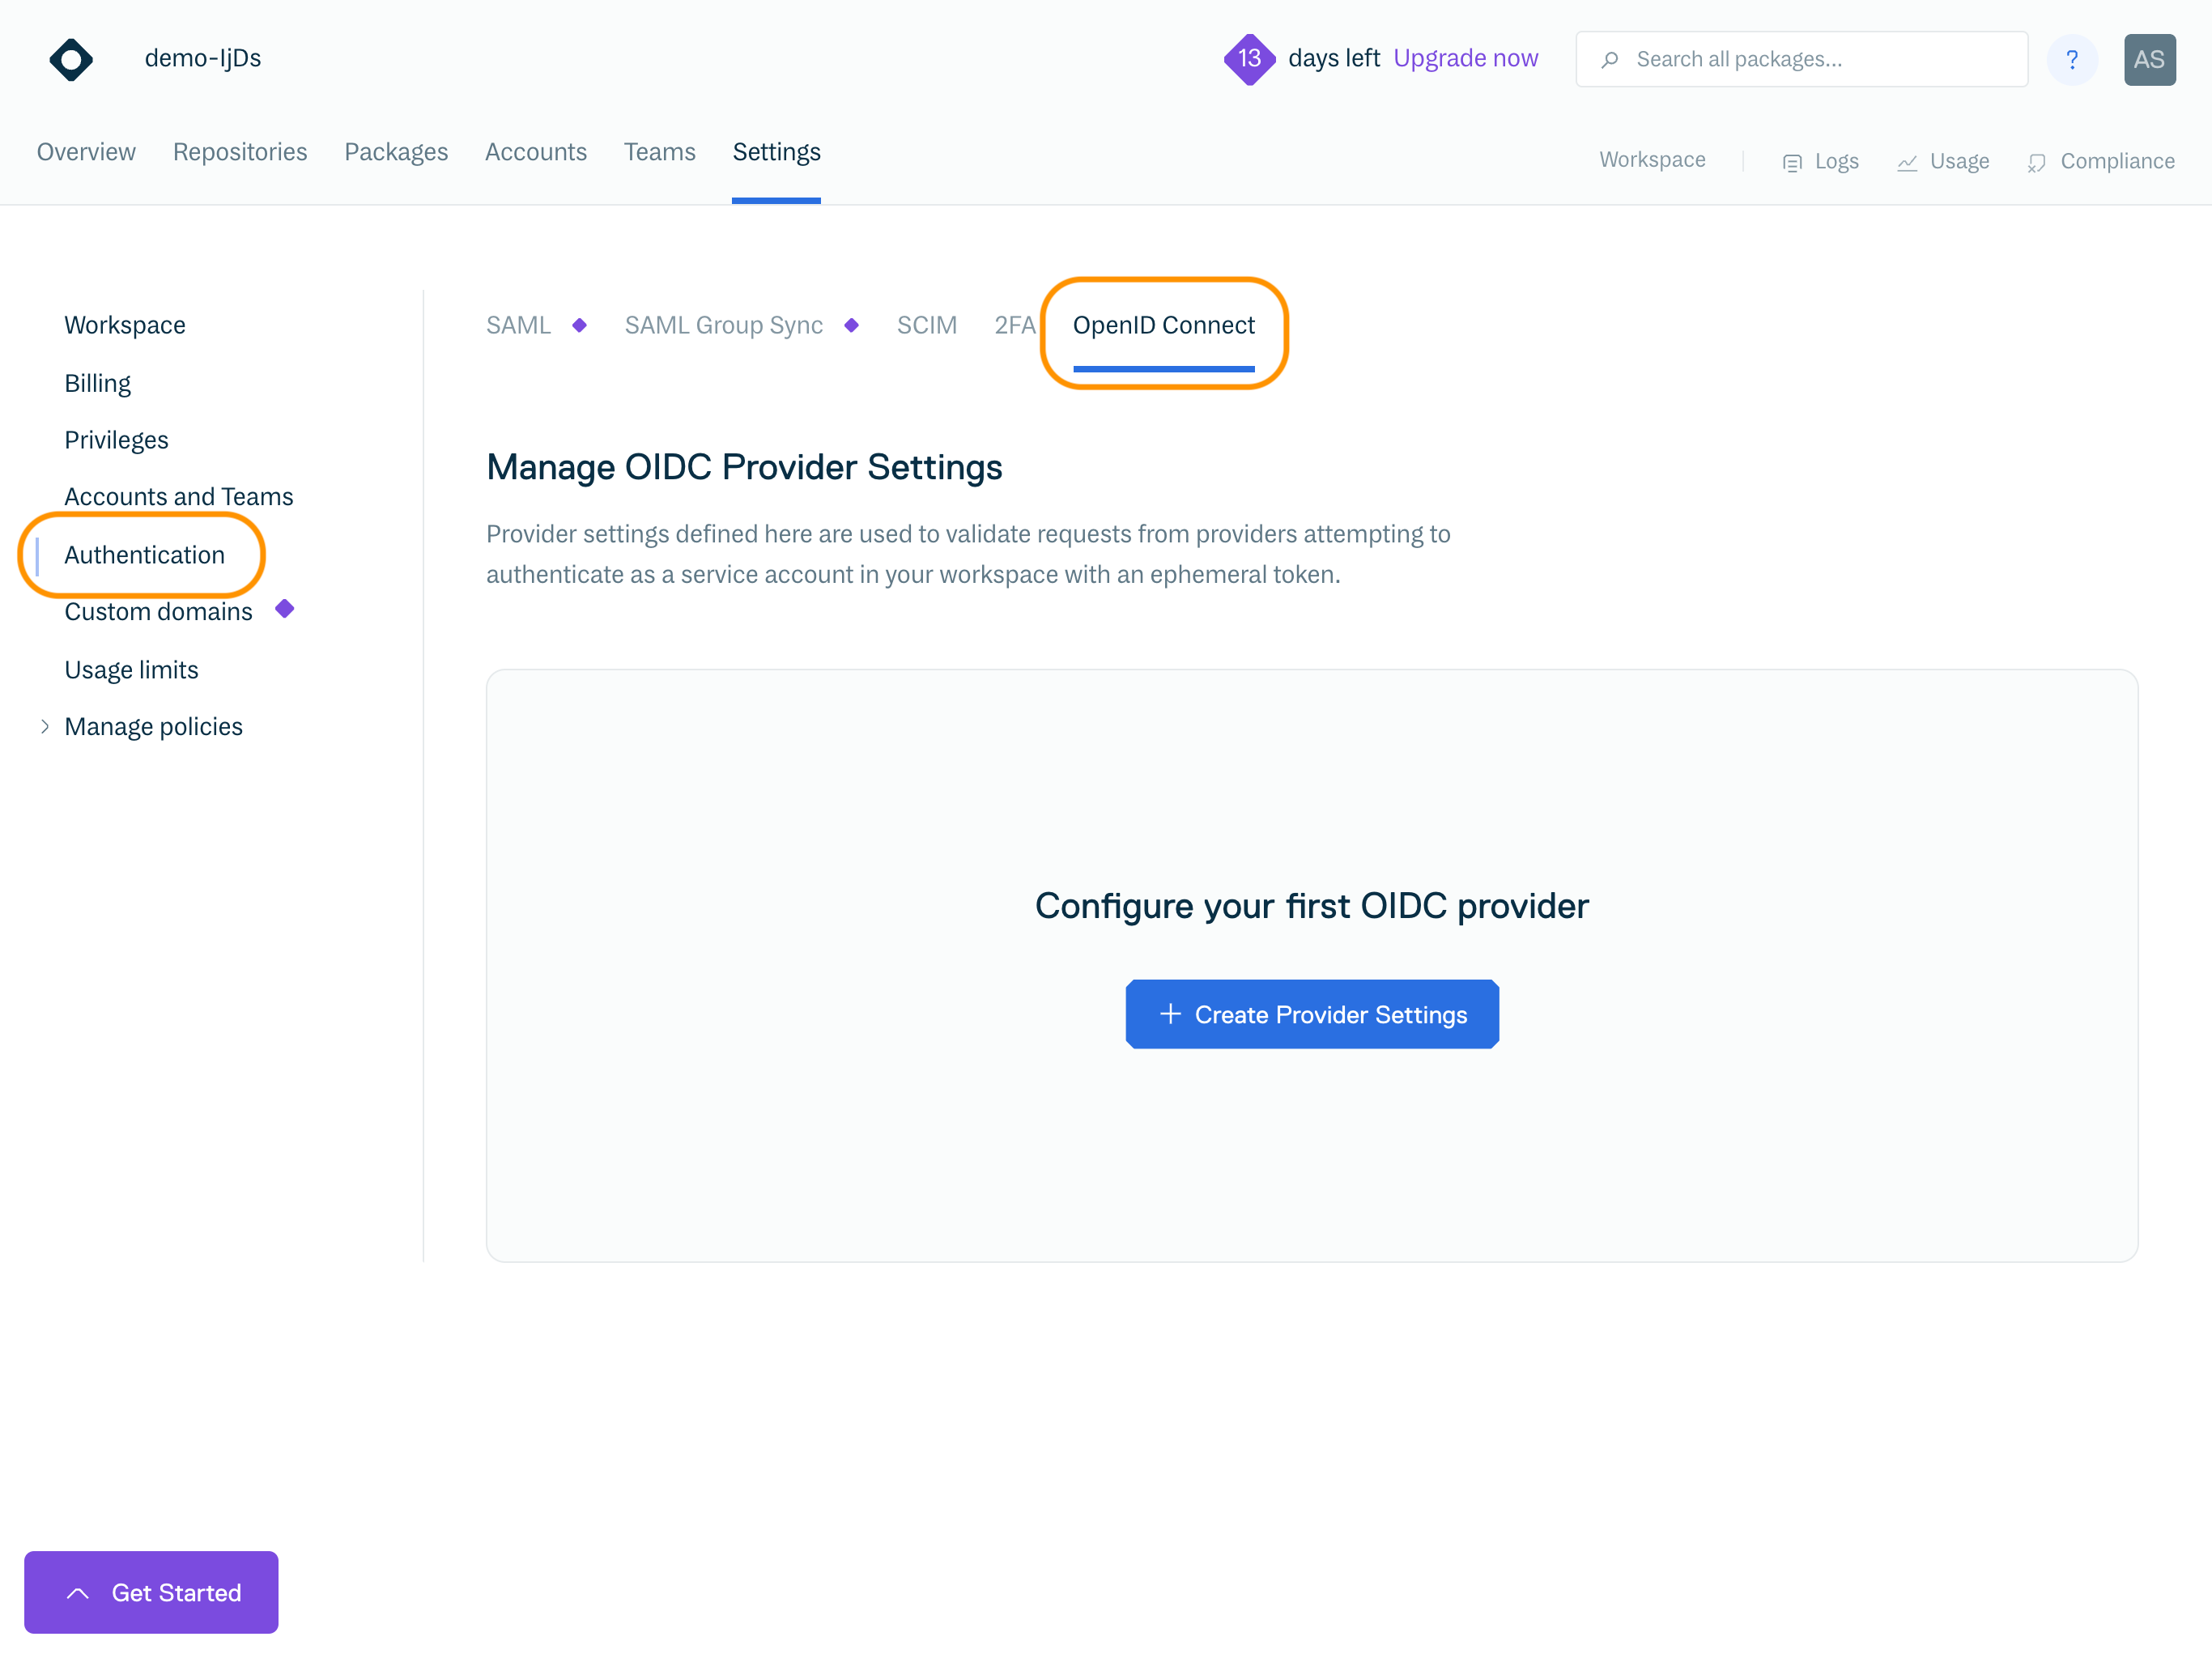
You must have the Manager or Owner role in your Cloudsmith organization to configure OIDC Provider Settings.
NoteOIDC Provider Settings can only be configured if there's at least one Service Account in your organization
Click "Create Provider Settings" to open the Create Provider Settings form:

To configure a provider, you must provide:
Field | Description |
|---|---|
Provider Name | A Unique name for the provider |
Provider URL | A Provider URL. This is unique to each provider, for example for Github Actions it is:
This provides the configuration for the chosen provider; we use this to verify the provider signed the OpenID Token we received |
Required OpenID Token Claims | The required claims must be in the received OpenID Token's payload to authenticate successfully. For example, tokens from CircleCI could specify the We strongly encourage people to set at least one claim, as some providers share signing keys across all orgs, meaning that without any configured claims, any OIDC request from that provider could authenticate if they knew the service account(s) to target. We support adding a wildcard ( |
Service Accounts | The service accounts that the user wants to be able to authenticate as with the configured provider & claims combination |
Changes will be applied immediately.
Provider Documentation
Bitbucket Pipelines
- Provider configuration:
- Provider URL:
https://api.bitbucket.org/2.0/workspaces/<ORG-NAME>/pipelines-config/identity/oidc - BITBUCKET REQUIRES CLAIMS TO BE PASSED (IT CANNOT BE EMPTY)
- Navigate to:
https://bitbucket.org/<ORG-NAME>/<REPO-NAME>/admin/pipelines/openid-connect
CopyAudienceandIdentity provider URLand insert below- Create a claim with the following:
{
    "aud": "ari:cloud:bitbucket::workspace/XXXX-XXXXX-XXXX-XXXXX-XXXX",
    "iss": "https://api.bitbucket.org/2.0/workspaces/ORG-NAME/pipelines-config/identity/oidc"
}
- Create a claim with the following:
- Navigate to:
- Provider URL:
GitLab
- Provider URL defaults to:
https://gitlab.com- If you have a custom domain, the format would remain the same:
https://<CUSTOM-GITLAB-DOMAIN>
- If you have a custom domain, the format would remain the same:
CircleCI
- Provider URLs are unique per organization, the format is:
https://oidc.circleci.com/org/<organization_id>
GitHub Actions
GitHub Actions Request Example
- There is an extra step to generate an OpenID Token compared to CircleCI - this needs to be done before sending the token to us.
- Because the keys used to verify the token are shared across all GitHub Actions for all organizations, at least one claim verification is strongly encouraged so that only jobs from your GitHub organization can authenticate. If only one claim is being configured, then the audience claim (
aud) is probably best for this as it scopes it to your GitHub organization's requests. - See Setup GitHub Actions to authenticate to Cloudsmith using OIDC for a step-by-step guide.
OIDC Requests
With the settings configured, you can now have requests from your provider to use your Cloudsmith organization's OIDC endpoint to exchange the OpenID Token for a JWT token to authenticate with all Cloudsmith API endpoints.
Token Exchange
To receive the Cloudsmith JWT token, you need to make a POST request to our OpenID endpoint. This POST request must have a body of oidc_token, with the OpenID Token as its value and service_slug as the slug of the service account the request wants to attempt to authenticate as.
The OIDC Endpoint for your Cloudsmith organization will be:
https://api.cloudsmith.io/openid/{ACCOUNT}/
Examples:
Bitbucket Pipelines Example
image: atlassian/default-image:3

pipelines:
  default:
    - step:
        name: Cloudsmith OIDC Authentication
        oidc: true  # Enable OIDC for this step
        script:
          # Define variables
          - CLOUDSMITH_ORG="YOUR-ORG"         # Replace with your Cloudsmith organization
          - SERVICE_SLUG="SERVICE-ACCOUNT-SLUG"                    # Replace with your Cloudsmith service slug


          # Install required utilities
          - apt-get update && apt-get install -y curl jq

          # Exchange Bitbucket OIDC token for Cloudsmith token and capture the response
          - |
            OIDC_RESPONSE=$(curl -s -X POST -H "Content-Type: application/json" \
            -d "{\"oidc_token\":\"$BITBUCKET_STEP_OIDC_TOKEN\", \"service_slug\":\"${SERVICE_SLUG}\"}" \
            "https://api.cloudsmith.io/openid/${CLOUDSMITH_ORG}/")
          - |
            echo "OIDC Response: $OIDC_RESPONSE"

          # Extract the Cloudsmith token from the response
          - |
            CLOUDSMITH_TOKEN=$(echo "$OIDC_RESPONSE" | jq -r '.token')

          # Authenticate with Cloudsmith API
          - |
            curl --request GET \
            --url "https://api.cloudsmith.io/v1/user/self/" \
            --header "X-Api-Key: Bearer ${CLOUDSMITH_TOKEN}" \
            --header "accept: application/json"

          # Output the obtained Cloudsmith token
          - |
            echo "Cloudsmith Token: ${CLOUDSMITH_TOKEN}"
GitHub Actions Example
name: OpenID Connect Demo
run-name: ${{ github.actor }} is testing out GitHub Actions with OpenID Connect 🚀
on: [push]

permissions:
  id-token: write # Required for OIDC authentication
  contents: read # Required for actions/checkout

jobs:
  test-openid-connect:
    runs-on: ubuntu-latest
    steps:
      - name: Checkout code
        uses: actions/checkout@v4

      - name: Authenticate with Cloudsmith via OIDC
        uses: cloudsmith-io/[email protected]
        with:
          oidc-namespace: 'your-oidc-workspace' # Replace with your Cloudsmith workspace
          oidc-service-slug: 'your-service-account-slug' # Replace with the slug of your Cloudsmith service account
          oidc-auth-only: 'true' # The action only performs authentication

      - name: Run subsequent steps
        run: echo "Successfully authenticated with Cloudsmith!"
For further details on configuring Github Actions for OIDC see the guide at https://help.cloudsmith.io/docs/setup-cloudsmith-to-authenticate-with-oidc-in-github-actions or review the documentation of the Cloudsmith CLI GitHub Action.
CircleCI Example
version: 2.1

commands:
  make_oidc_request:
    steps:
      - run: |
          echo "Testing CircleCI OIDC!"
          jwt=$(curl -X POST -H "Content-Type: application/json" -d "{\"oidc_token\":\"$CIRCLE_OIDC_TOKEN_V2\", \"service_slug\":\"{SERVICE_SLUG}"}" https://api.cloudsmith.io/openid/{ACCOUNT}/ | jq -r '.token')
          echo "OIDC token from Cloudsmith: $jwt"

jobs:
  build:
    docker:
      - image: cimg/base:current
    steps:
      - make_oidc_request

workflows:
  test-workflow:
    jobs:
      - build:
          context:
            - circle-oidc-test
If successful, this will give a JWT token to be used as an API key.
If unsuccessful, you will receive an error message that is intentionally quite generic. This is by design so that we do not leak any information (such as whether OIDC is configured, which claim failed, whether a service account is associated with the provider, etc.).
Additionally, as of version 1.0.6 of the Cloudsmith orb, you can use the authenticate-with-oidc command to perform this step automatically.
version: 2.1

orbs:
  cloudsmith: cloudsmith/[email protected]
  python: circleci/[email protected]

jobs:
  publish:
    executor: python/default
    steps:
      - checkout
      - cloudsmith/authenticate-with-oidc:
          organization: <your organization slug>
          service-account: <service account slug>
      - cloudsmith/ensure-api-key
      - cloudsmith/install-cli
      - run:
          name: Build Python package
          command: python setup.py sdist
      - cloudsmith/publish:
          cloudsmith-repository: <organization_slug>/<repository_slug>
          package-path: dist/*.tar.gz
          package-format: python

workflows:
  cloudsmith_publish:
    jobs:
      - publish
GitLab Example
In this example, we will install the Cloudsmith CLI using PIP and authenticate using OIDC by passing the OIDC token into the -k flag of whoami command.
variables:
  PYTHON_VERSION: "3.9"
  CLOUDSMITH_ORG: "YOUR-ORG-NAME"
  CLOUDSMITH_SERVICE: "YOUR-SERVICE-ACCOUNT-SLUG"
  CLOUDSMITH_API_URL: "https://api.cloudsmith.io"

stages:
  - setup

install_cloudsmith_cli:
  stage: setup
  image: python:${PYTHON_VERSION}
  id_tokens:
    CLOUDSMITH_ID_TOKEN:
      aud: "${CLOUDSMITH_API_URL}/openid/${CLOUDSMITH_ORG}"
  script:
    # Install necessary tools (jq for JSON parsing)
    - apt-get update && apt-get install -y jq

    # Install the Cloudsmith CLI
    - pip install --upgrade pip
    - pip install cloudsmith-cli
    - cloudsmith --version  # Verify installation

    # Get the OIDC token generated by GitLab
    - echo "Requesting OIDC token from GitLab"
    - export OIDC_TOKEN=$CLOUDSMITH_ID_TOKEN  # Use the ID token generated

    # Send the OIDC token to Cloudsmith API and get the Cloudsmith token
    - |
      echo "Authenticating with Cloudsmith using OIDC"
      CLOUDSMITH_TOKEN=$(curl -s -X POST \
        -H "Content-Type: application/json" \
        -d "{\"oidc_token\":\"$CLOUDSMITH_ID_TOKEN\", \"service_slug\":\"${CLOUDSMITH_SERVICE}\"}" \
        ${CLOUDSMITH_API_URL}/openid/${CLOUDSMITH_ORG}/ | jq -r '.token')

      # Check if the Cloudsmith token was obtained
      if [ -z "$CLOUDSMITH_TOKEN" ]; then
        echo "Failed to obtain Cloudsmith token"
        exit 1
      fi

      echo "Cloudsmith OIDC Token: $CLOUDSMITH_TOKEN"

    # Verify authentication using the Cloudsmith token
    - cloudsmith whoami -k $CLOUDSMITH_TOKEN
Using the JWT
The JWT token generated by the OIDC endpoint can be used as an API key:
X-Api-Key header: "X-Api-Key: OIDC_TOKEN"
This token is active for 2 hours from the time of creation.
This token works with all Cloudsmith API endpoints to manage resources and format-specific endpoints, e.g., The Ruby endpoint to get all available packages.
This token will also work with the Command-Line Interface when specified as CLOUDSMITH_API_KEY.
Updated 7 months ago