
Single Sign-On with Okta
This guide provides step-by-step instructions on setting up Okta as a SAML IdP for your Cloudsmith Organization.
Adding Cloudsmith to Okta
Cloudsmith is not yet an integrated application in Okta. You'll have to add Cloudsmith manually so you can configure SSO.
Log into Okta and click "Applications" and then "Create App Integration"
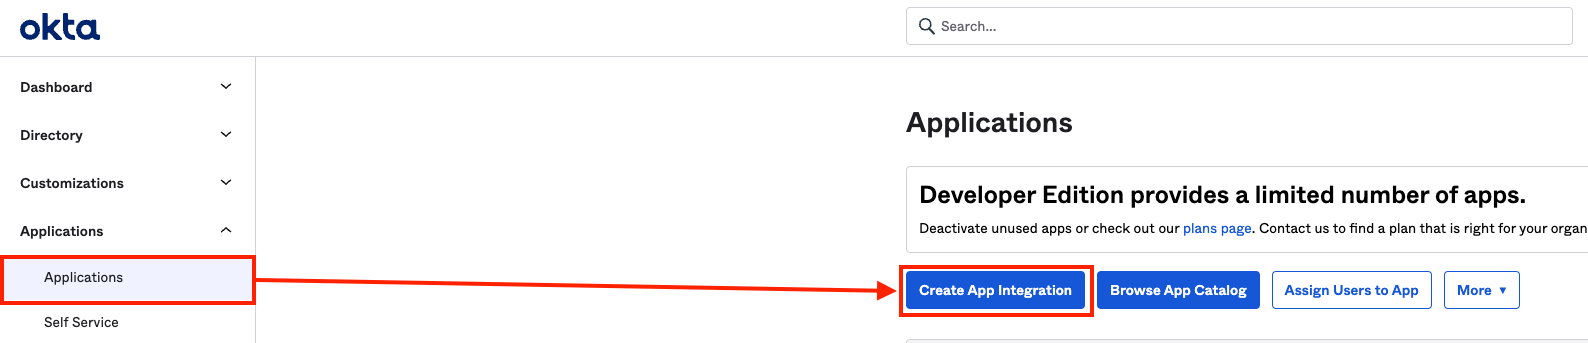
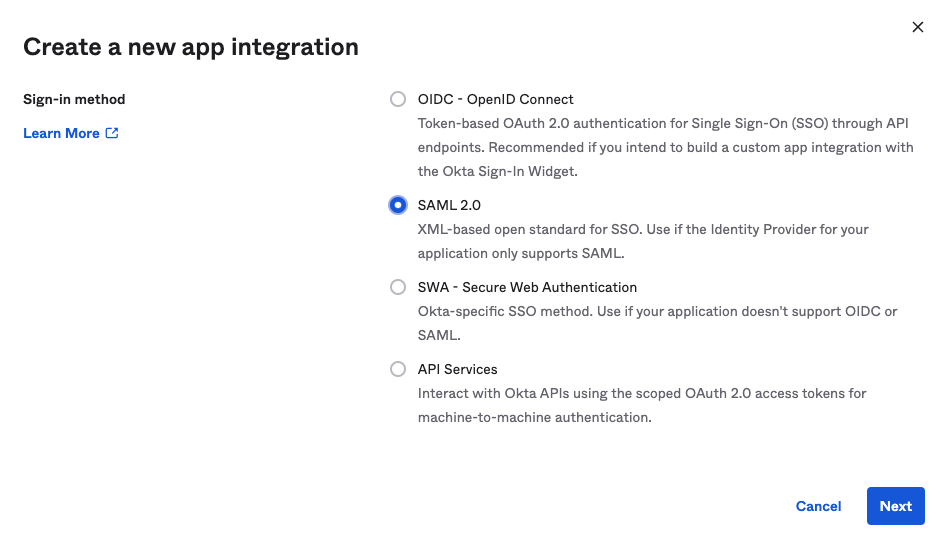
You will then see a modal window pop up where you define the application details
Select SAML 2.0 and click next:
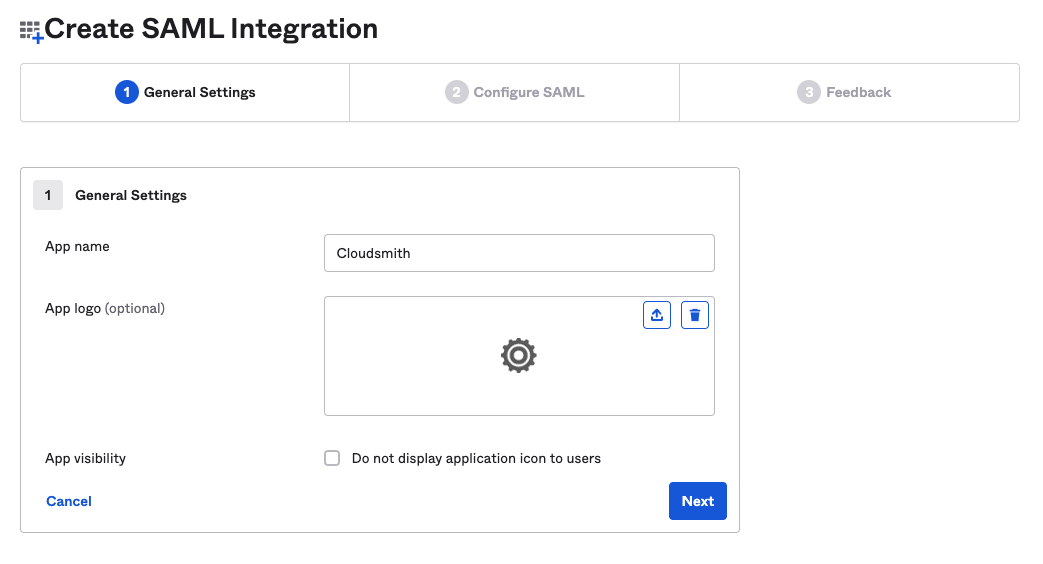
On the next screen (General Settings), enter the App name as "Cloudsmith". (You can optionally add the Cloudsmith logo too for easier visibility, you can find hi-res versions of the logo here):
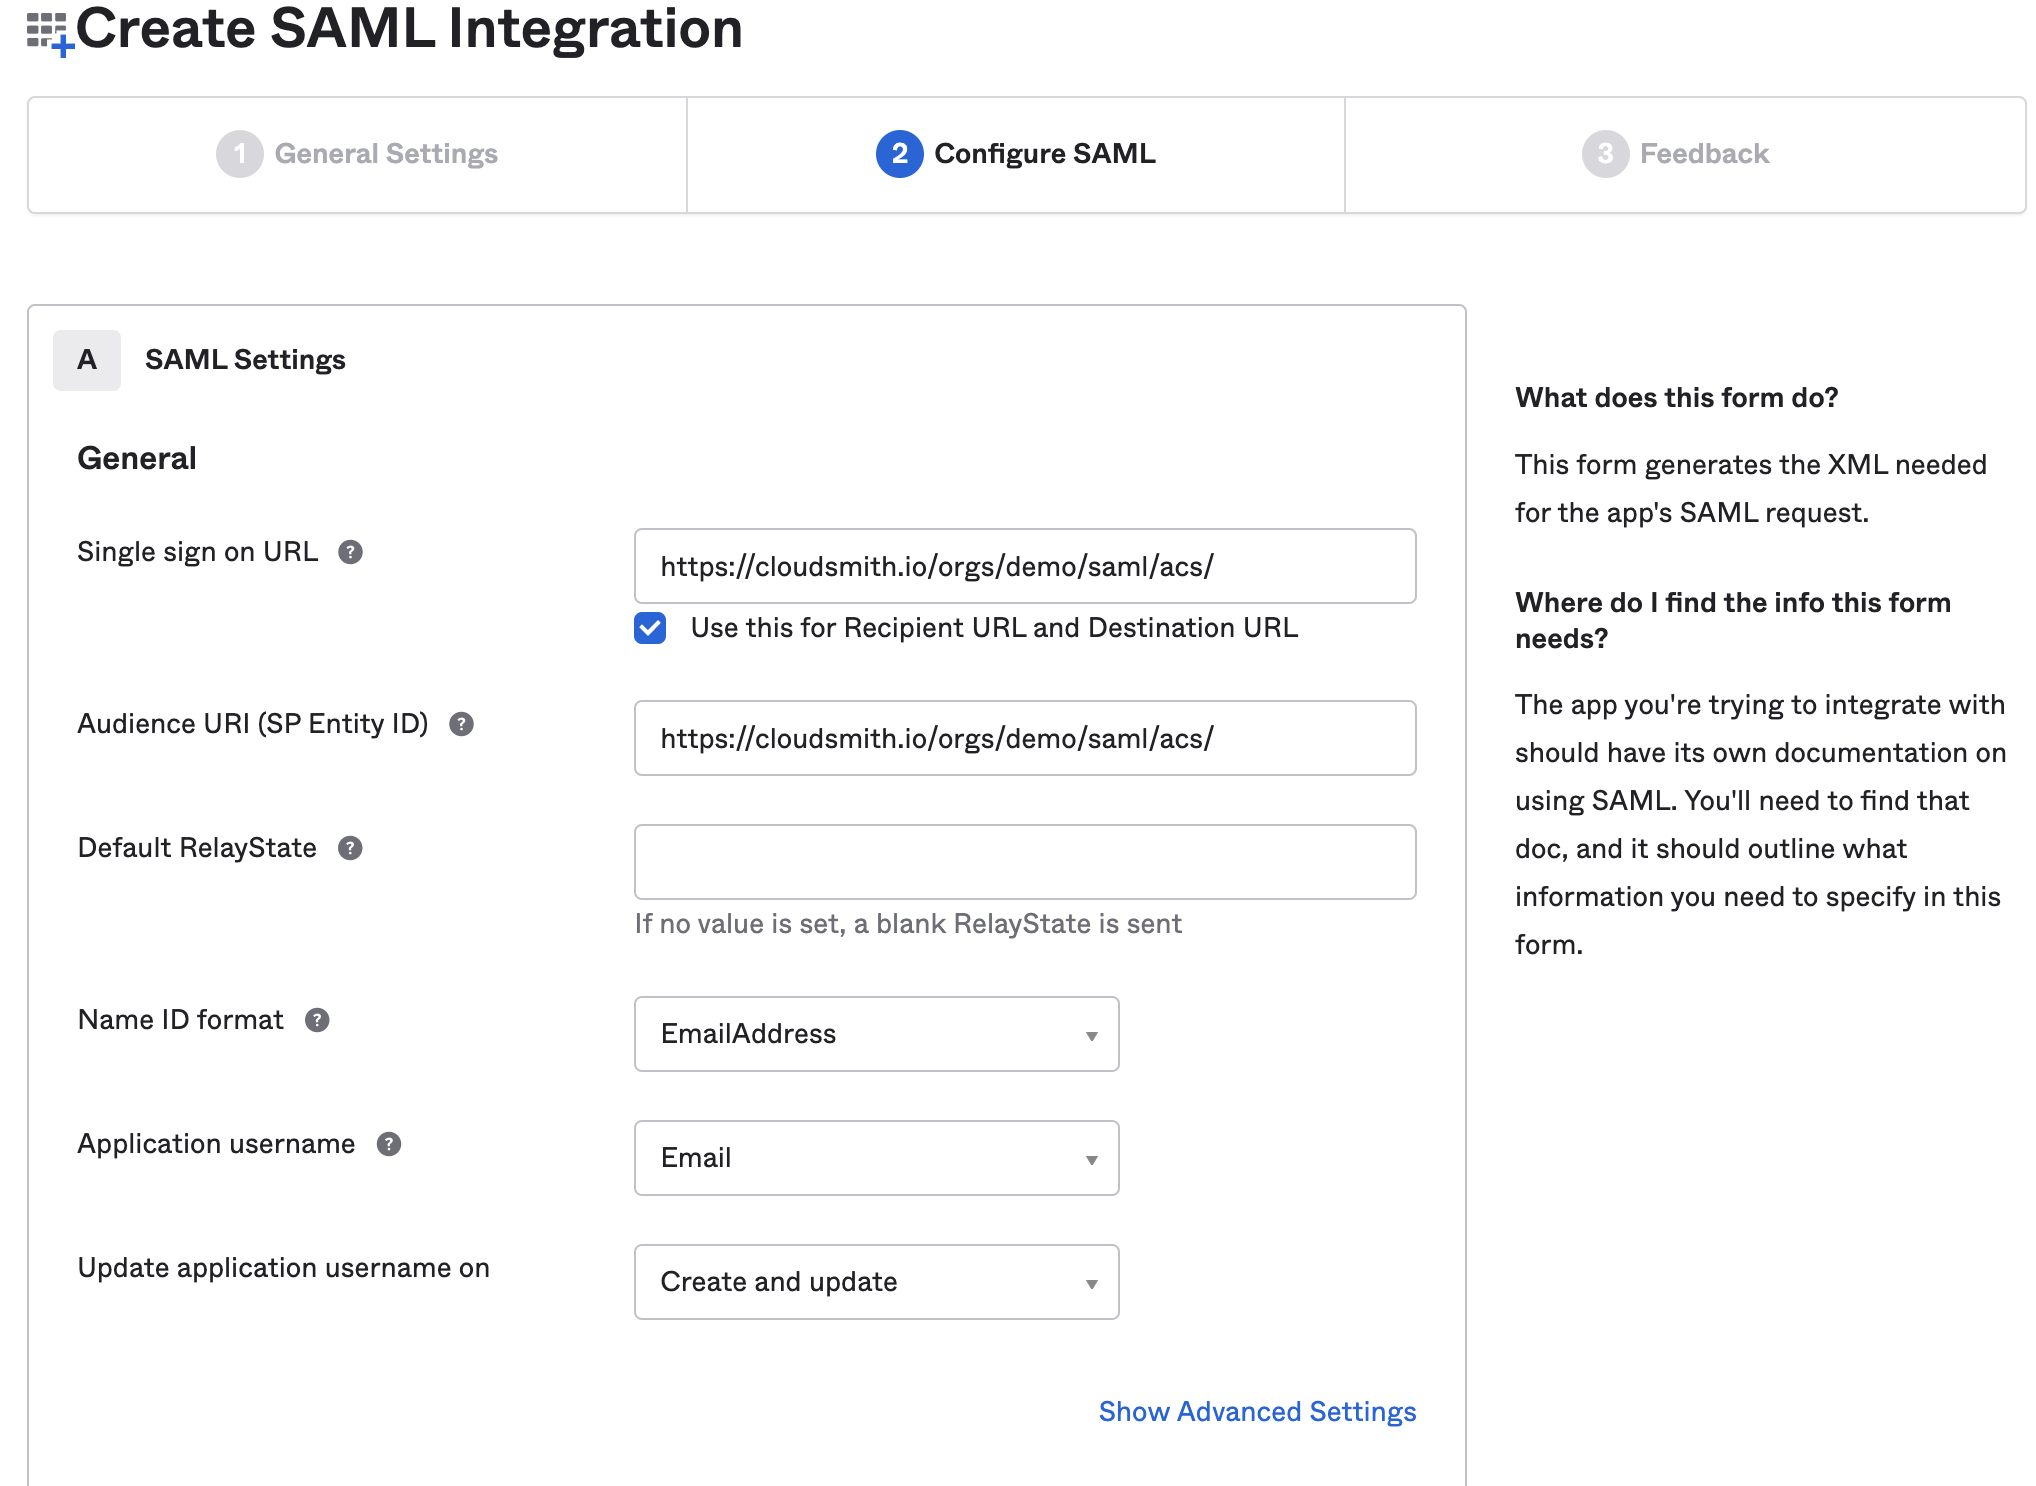
Next, we'll configure SAML settings. To determine your Single sign on URL use the following format:
https://cloudsmith.io/orgs/{ACCOUNT}/saml/acs/Where {ACCOUNT} is your Cloudsmith organization identifier (slug).
We use the same URL for the Audience URI value.
For Name ID Format choose "EmailAddress"
For Application username choose "Email".
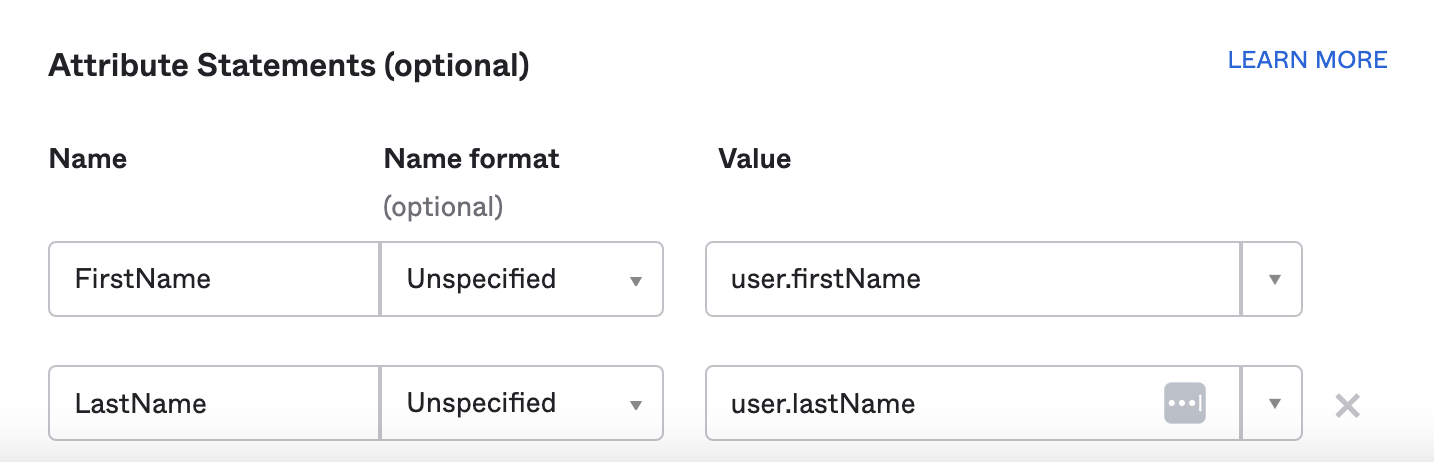
Next, we'll configure Okta to also send the user's first and last names during sign-in:
Then click the blue Next button at the bottom of the page.
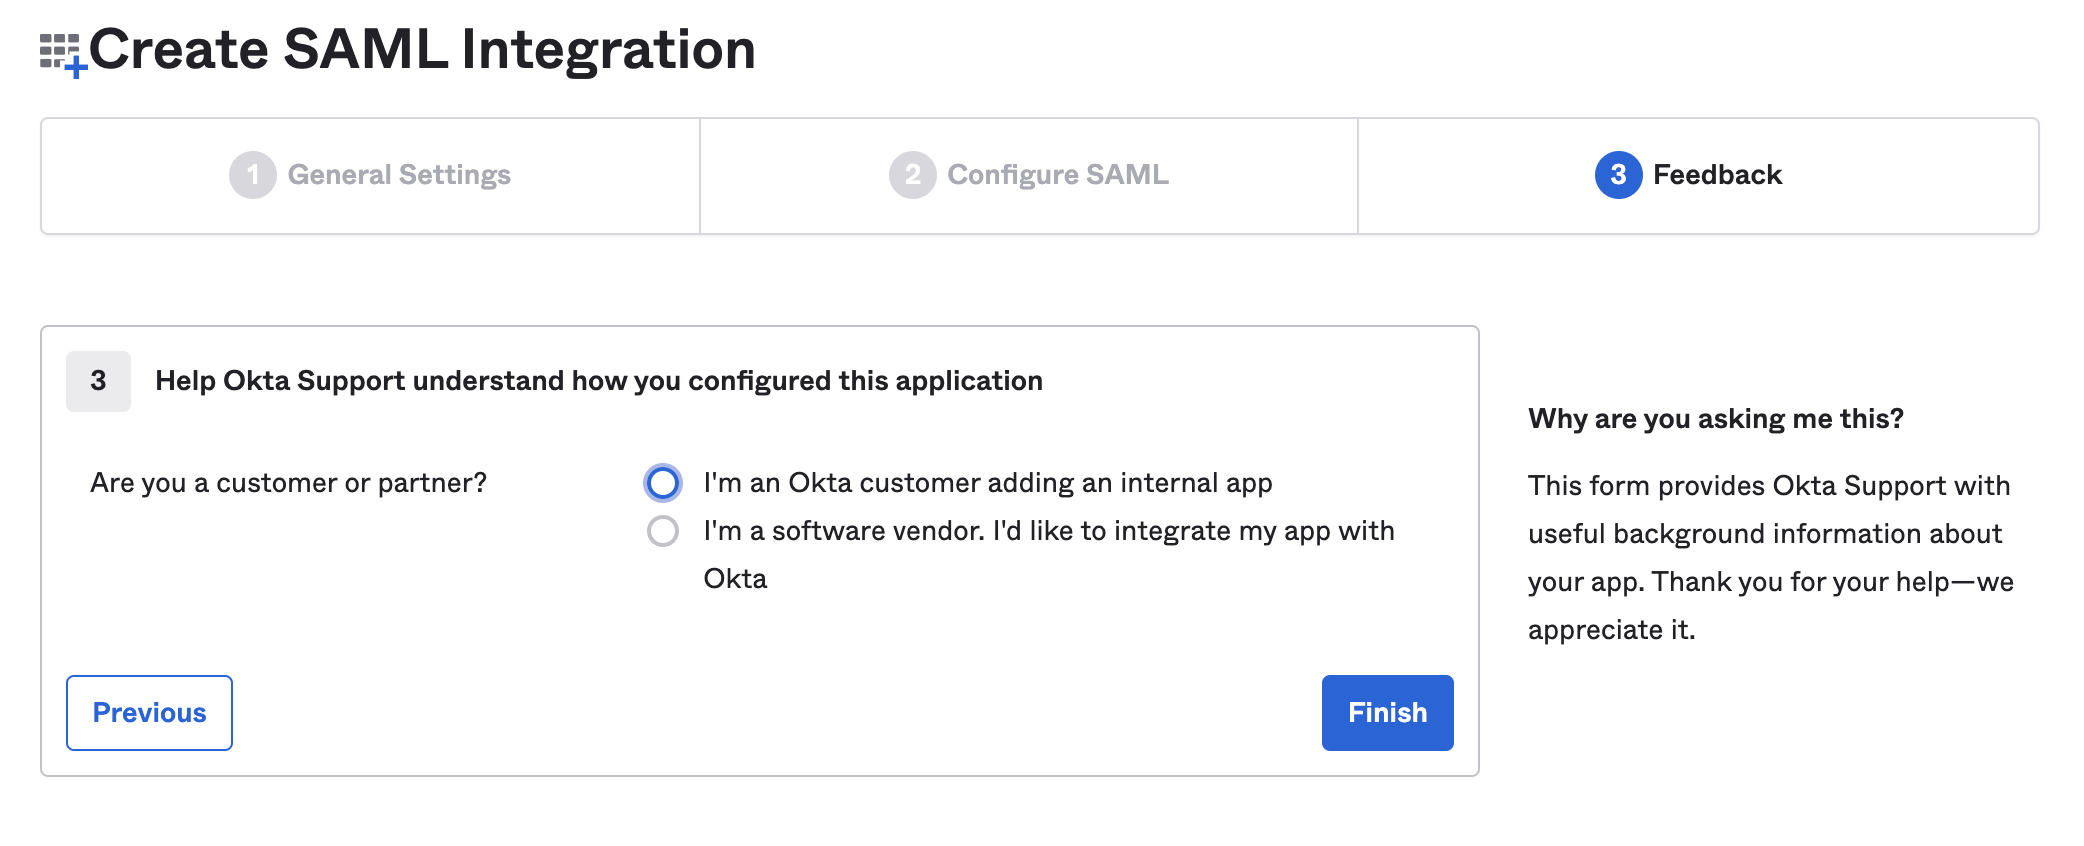
Fill out the Feedback section on the next page and click the blue Finish button:
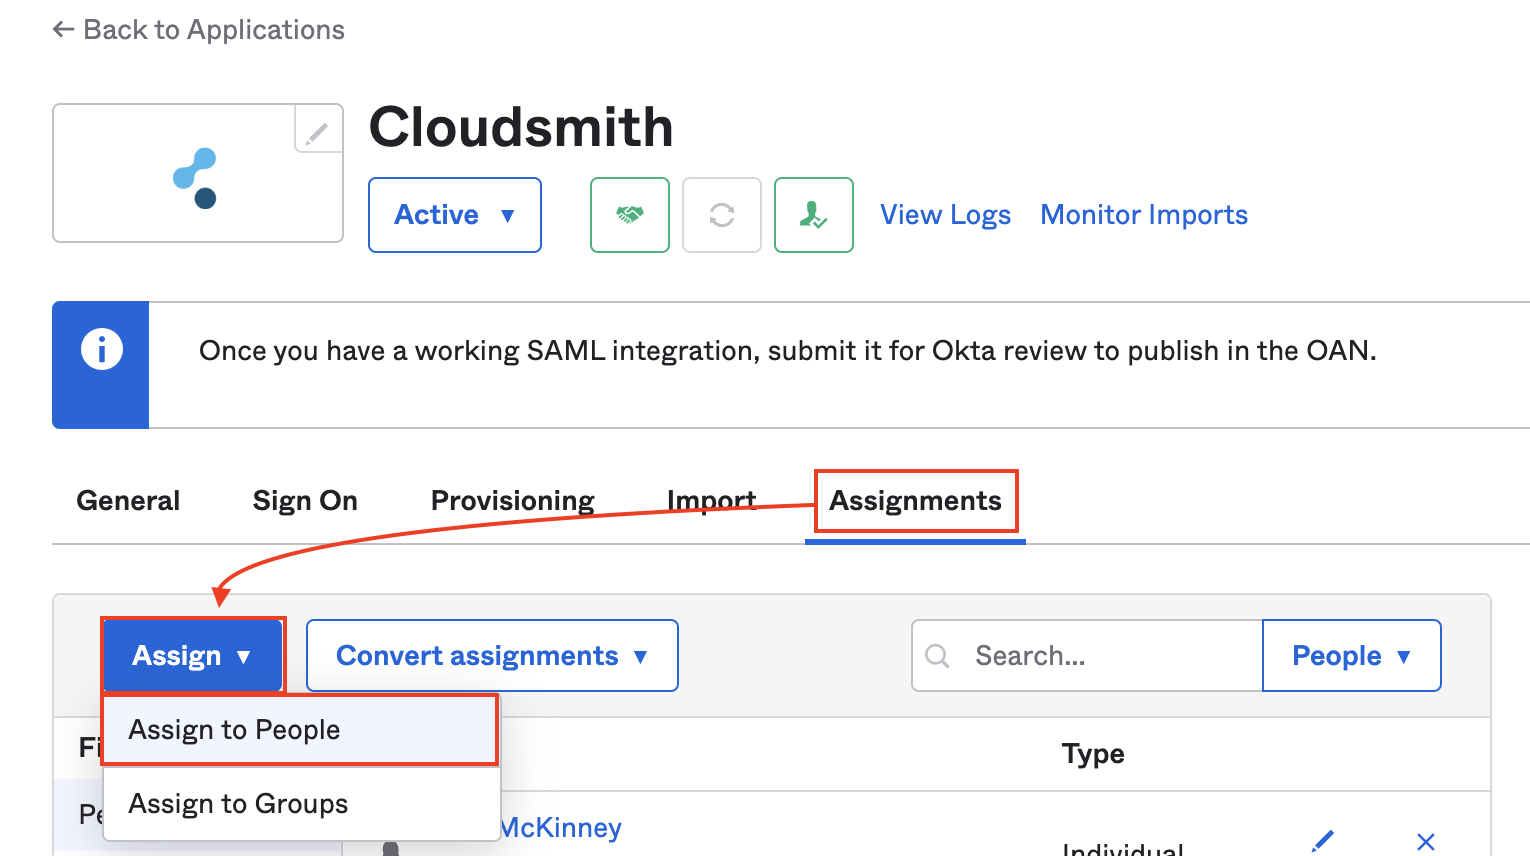
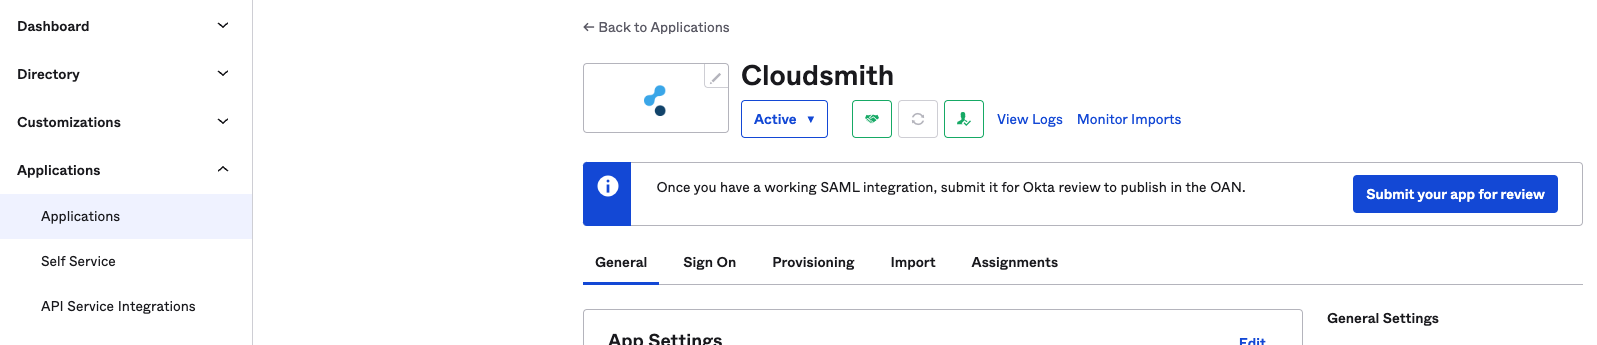
Your application is now configured on Okta and you can add users and groups as required using the Assignments tab of your application management screen:
Providing configuration to Cloudsmith
Once configured as above, you'll need to provide metadata to Cloudsmith to connect to your newly configured IdP.
In the Sign On tab of your application management screen, you can see a link to view the IdP metadata (under SAML Signing Certificates):
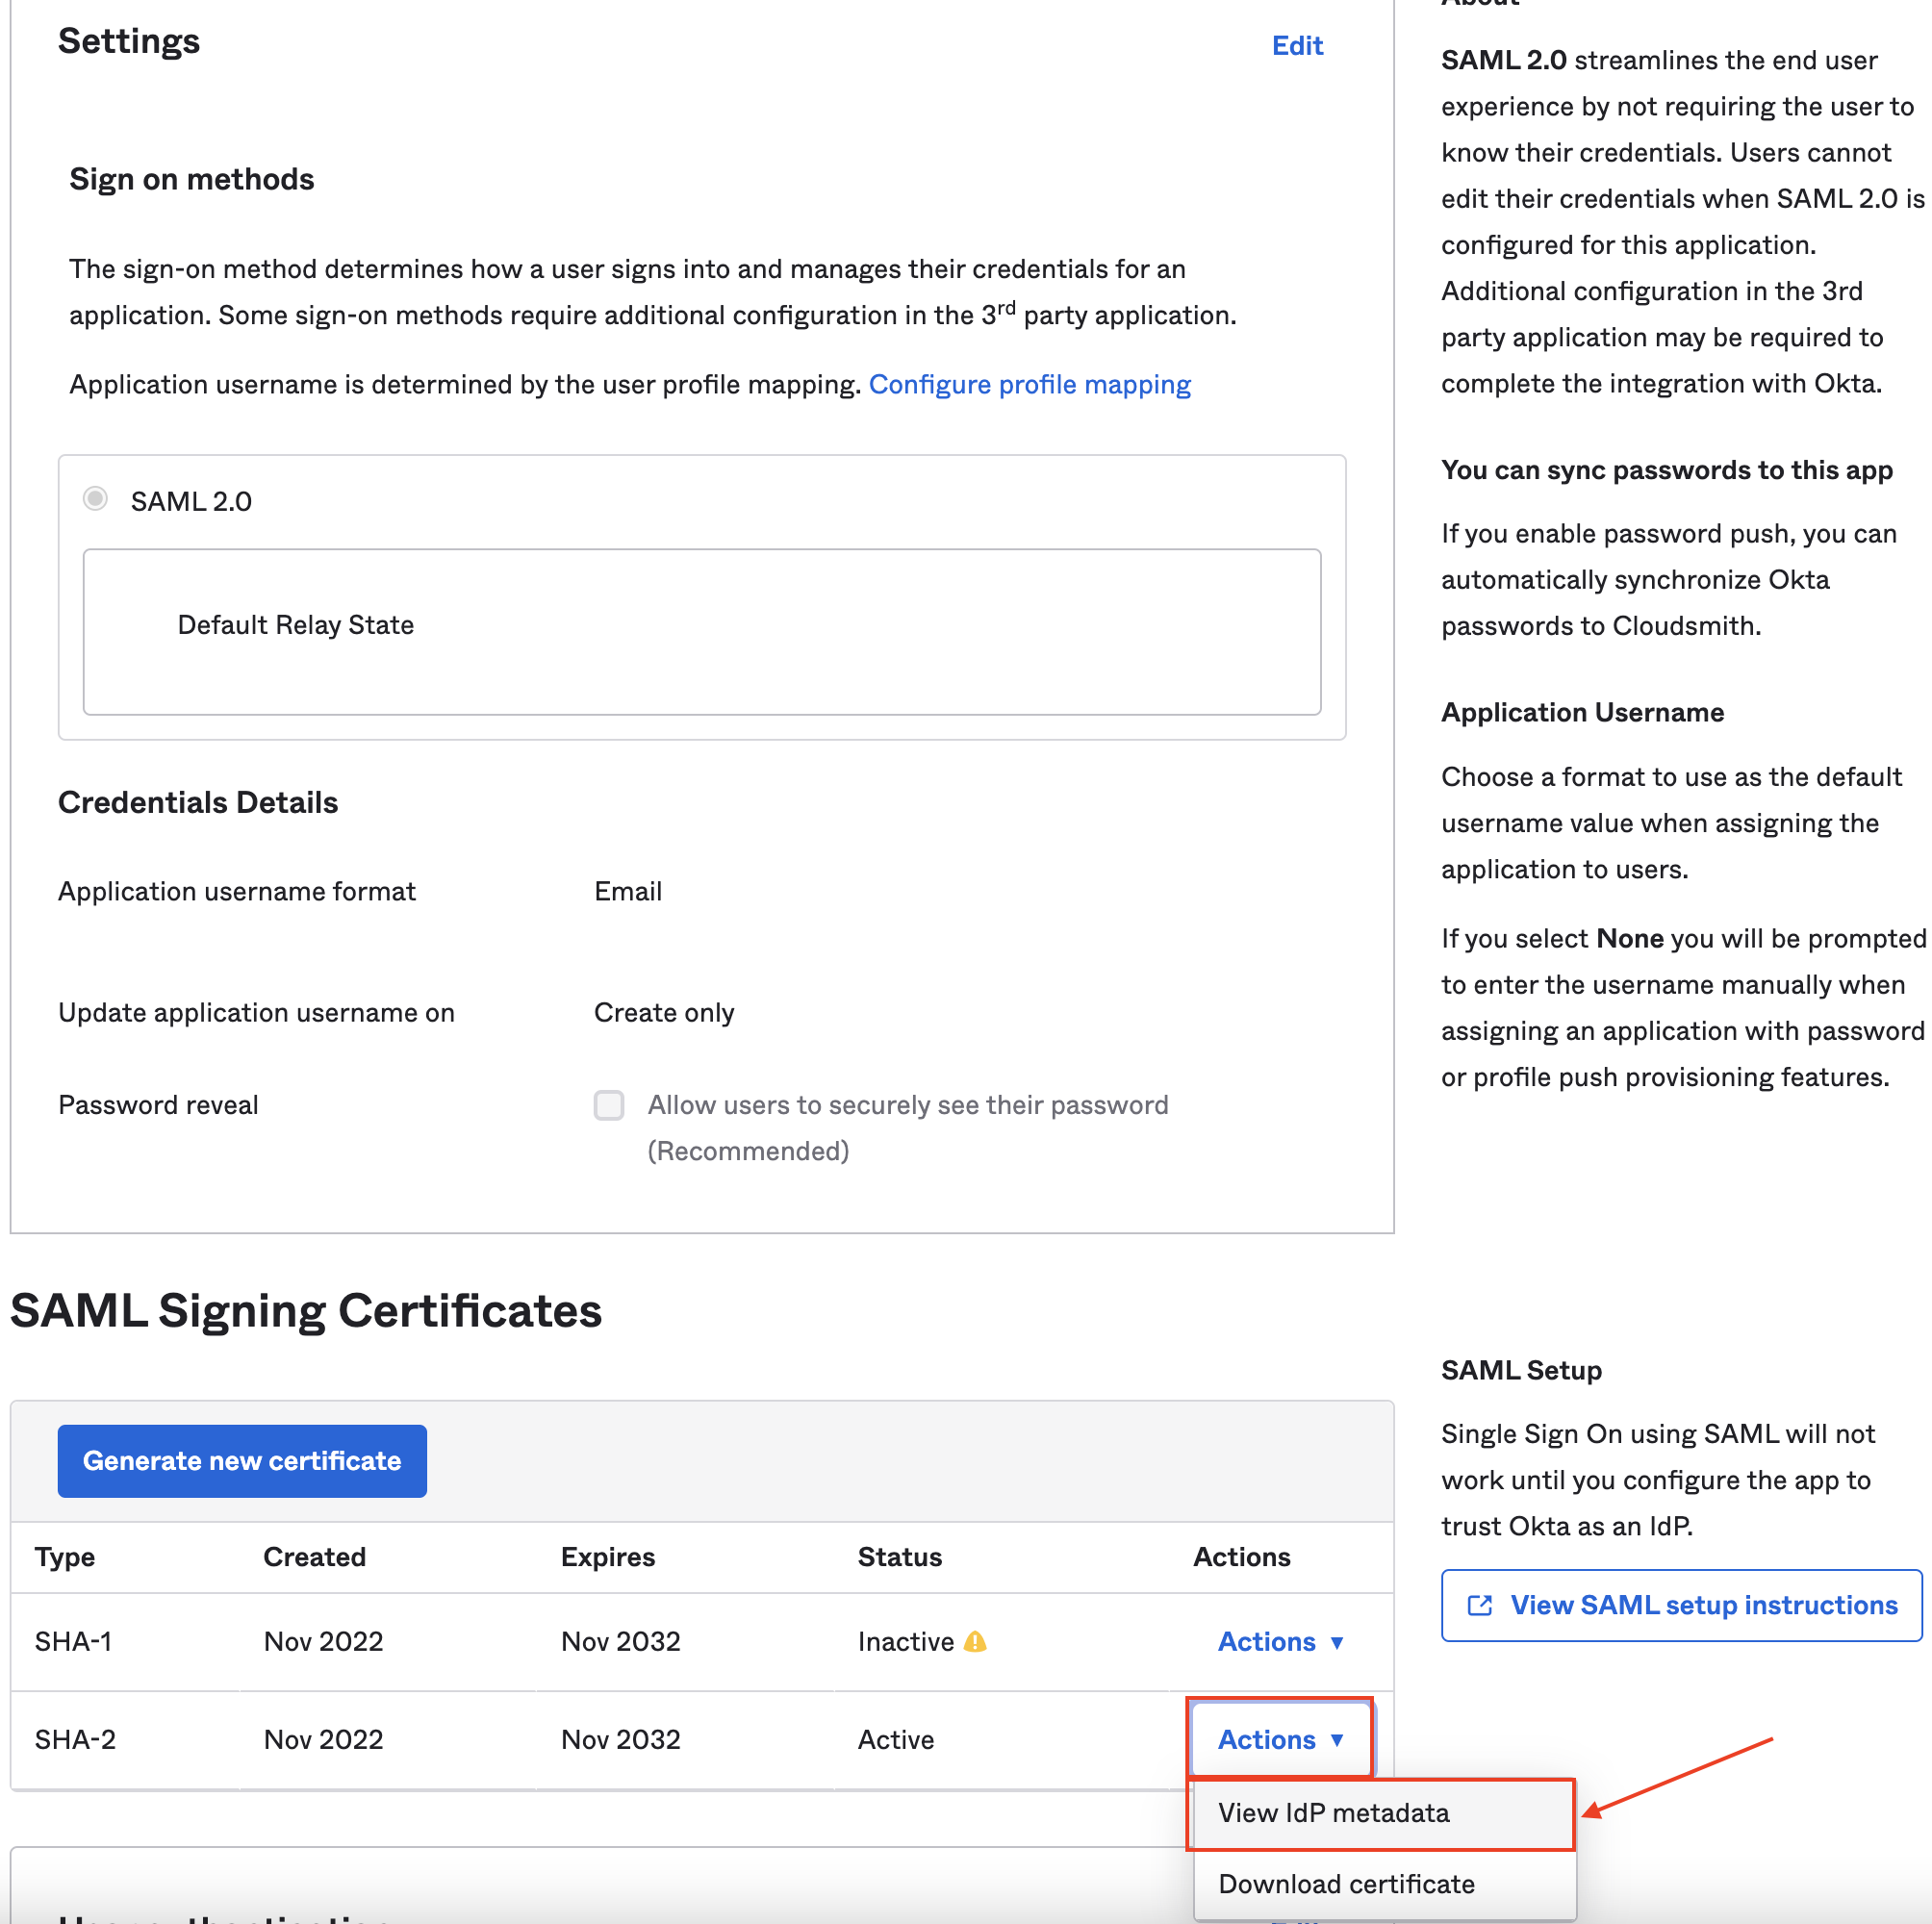
Copy this metadata and add it to your Cloudsmith organization SAML settings as Inline XML.
You can then enable SAML authentication in your Cloudsmith organization, and you can use Okta to begin logging in straight away.
You'll be able to access the landing page of your organization at the following URL:
https://app.cloudsmith.com/{ACCOUNT}/saml/login/Where {ACCOUNT} is your organization's slug/identifier (what you would normally see in the URL when accessing your organization within Cloudsmith). If you're unsure what this is, please just contact us!
You can also optionally set up SAML Group Sync mappings to automatically map OKTA groups to teams in your Cloudsmith organization, and SCIM to provision, deprovision and update user profile information.
SAML Group Sync
Once SAML has been setup, group sync can then be configured in order to automatically assign teams from your OKTA directory to Cloudsmith.
In order to get started, go to your Cloudsmith application in OKTA and click on the General tab:
Under SAML Settings click Edit:

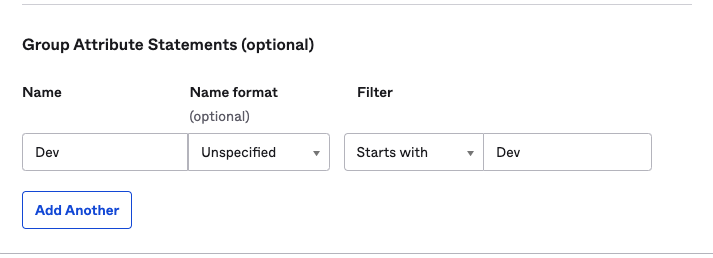
Click Next to proceed to step 2 and under A section on the very bottom (Group Attribute Statements) insert the name of the group from Okta along with the valid filter, for example, a group called "Dev" in OKTA will look like this:
The attribute for the group:
Once all desired groups are inserted in Okta, you can now configure the group mapping in Cloudsmith. In your Cloudsmith workspace, go to "Settings" -> "Authentication" -> "SAML Group Sync", click "Enable SAML Group Sync" then "Create Group Sync Mapping".
The name and value will be the same as the group attribute created in OKTA:
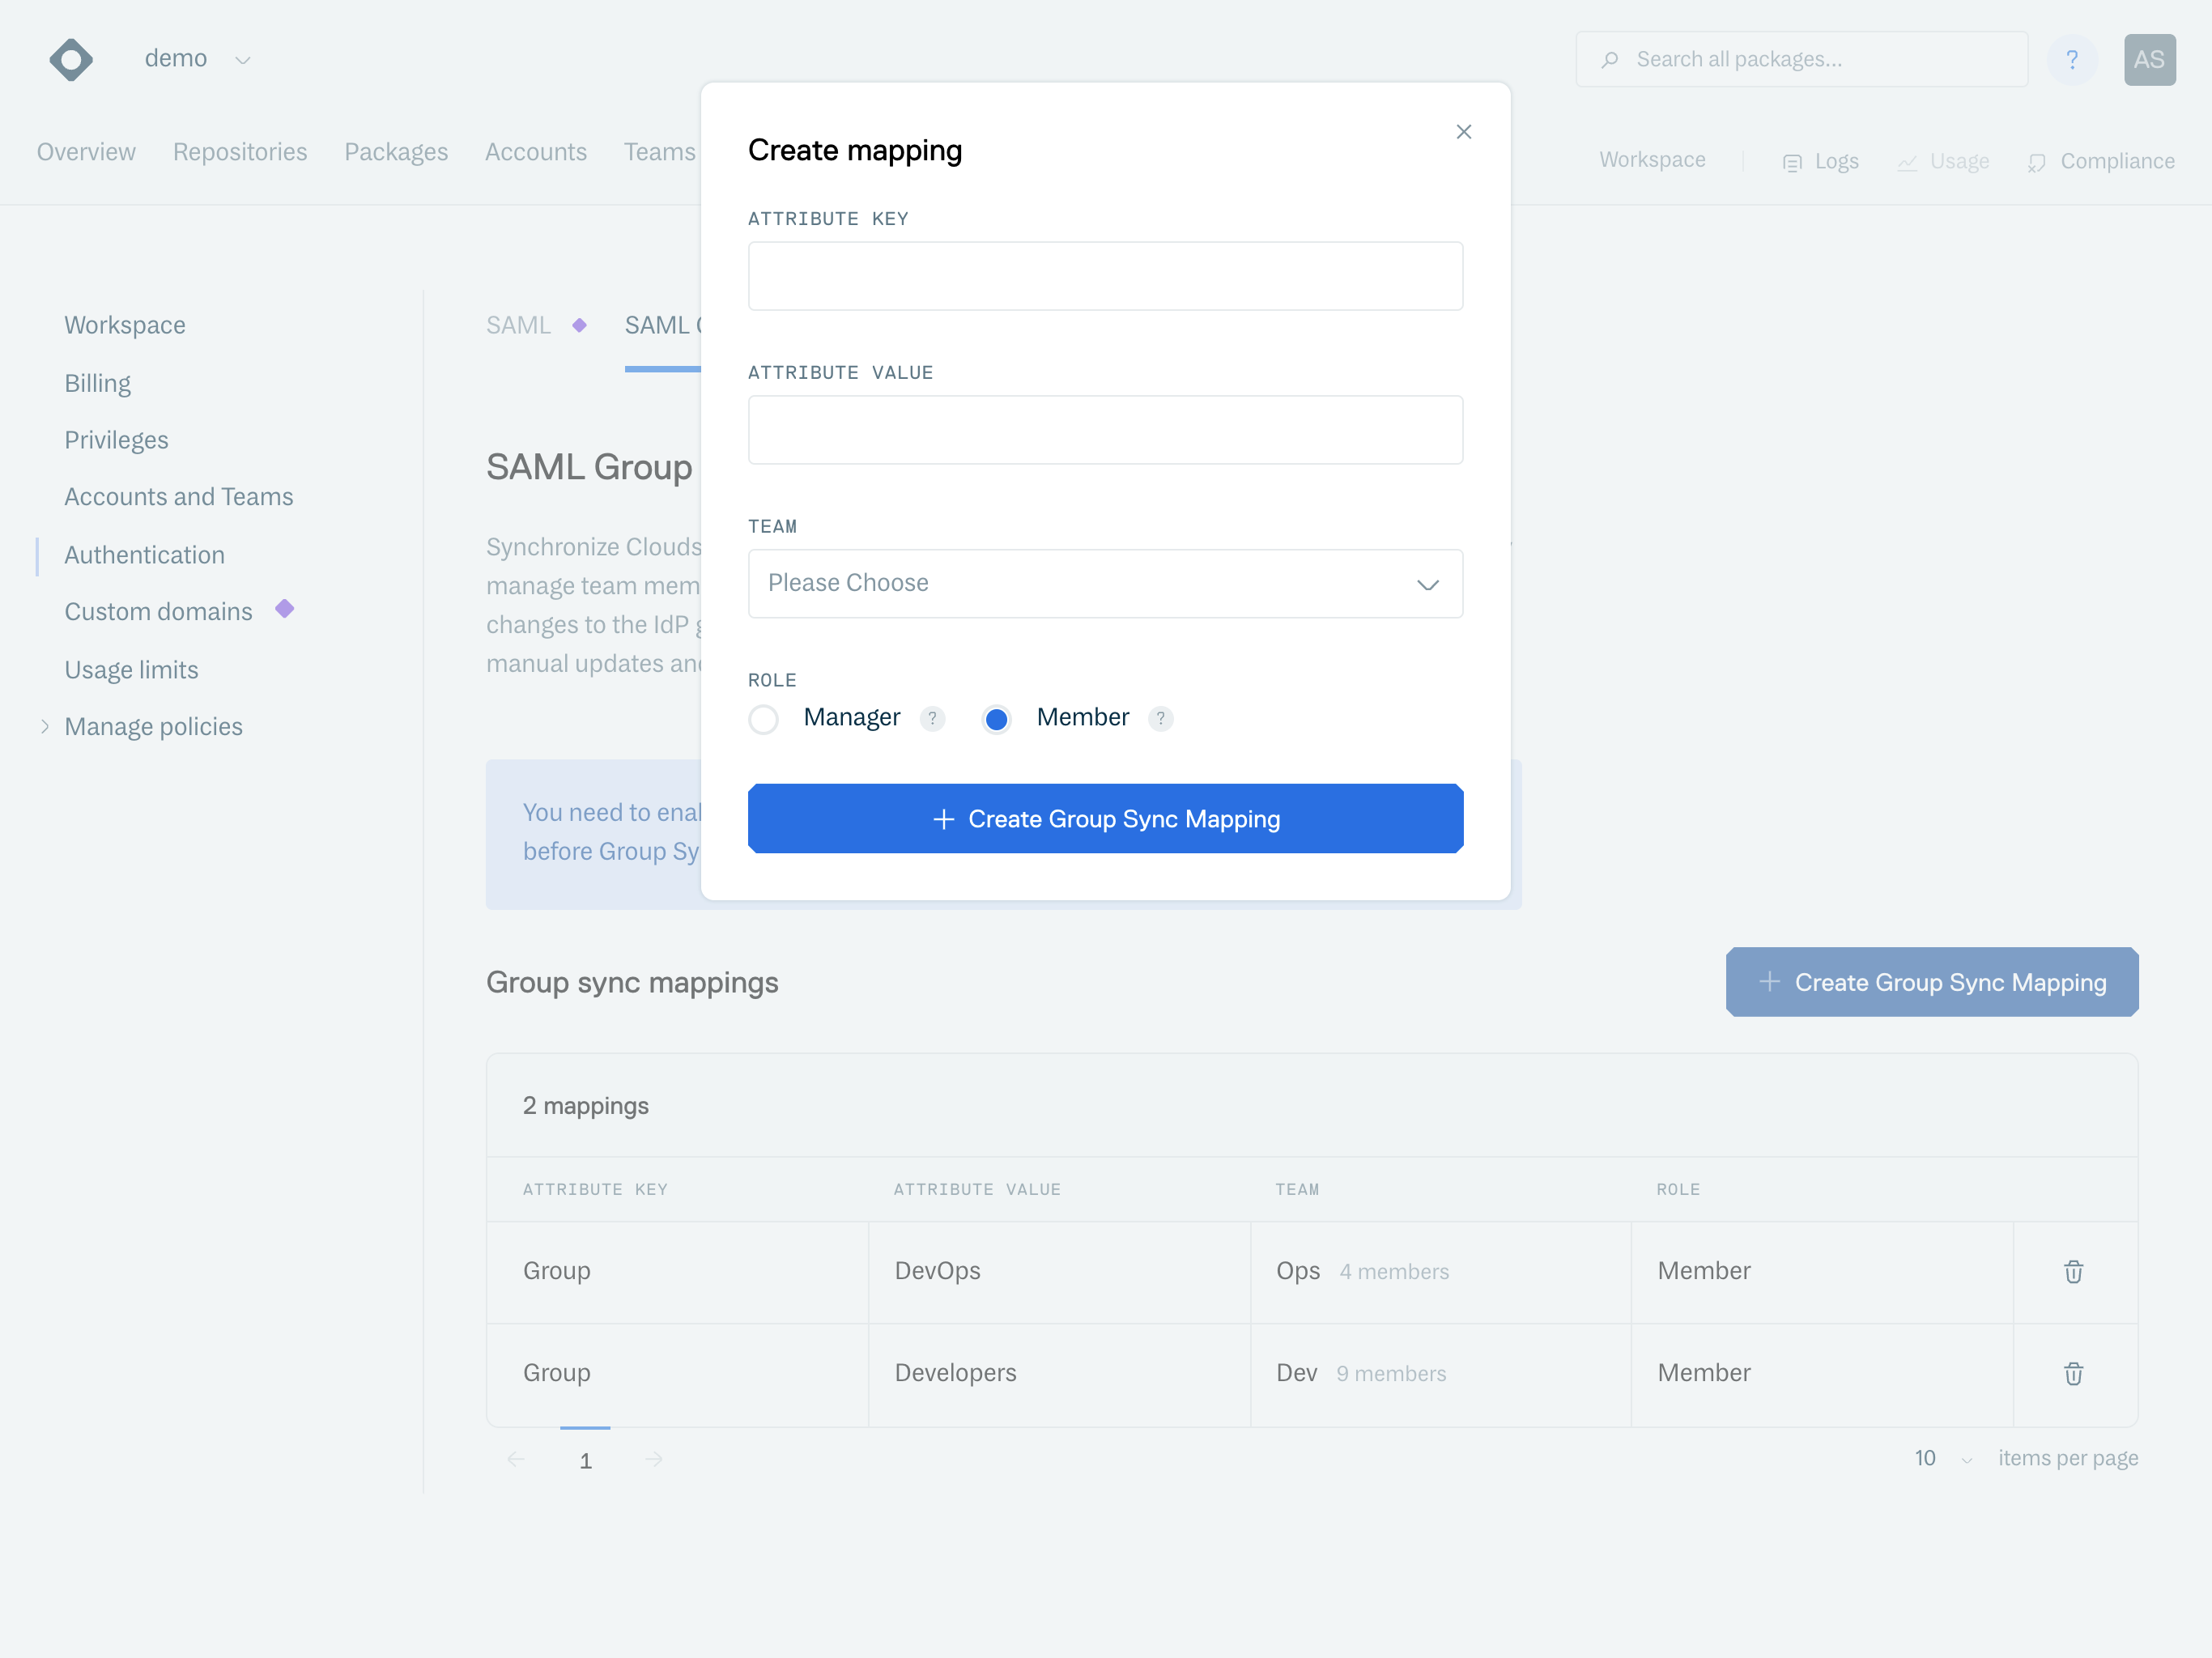
Create SAML Group Sync Mapping
To test SAML Group Sync, the user must re-log for the sync to apply.
SCIM
SCIM, or System for Cross-domain Identity Management, is an open standard designed to manage user identity information. Cloudsmith is SCIM 2.0-compliant. With Cloudsmith's support for SCIM, you can automatically provision new users, de-provision existing users and update existing users profile information based on changes within your idP.
To get started using SCIM, go to "Settings" -> "Authentication" -> "SCIM" and "Allow SCIM":
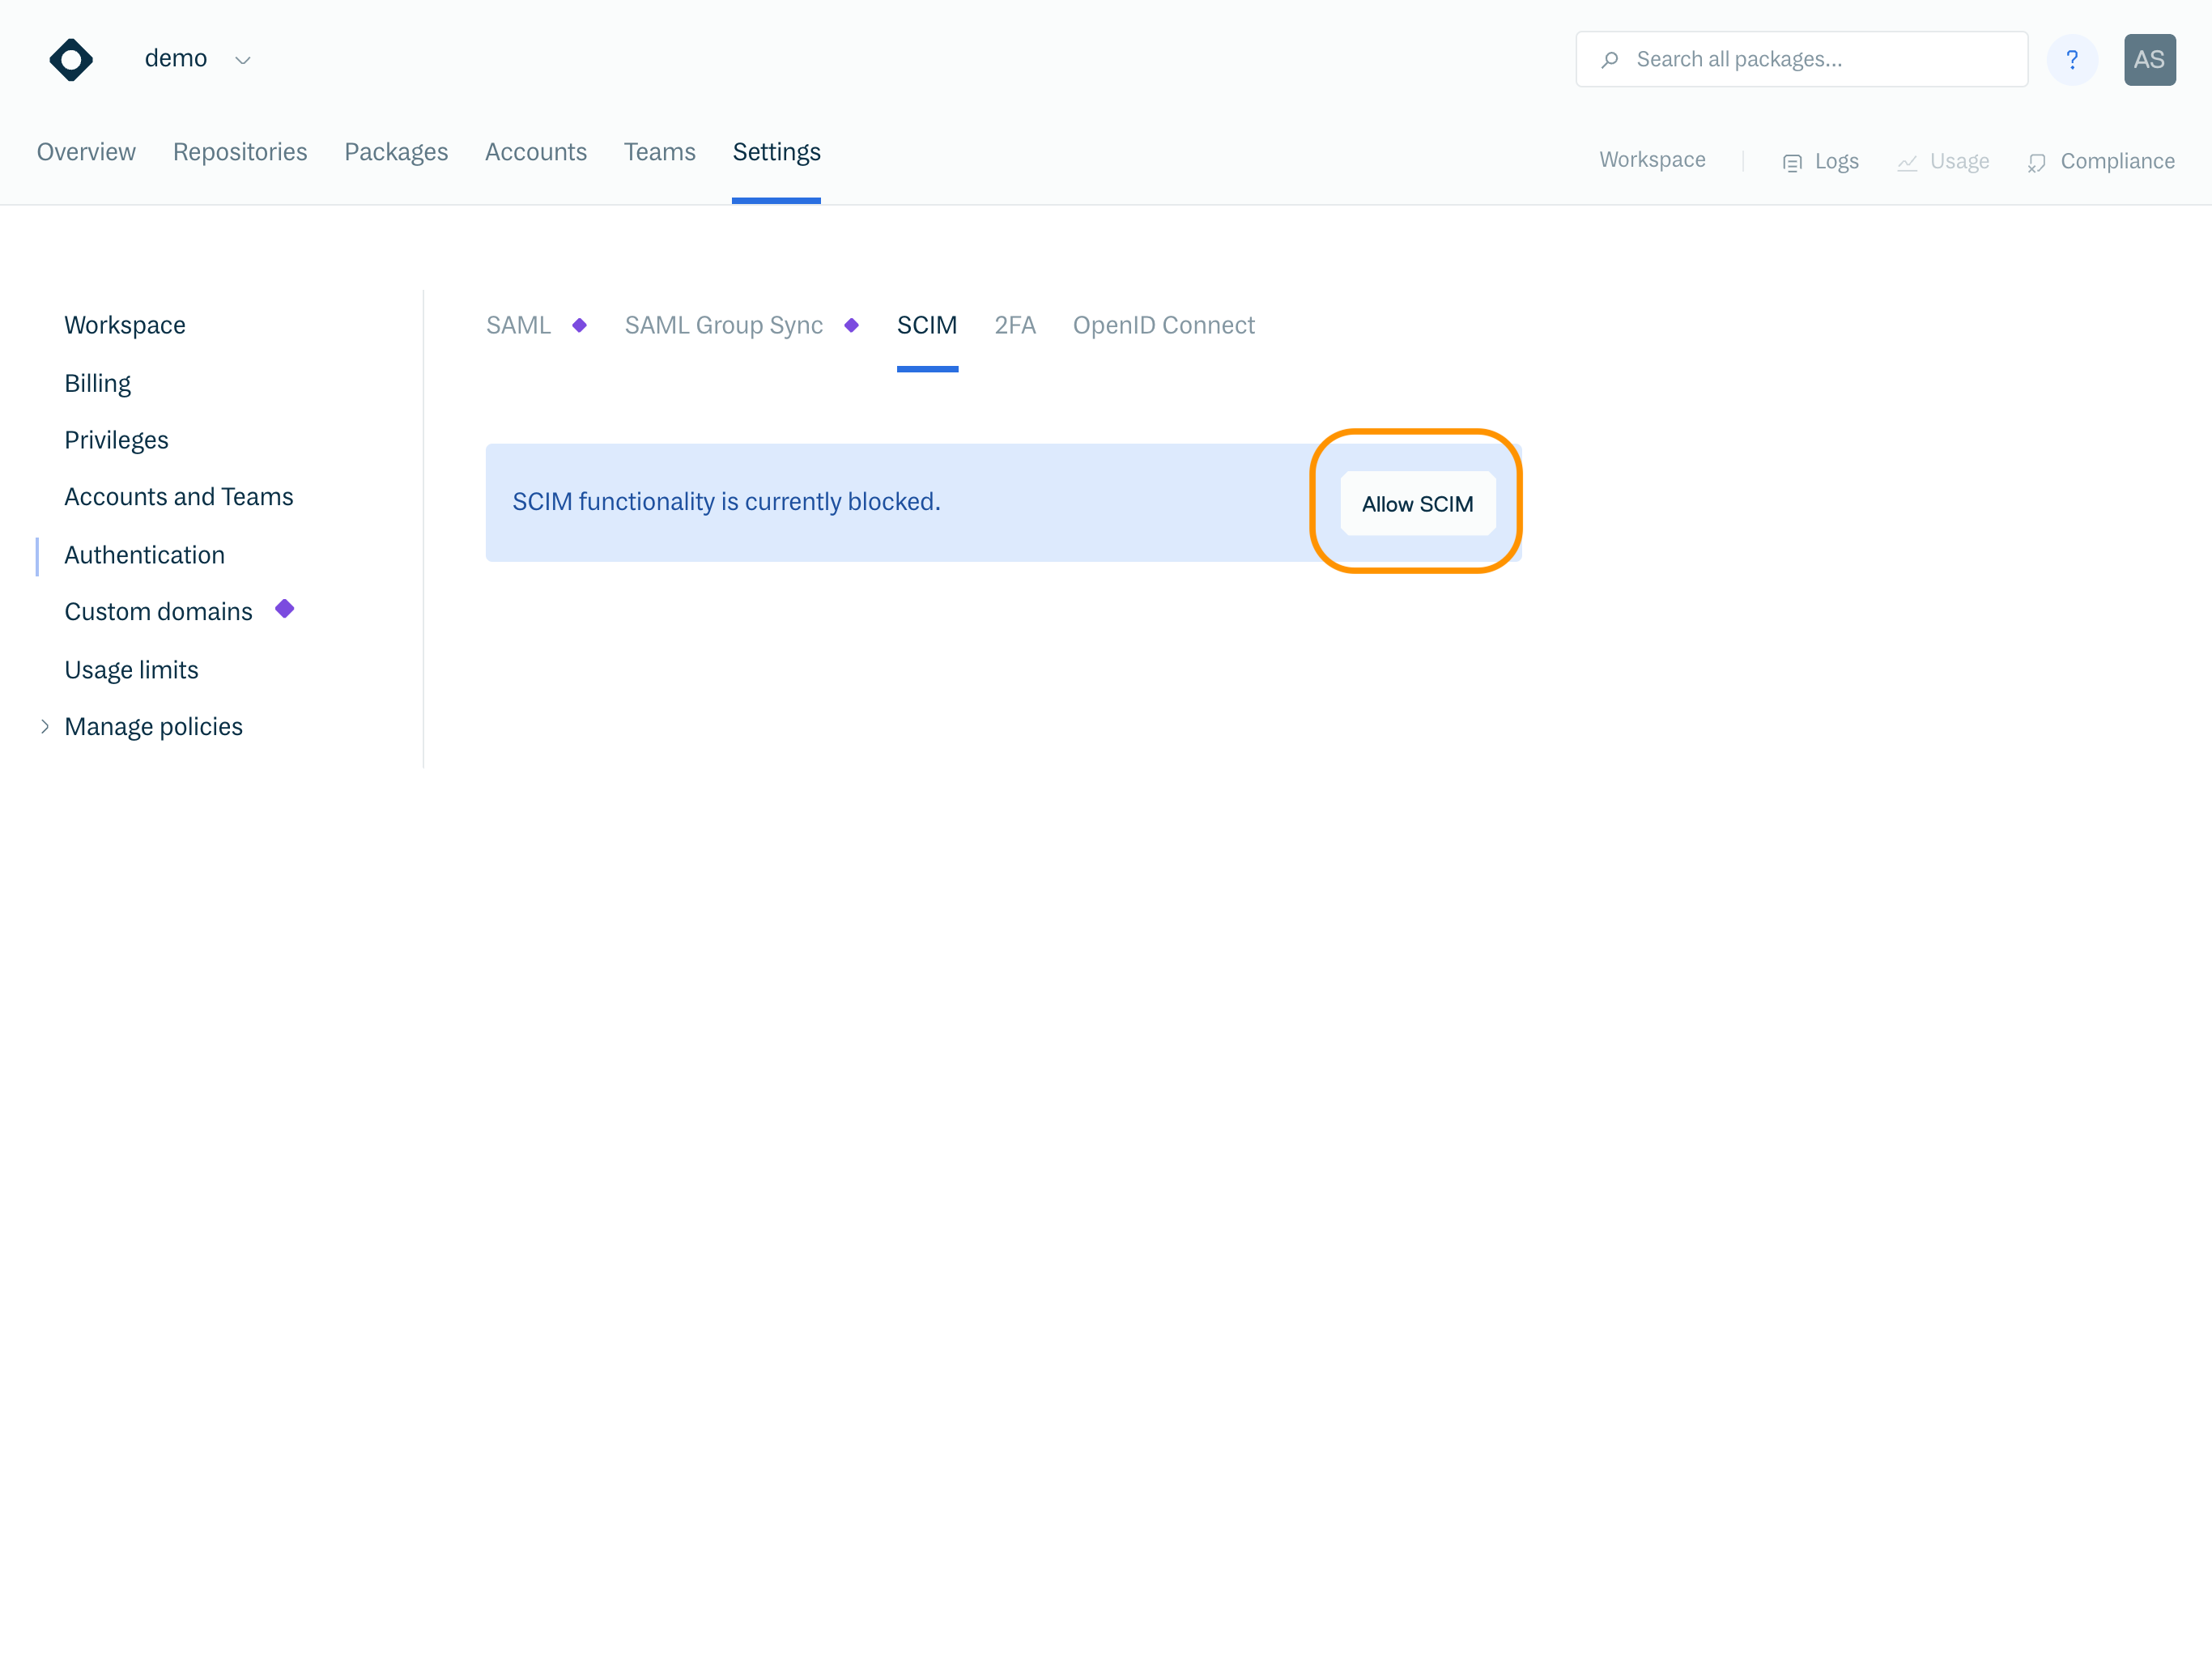
Allow SCIM in your Cloudsmith workspace
Once SCIM functionality is allowed in Cloudsmith, you then enable SCIM for the Cloudsmith application in Okta on the "General" tab:

Okta Enable SCIM
You then use the "Provisioning" tab to configure SCIM as follows:

Okta Configure SCIM
SCIM Connector base URL | |
Unique Identifier for users | |
Supported provisioning actions | Push New Users |
Authentication Mode | Basic Auth |
Basic Auth Username | token |
Basic Auth Password | In your Cloudsmith workspace, go to "Settings" -> "Authentication" -> "SCIM" to retrieve your password token. |
Then test and save the configuration.
Once saved, you can then enable the "Create Users", "Update User Attributes" and "Deactivate Users" functionality via the "Provisioning" > "To App" tab:
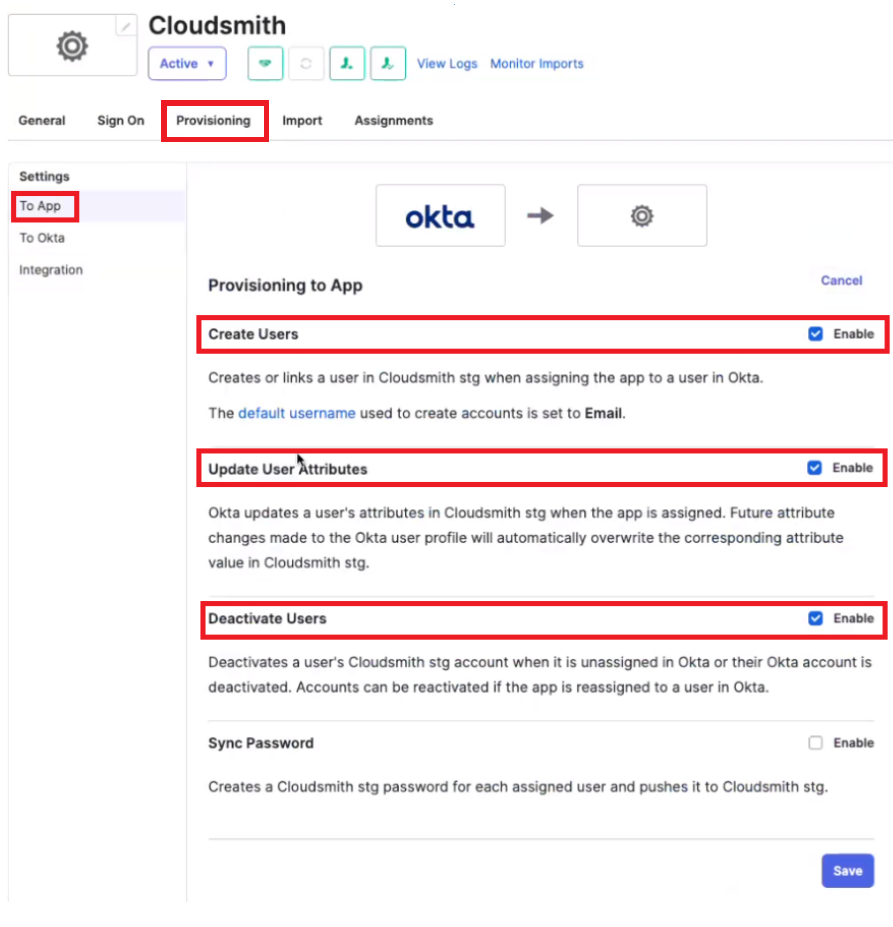
Okta is now configured to provision, update and de-provision users from your Cloudsmith organization.
Updated 6 months ago