Single Sign-On with JumpCloud
This guide provides step-by-step instructions on setting up JumpCloud as a SAML IdP for your Cloudsmith Organization.
Adding Cloudsmith to JumpCloud
Cloudsmith is not (yet) an integrated application in JumpCloud. You'll have to add Cloudsmith manually so you can configure SSO.
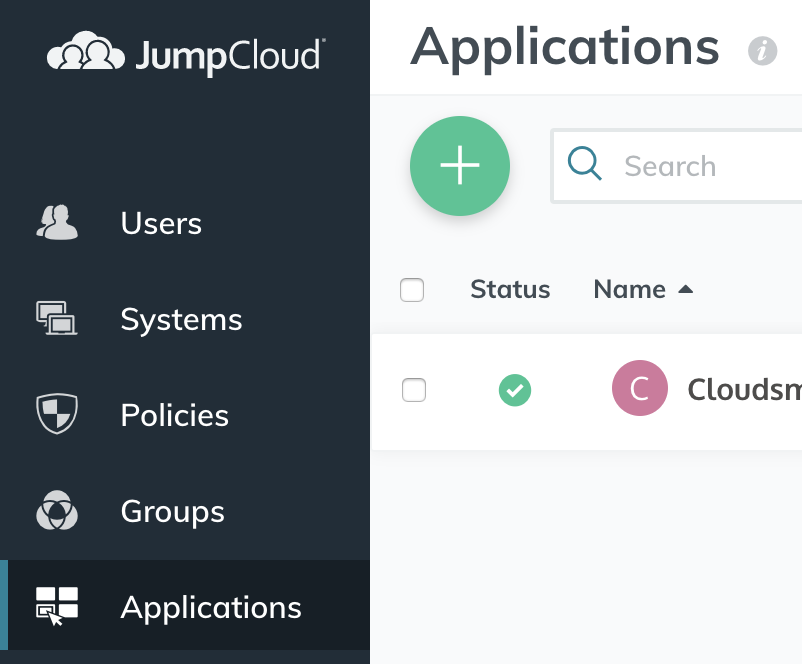
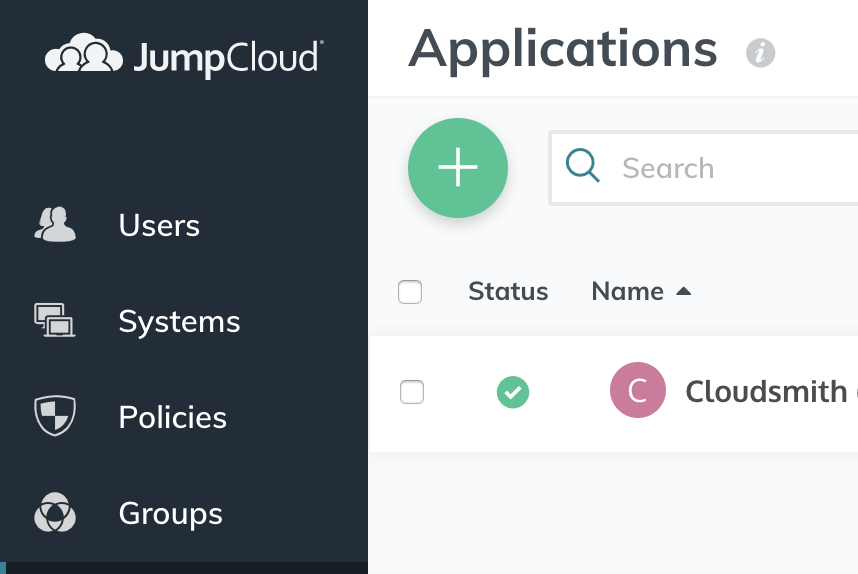
Log in as an administrator to JumpCloud, choose Applications from the sidebar and use the green + icon to add a new application:
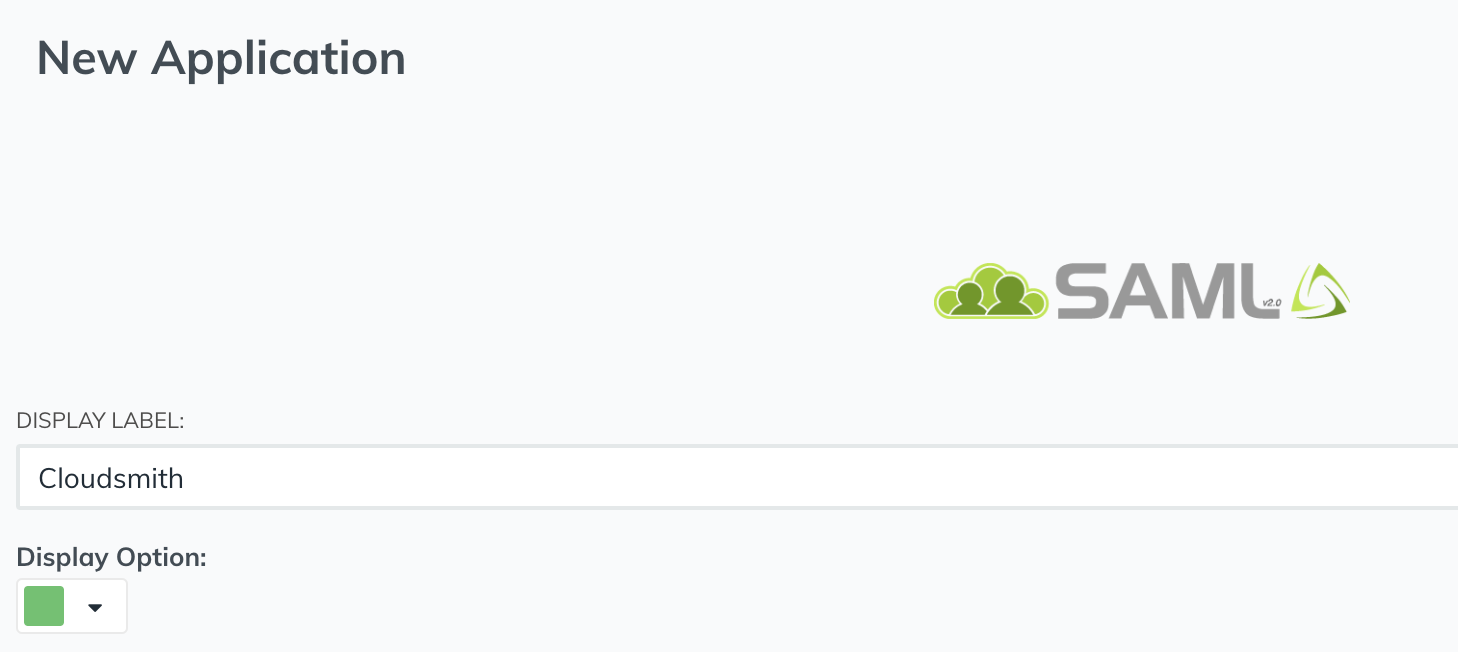
Choose the generic SAML connector (usually first in the list, labelled SAML) and hit Configure:

On the configuration screen, enter the Display Label as "Cloudsmith", and optionally choose a colour for the application.
Next, you'll need to choose an IdP entity ID, which is just a unique string used to identify this application/connector with JumpCloud. It doesn't matter what you use, so long as it's unique within your JumpCloud account. For example purposes we use "JumpCloud-Cloudsmith":

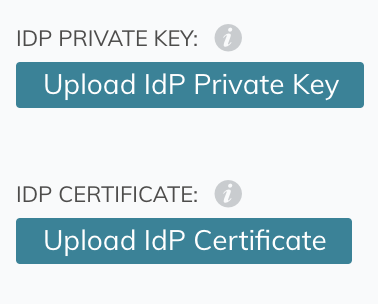
For the next step, you'll need to generate a public and private key used to sign and secure communication between JumpCloud and Cloudsmith (if you don't already have them). JumpCloud have their own docs on exactly how to generate these keys depending on your operating system. Once generated, upload the private and public keys using the next two fields in the form:
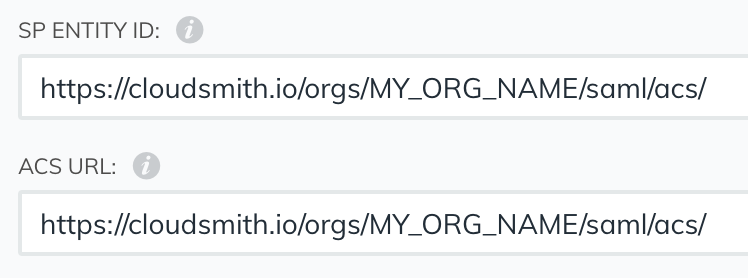
Next, we'll fill in SP Entity ID and ACS URL with the same value. To determine the value we use the following format: https://cloudsmith.io/orgs/MY_ORG_NAME/saml/acs/, where "MY_ORG_NAME" is replaced with your organization's slug e.g. for the cloudsmith org we use https://cloudsmith.io/orgs/cloudsmith/saml/acs/:
We then need to configure the SAML Name ID attribute. We want to choose email and the appropriate emailAddress format:

Cloudsmith requires that users are identified by a first and last name, so we'll need to configure JumpCloud to send those too. Under User Attributes click add attribute and enter first/last name exactly as follows:

Almost there, we need to check the box labelled Sign Assertion:

Check the box labelled Declare redirect endpoint:

And finally, choose an appropriate IdP URL, which must be unique in your account (cloudsmith is fine, unless you have more than one connector).

Hit the green Activate button in the bottom right to complete your configuration:

Your application is now configured on JumpCloud and you can add users and groups as required using the Users tab in the sidebar:
Providing configuration to Cloudsmith
Once configured as above, you'll need to provide metadata to Cloudsmith to connect to your newly configured IdP.
At the bottom-right of the form, right beside the Activate button from the previous step you'll see an Export Metadata button. Click it and an XML file containing metadata will be downloaded:

Take this file and add the XML contents to your SAML settings in your Cloudsmith organization.
All wrapped up!
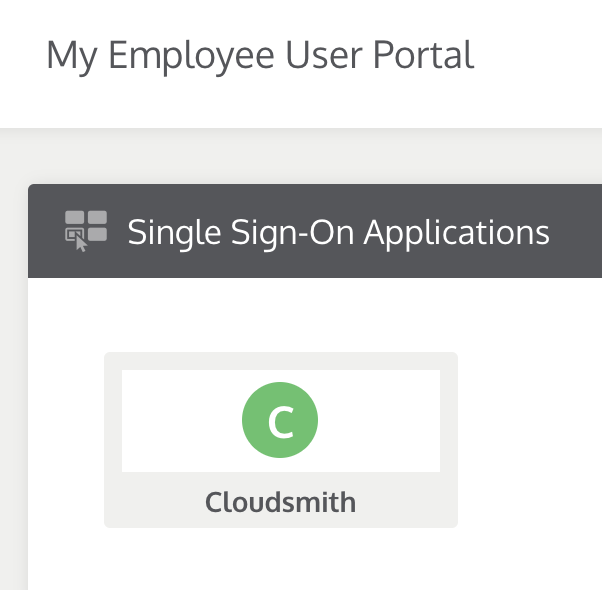
The Cloudsmith application should now appear on the JumpCloud portal as normal:
You can then enable SAML in your Cloudsmith SAML settings.
You'll be able to access the landing page of your organization at the following URL:
https://cloudsmith.io/orgs/ORG/saml/login/
Where ORG is your organization's slug/identifier (what you would normally see in the URL when accessing your organization within Cloudsmith).
Updated 5 months ago
