
VS Code Extension
The Cloudsmith extension for Visual Studio Code allows you to view and manage your Cloudsmith packages directly within your VS Code IDE.

Installation
You can install the extension from the Visual Studio Code Marketplace or by using the .vsix file from a release. We recommend installing via the Marketplace for ease of use and automatic updates.
From the VS Code Marketplace (Recommended)
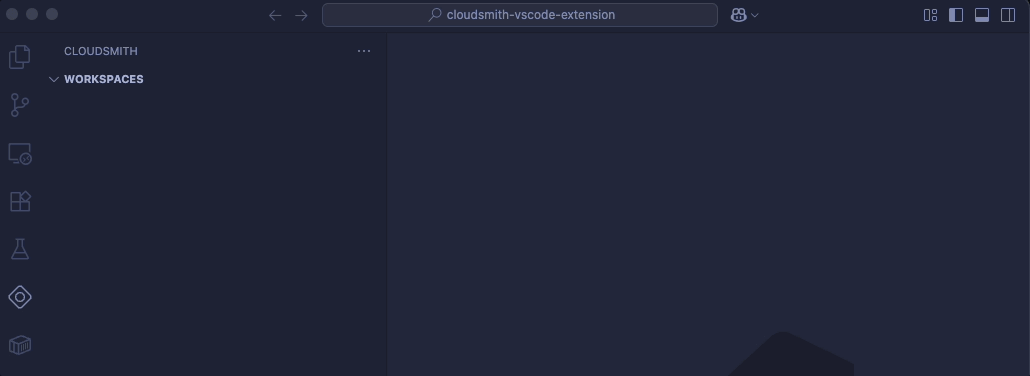
- Open the Extensions view in VS Code (or press
Ctrl +Shift+X). - Search for
cloudsmithin the search bar. - Select the Cloudsmith extension published by Cloudsmith and click Install.
From a .vsix File
You can also install the extension manually from a .vsix file, which is available on the GitHub repository releases page.
- In the Extensions view, click the Views and More Actions... (
...) button. - Select Install from VSIX... and choose the downloaded
cloudsmith-x.x.x.vsixfile.
Alternatively, open your terminal and run:
code --install-extension cloudsmith-x.x.x.vsixConfiguration
Authentication
After installation, connect the extension to your Cloudsmith account using an API Key or a Service Account Token (Entitlement tokens are not supported).
- Navigate to the Cloudsmith view in the VS Code Activity Bar.
- Click the key icon located in the view's menu.
- Enter your Personal API Key or Service Account Token into the input box that appears and press
Enter. - Click the connect/refresh icon to load your workspaces and repositories.
Settings
You can configure the extension's behavior by navigating to File > Preferences > Settings and searching for Cloudsmith:
- Show Packages by Group: If enabled, the explorer will display packages as Package Groups. By default, individual packages are shown.
- Inspect Output Target: Choose where the
Inspect Packagecommand sends its output:Outputwindow or aNew Document. - Maximum Packages Per Repository: Set the maximum number of packages to display per repository. The value can be between 1 and 30. The default (and maximum) is 30.
- Use Legacy Web App: If enabled, URLs opened via the
Open Package in Cloudsmithcommand will point to the legacy Cloudsmith web app (https://cloudsmith.io/).
Using the Cloudsmith VS Code extension
The extension adds a Cloudsmith Explorer view to VS Code. This view provides a tree-based navigator to explore your Cloudsmith assets, including workspaces, repositories, and packages.
Selecting a package or package group in the explorer will display a selection of its most important details directly in the tree view. You can right-click on any detail (e.g., Name, Version) to copy its value to the clipboard.
This is a subset of the full data available via the Cloudsmith API. For the complete dataset, use the Inspect Package command.
| Field | Description |
|---|---|
| Status | Indicates the current state of the package (e.g., Completed, Failed, Deleted, etc.). |
| Name | The human-readable title or name of the package. |
| Slug | A URL-friendly version of the package name, typically lowercase with hyphens for spaces. |
| Slug Perm | A permanent, unique slug that does not change, even if the package name is updated. |
| Number of downloads | The total count of how many times the package has been downloaded. |
| Version | The specific release version number, often following semantic versioning (e.g., 1.2.3). |
| Tags | Keywords or labels used to categorize the package and make it discoverable. |
| Uploaded at date/time | The timestamp indicating the exact date and time the package version was published. |
NoteWhen the Package Groups option is enabled, the next fields are available for each of the package groups: Count of packages in group, Size, Number of downloads, and Last pushed date/time.
Right-clicking on a package or package group in the explorer opens a context menu with several commands:
- Inspect Package: this command retrieves the raw JSON data for the selected package or group. By default, the output is sent to the VS Code
Outputwindow. You can change this behavior in the extension settings to send the output to a new, untitled text document instead. - Open Package in Cloudsmith: this command opens the selected package's page directly in the Cloudsmith web application using your default browser.
Updated 6 months ago