
Single Sign-On with OneLogin
This guide provides step-by-step instructions on setting up OneLogin as a SAML IdP for your Cloudsmith Organization.
This guide provides step-by-step instructions on setting up OneLogin as a SAML IdP for your Cloudsmith Organization.
Adding Cloudsmith to OneLogin
Cloudsmith is not yet an integrated application in OneLogin. You'll have to add Cloudsmith manually so you can configure SSO.
Log into OneLogin and click Administration in the top right:

Choose Applications from the top menu:

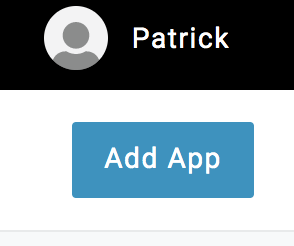
Click the blue Add App button in the top right:
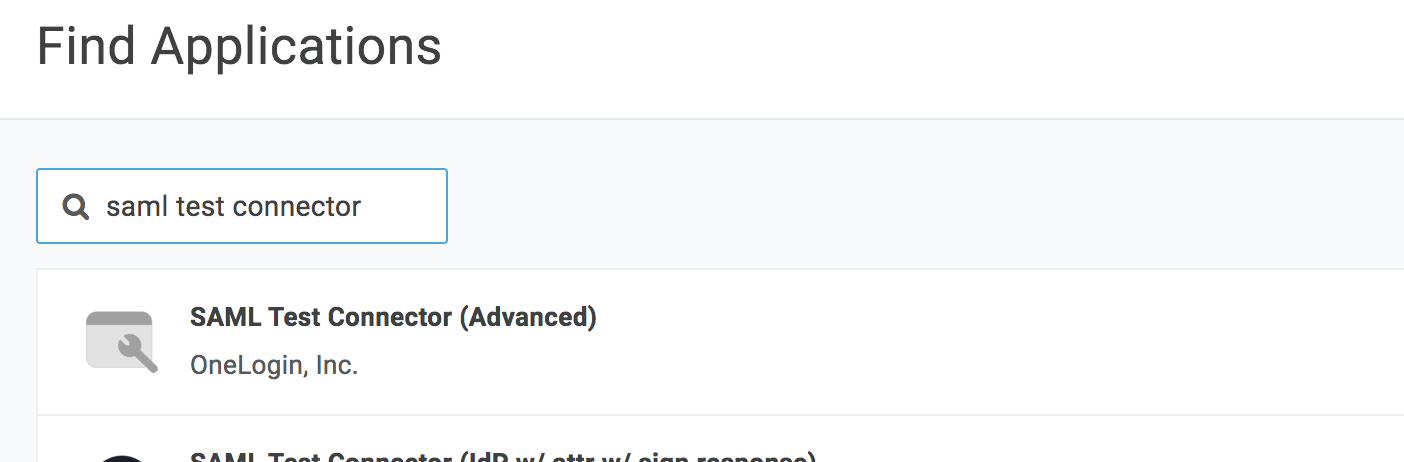
Search for "SAML test connector" and choose "SAML Test Connector (Advanced)":
On the next screen (Add SAML Test Connector (Advanced)), enter the Display Name as "Cloudsmith". (You can optionally add the Cloudsmith logo too for easier visibility, you can find hi-res versions of the logo here):
Click the blue Save button in the top right:

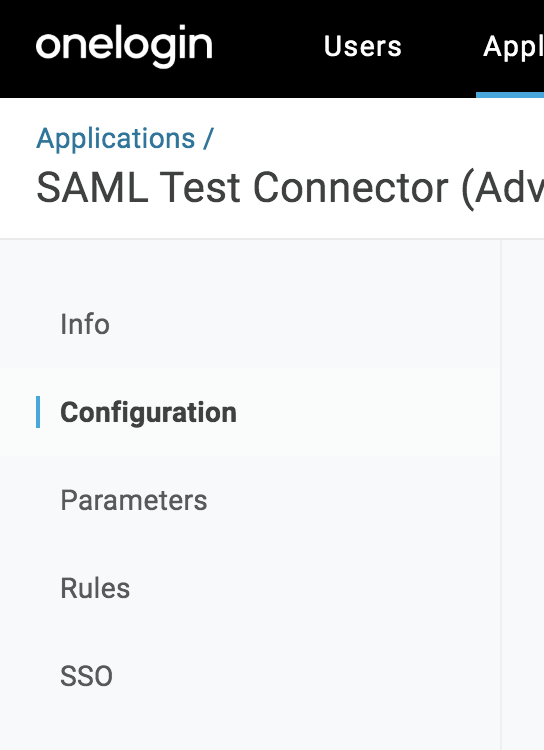
Once saved, a number of additional options will appear in the sidebar. Click "Configuration":
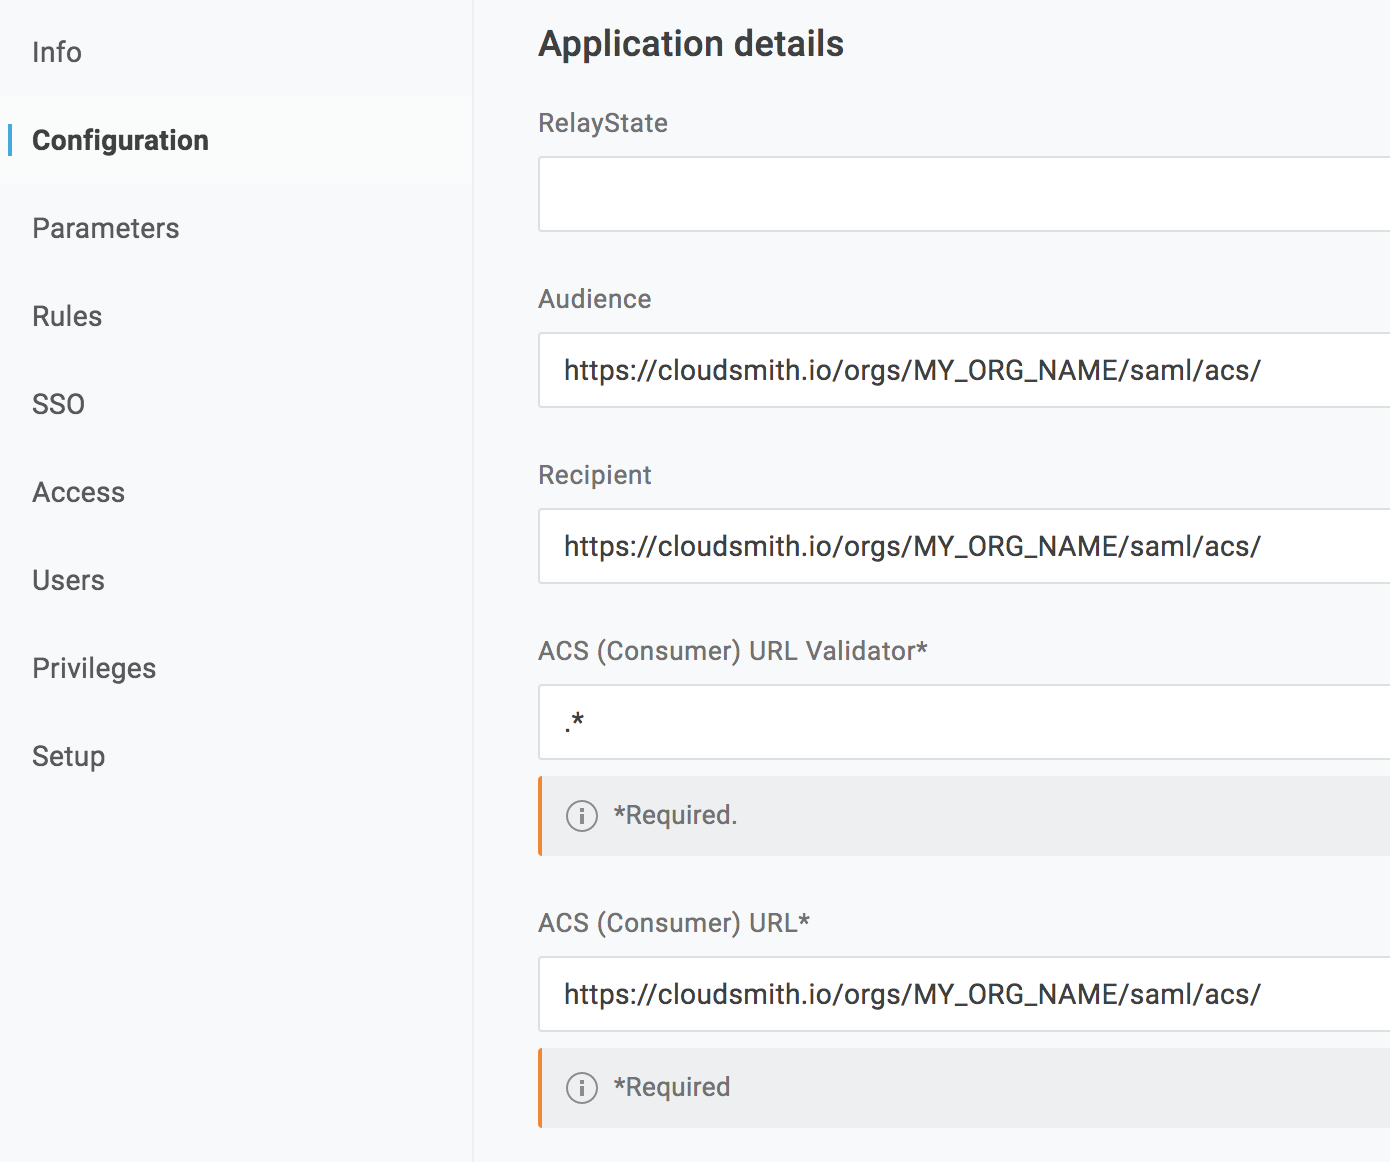
Next, we'll configure SAML settings. To determine your Single sign on URL we use the following format: "https://cloudsmith.io/orgs/MY_ORG_NAME/saml/acs/", where "MY_ORG_NAME" is replaced with your organization's slug.
We use this URL for the Audience, Recipient, and ACS (Consumer) URL values in the form below.
For ACS (Consumer) URL Validator use ".*".
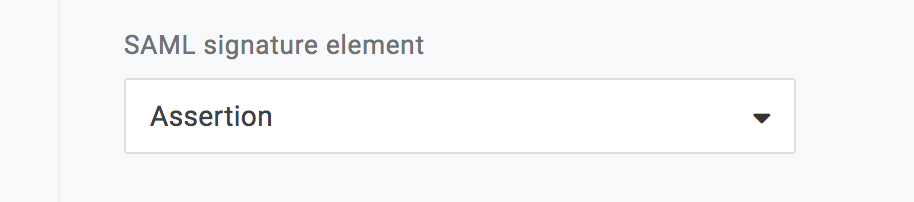
Further down the page, for SAML signature element choose "Assertion".
Hit the blue Save button at the top of the page.
Next, we'll configure OneLogin to also send the user's first and last names during sign-in.
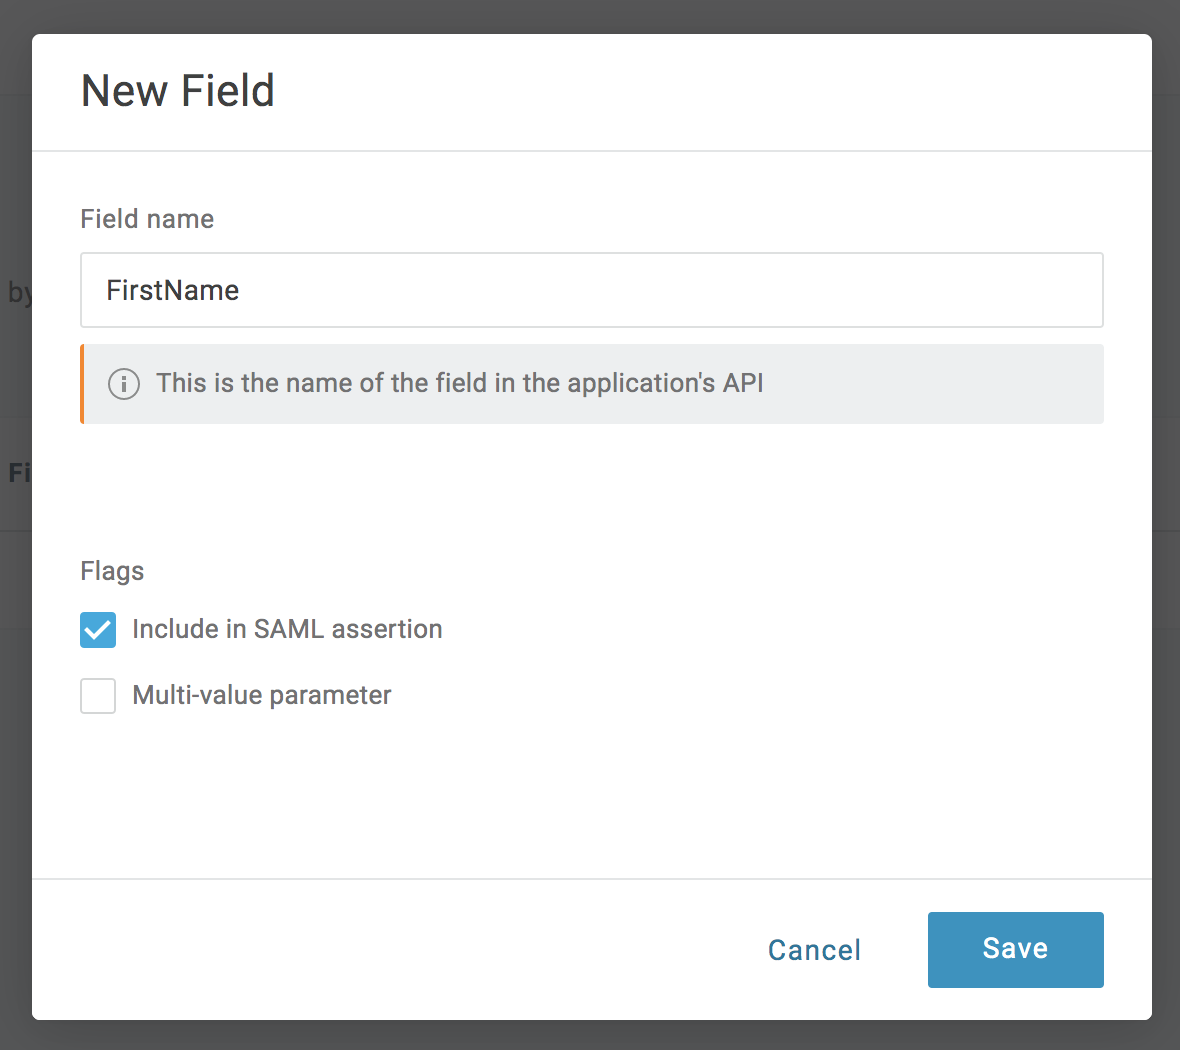
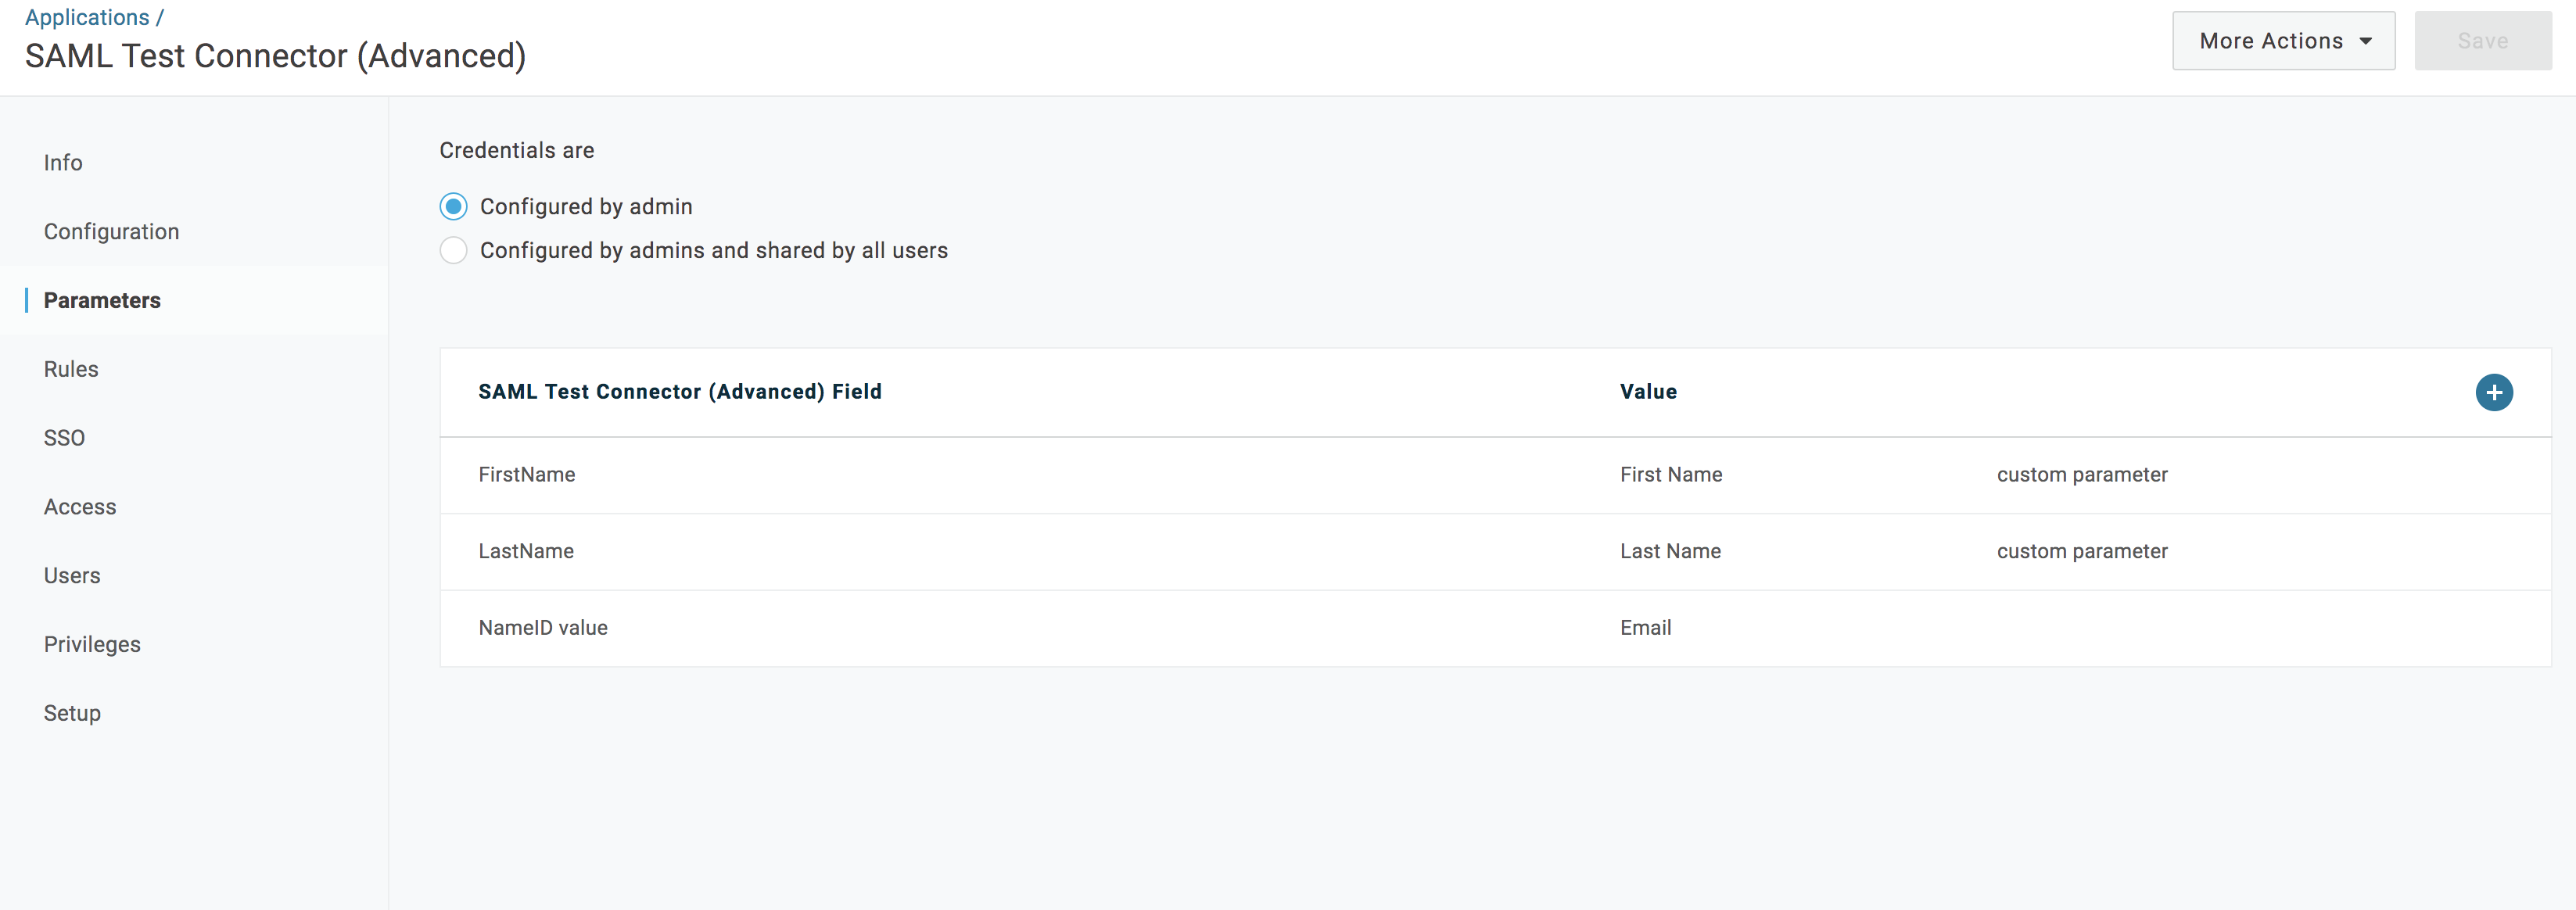
Click on Parameters in the sidebar, and then the small blue "+" symbol on the right:
Add a new parameter named "FirstName" and ensure the box labelled "Include in SAML assertion" is checked:
Hit the blue Save button. Then choose First Name from the drop-down presented:
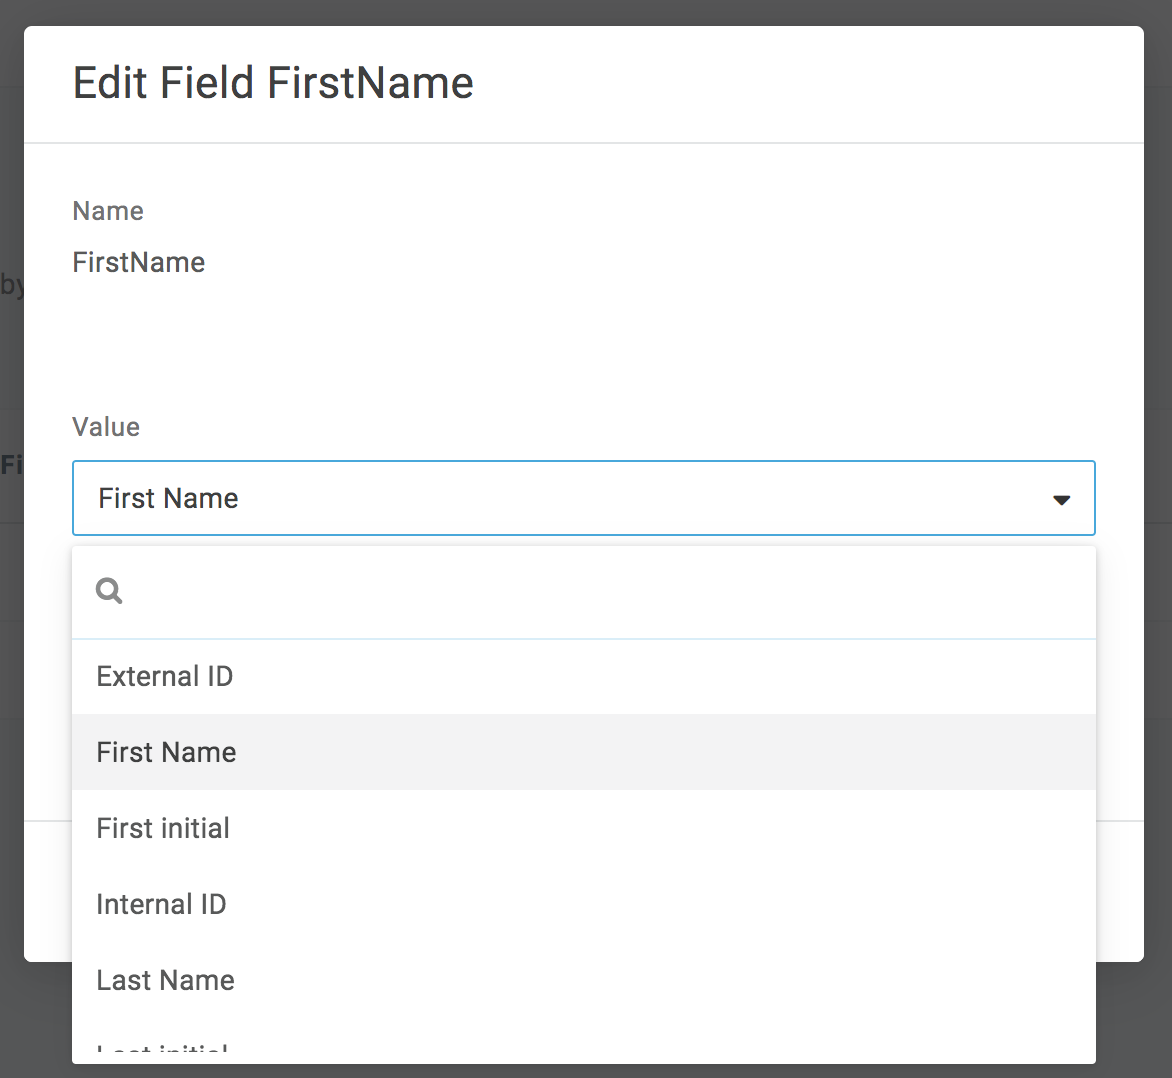
Hit the blue Save button.
Repeat the above process for the "LastName" attribute.
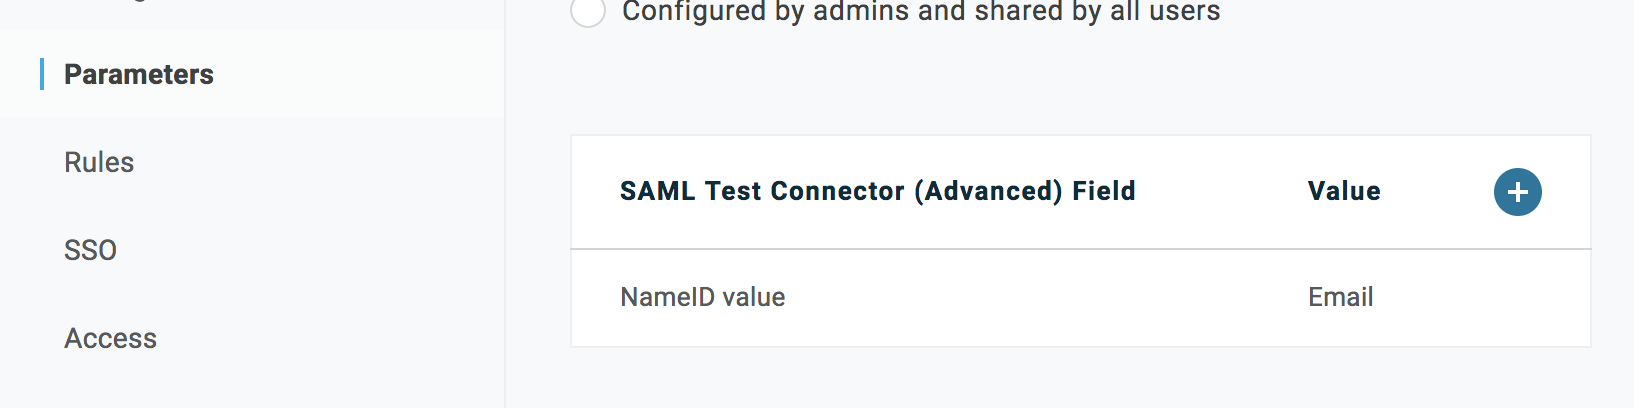
Hit the blue Save button in the top-right to save all changes. Once configured, the parameters should appear as below:
Choose the SSO tab in the sidebar and change the SAML Signature Algorithm to "SHA-256".
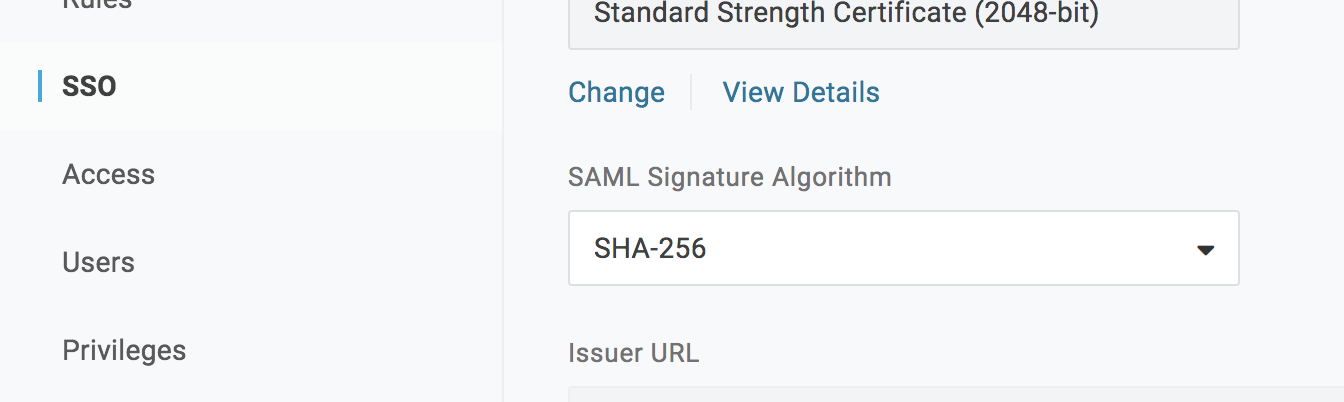
Hit the blue Save button in the top-right to save all changes.
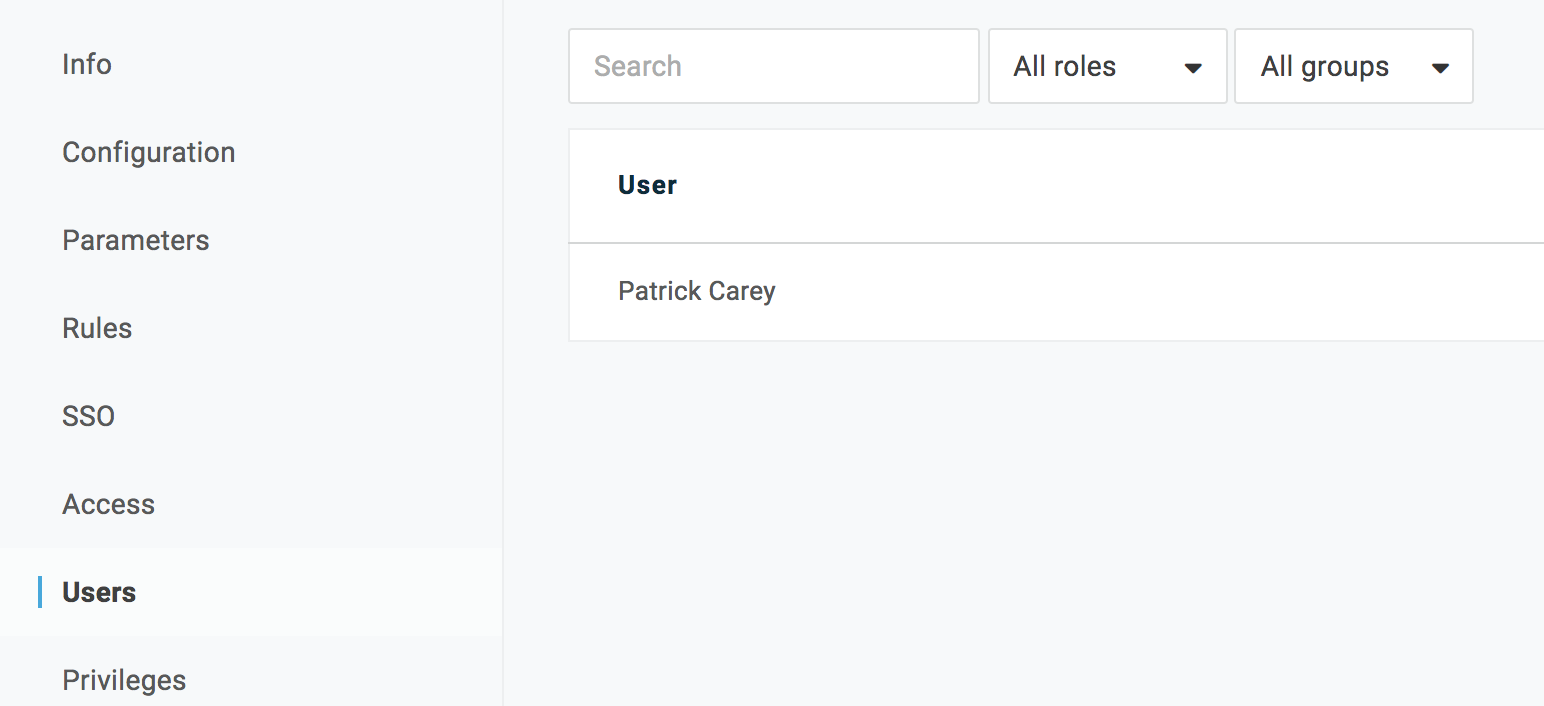
Your application is now configured on OneLogin and you can add users groups as required using the Users tab in the sidebar:
Providing configuration to Cloudsmith
Once configured as above, you'll need to provide metadata to Cloudsmith to connect to your newly configured IdP.
In the SSO tab of your configuration screen you should see a link that provides metadata for dynamic configuration. This is named Issuer URL:

Copy this link and add it to your Cloudsmith organization SAML settings.
All wrapped up!
Your application should now appear on the OneLogin portal.
You can then enable SAML authentication in your Cloudsmith SAML settings and you can use OneLogin to begin logging in straight away.
You'll be able to access the landing page of your organization at the following URL:
https://cloudsmith.io/orgs/ORG/saml/login/
Where ORG is your organization's slug/identifier (what you would normally see in the URL when accessing your organization within Cloudsmith).
Updated 6 months ago