
Workspaces
Creating a Workspace in Cloudsmith allows you to configure access for teams, individuals and machines that map to your company's organizational structure. Building security and resilience in managing teams and workflows is essential in today's ecosystem. This is a quick start guide to the powerful permission system within Cloudsmith and how you can get started.
Create a Workspace
To create a new Workspace:
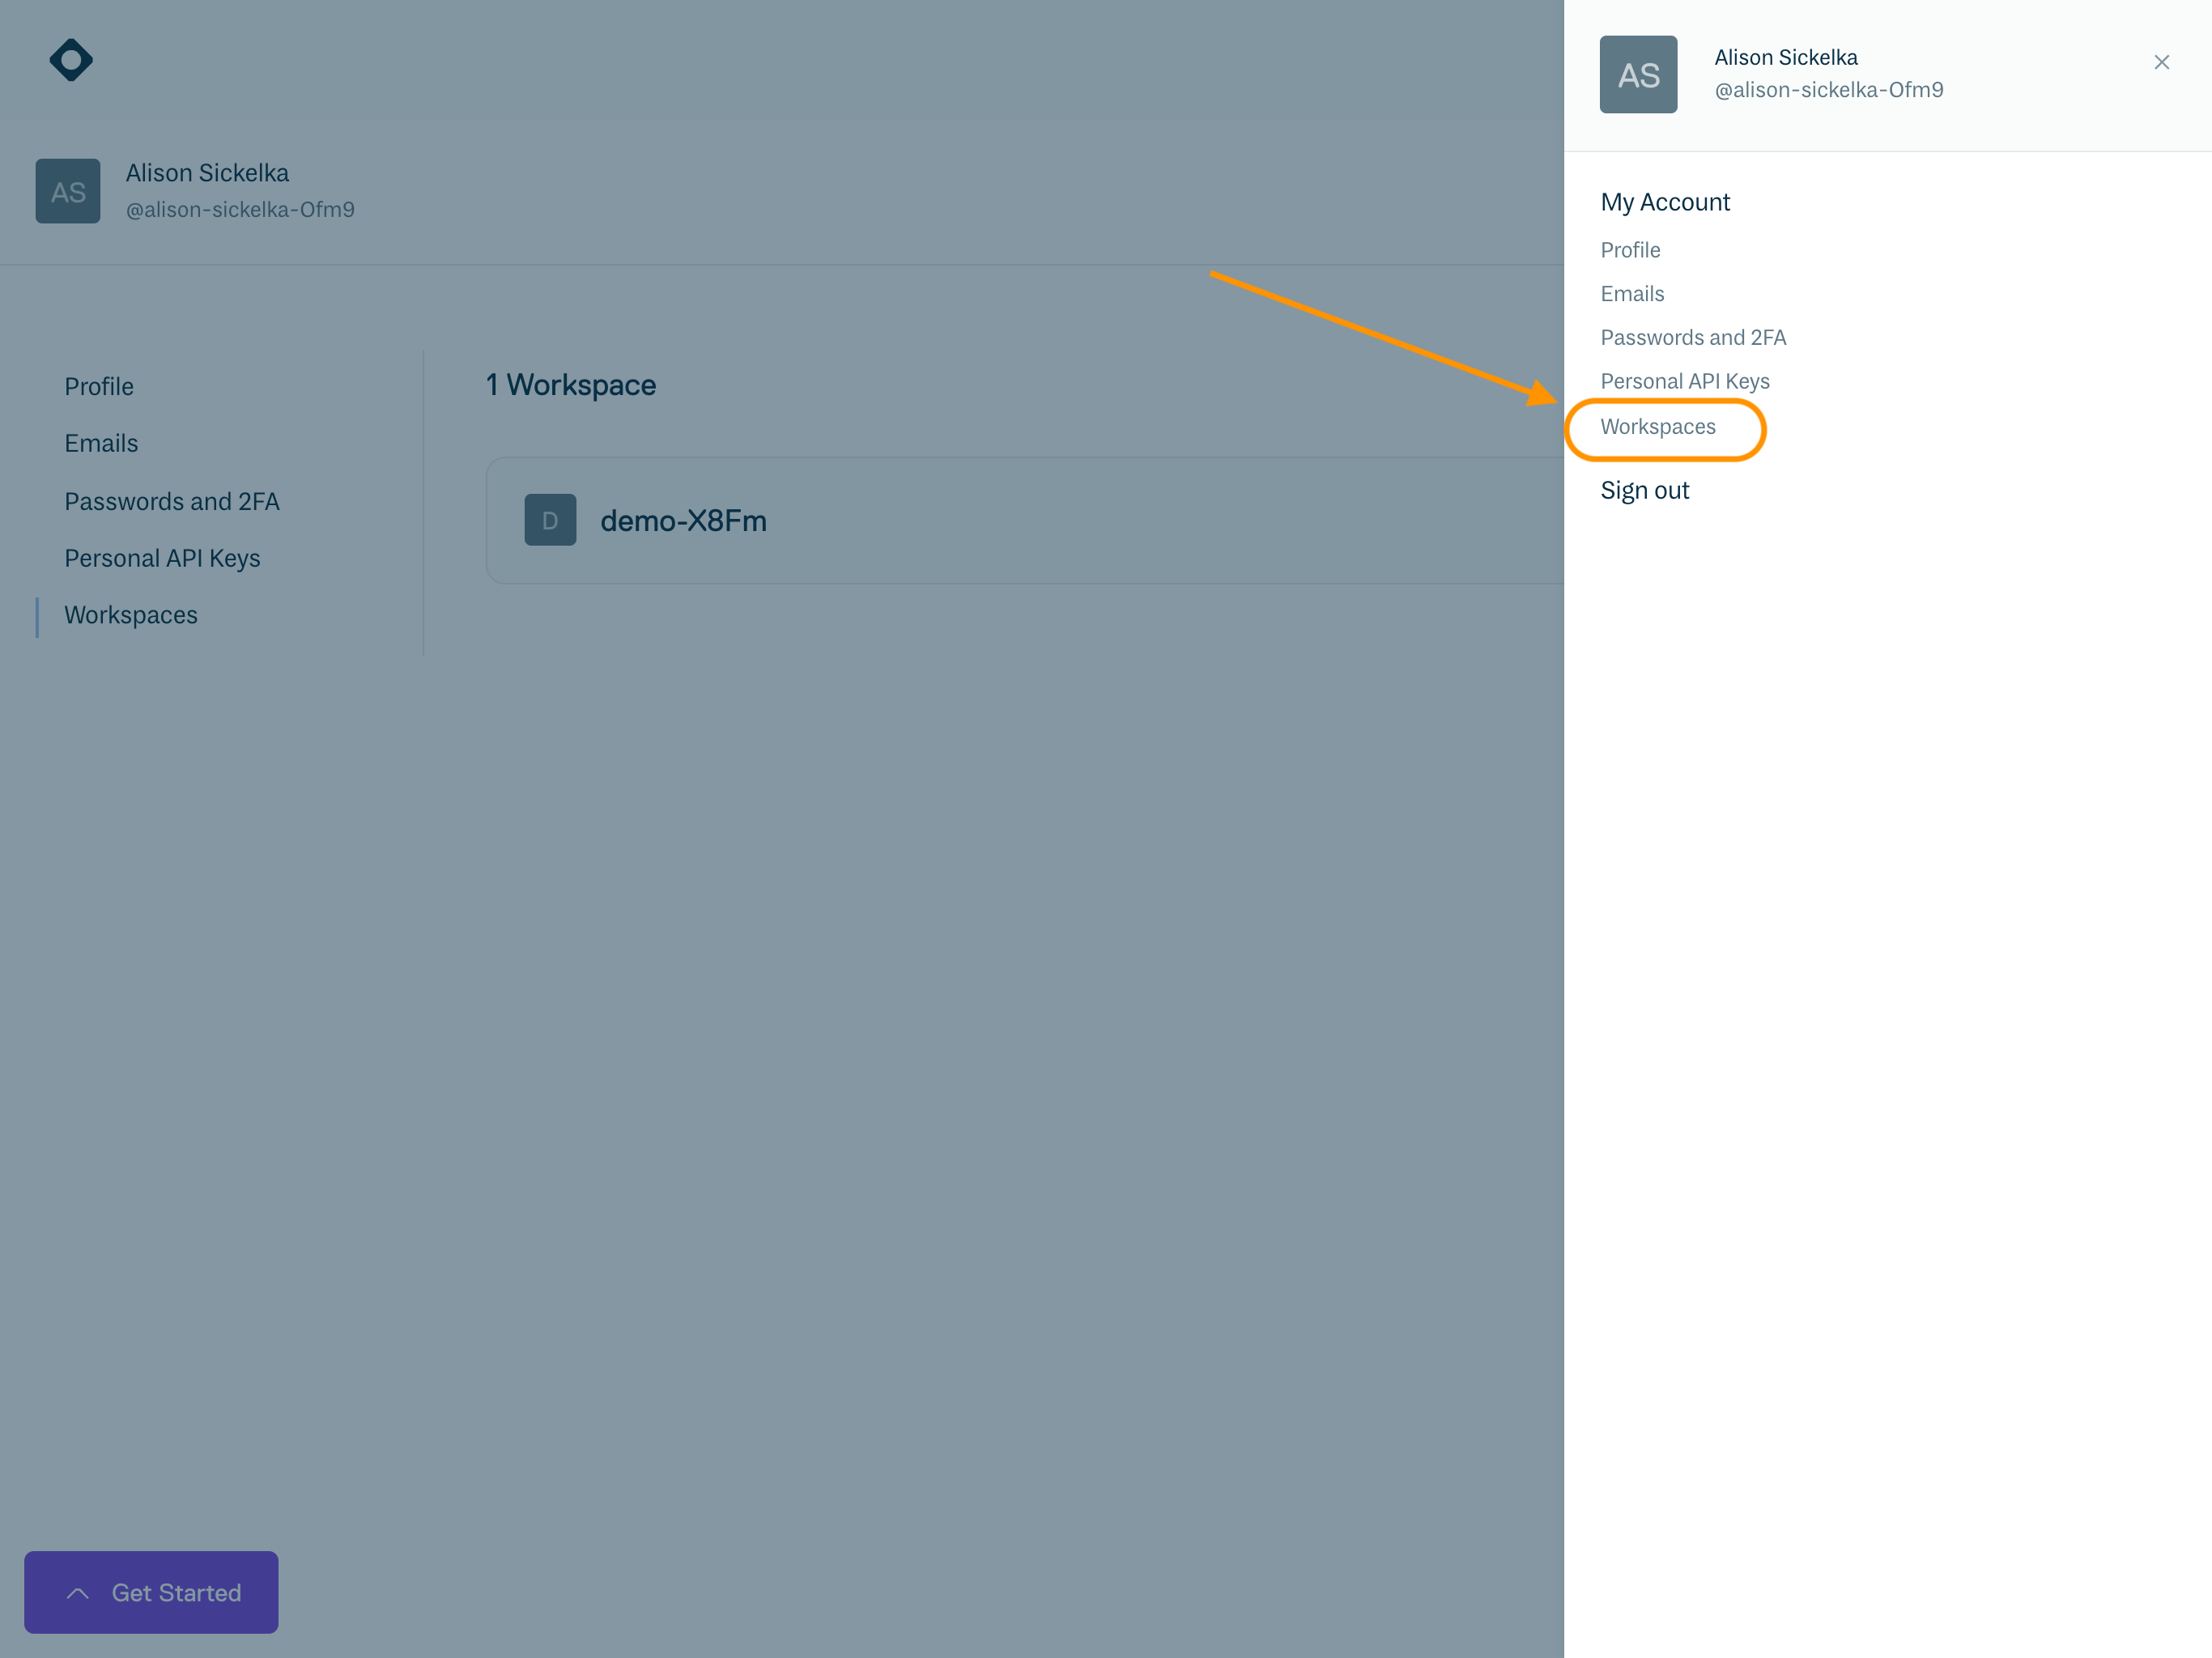
- Navigate to "Workspaces" in the global menu
- Click "Workspaces"
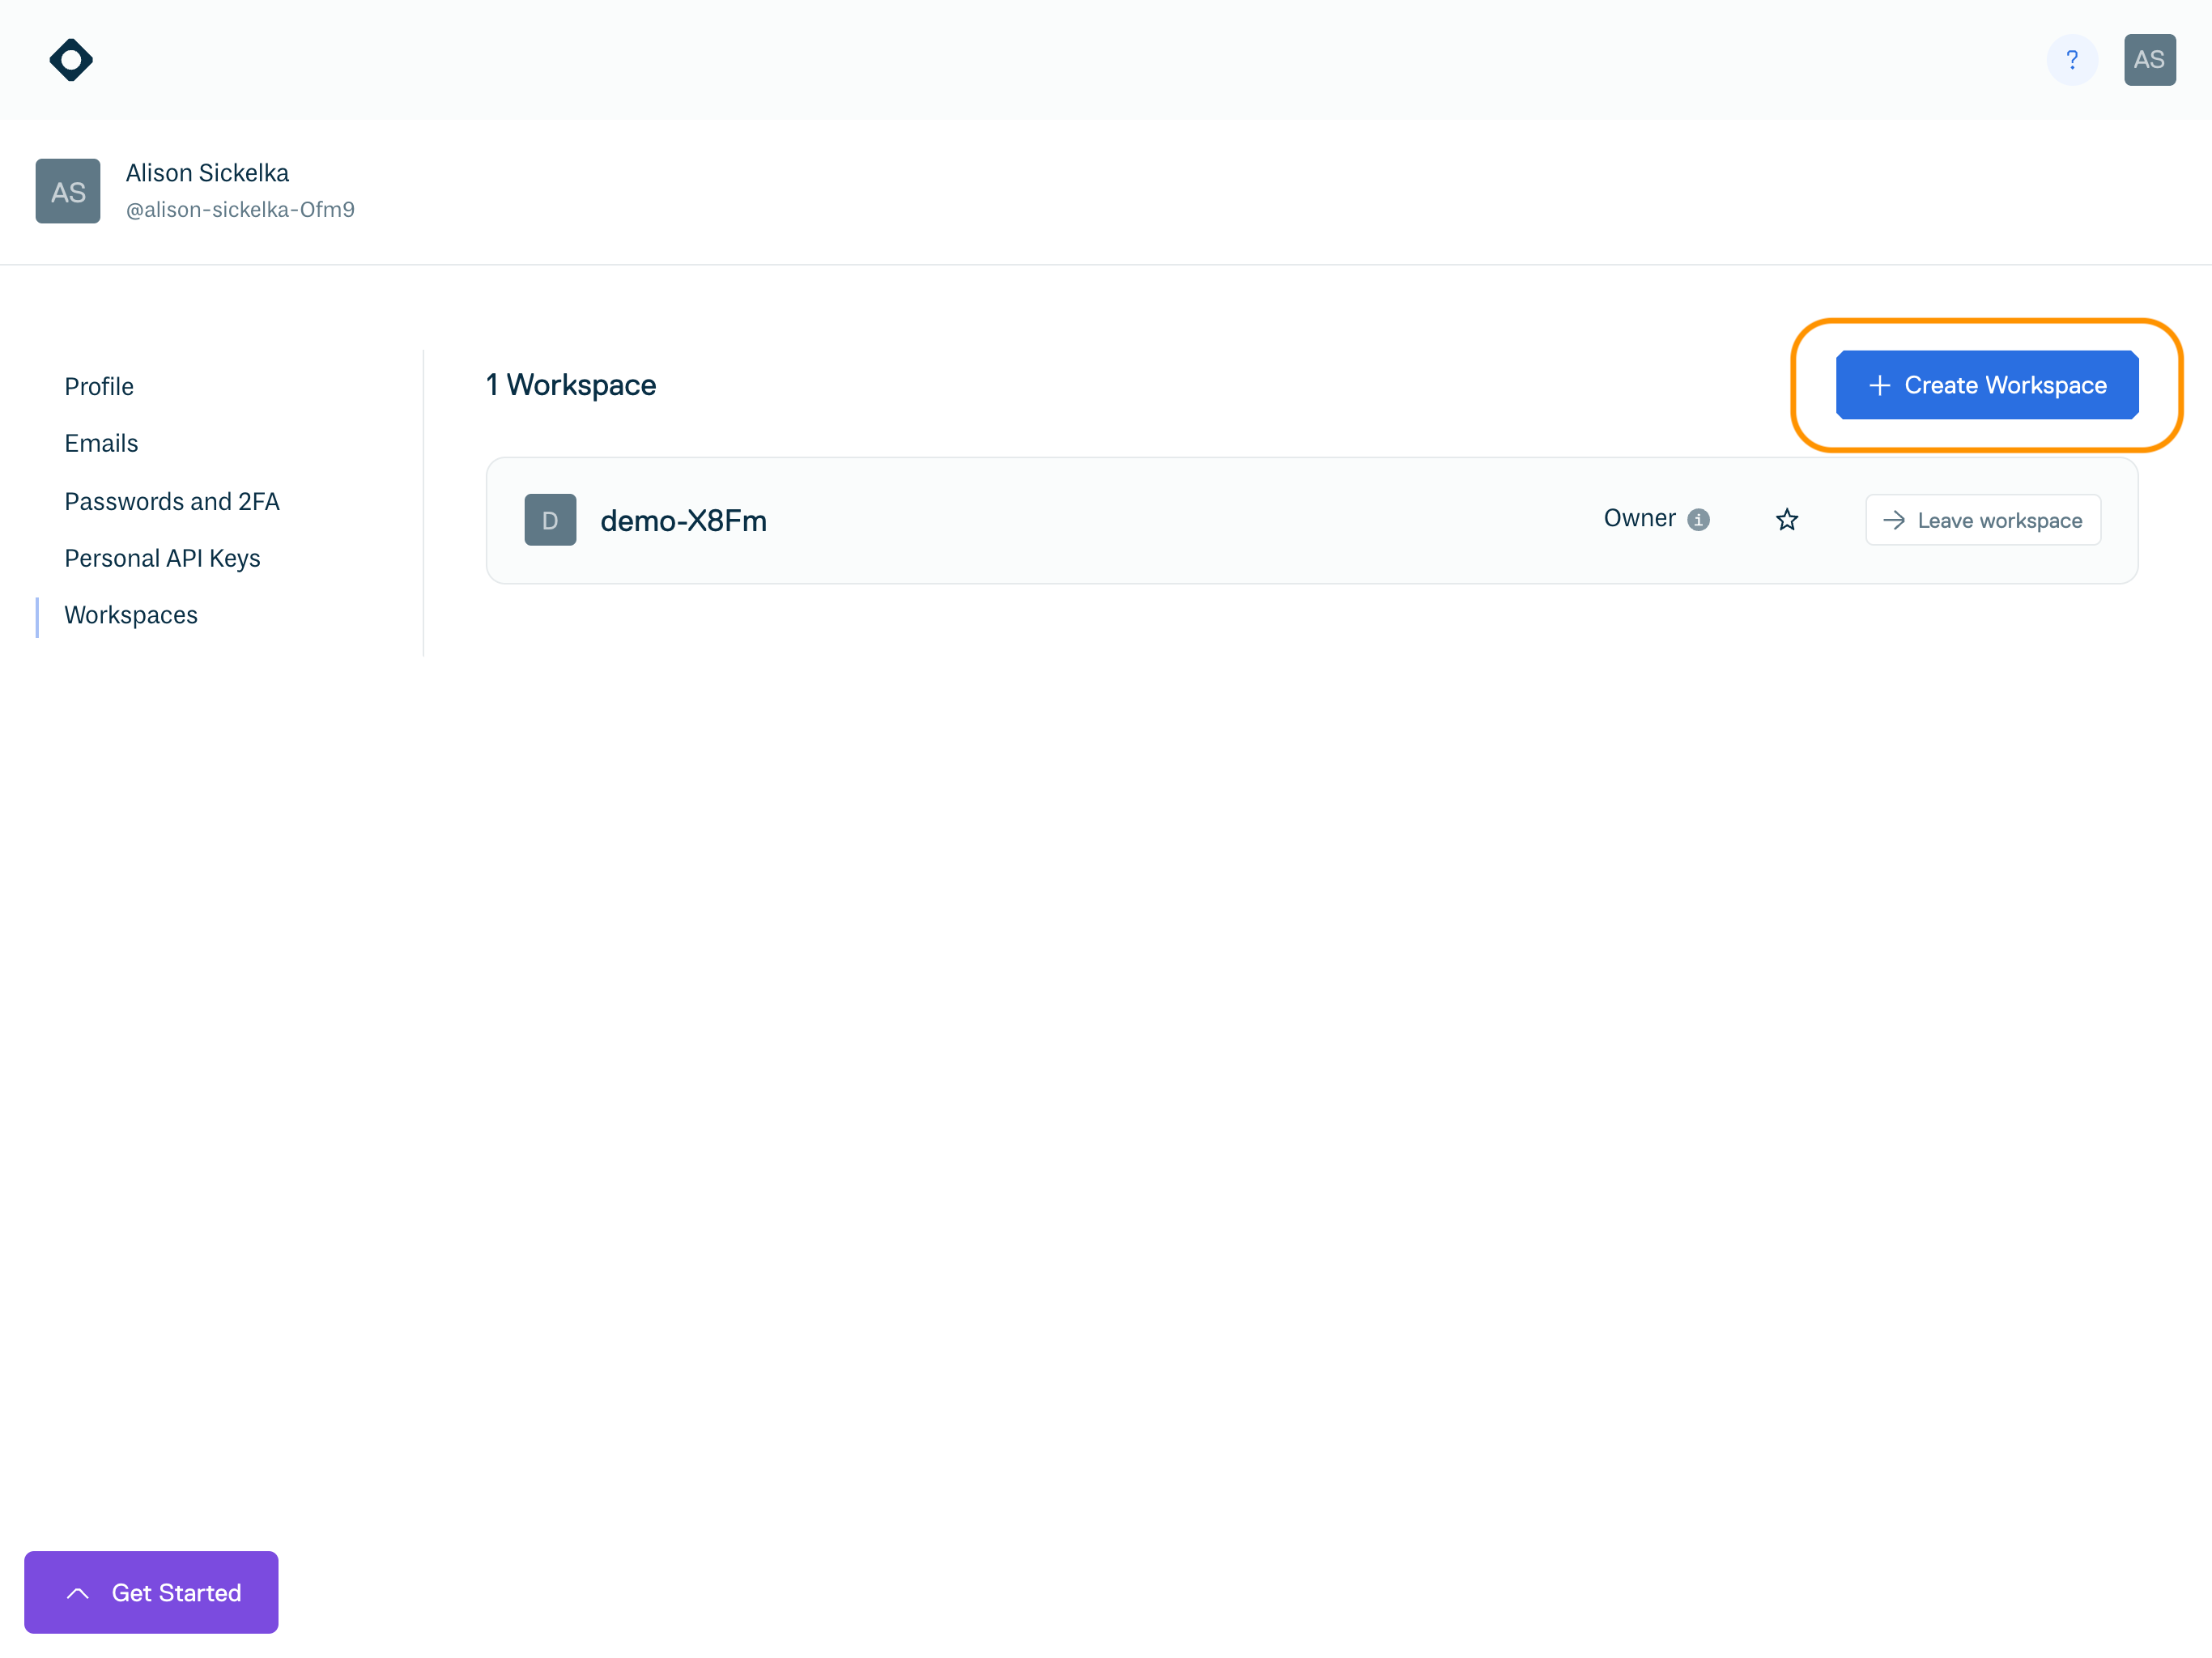
- Click "Create Workspace"
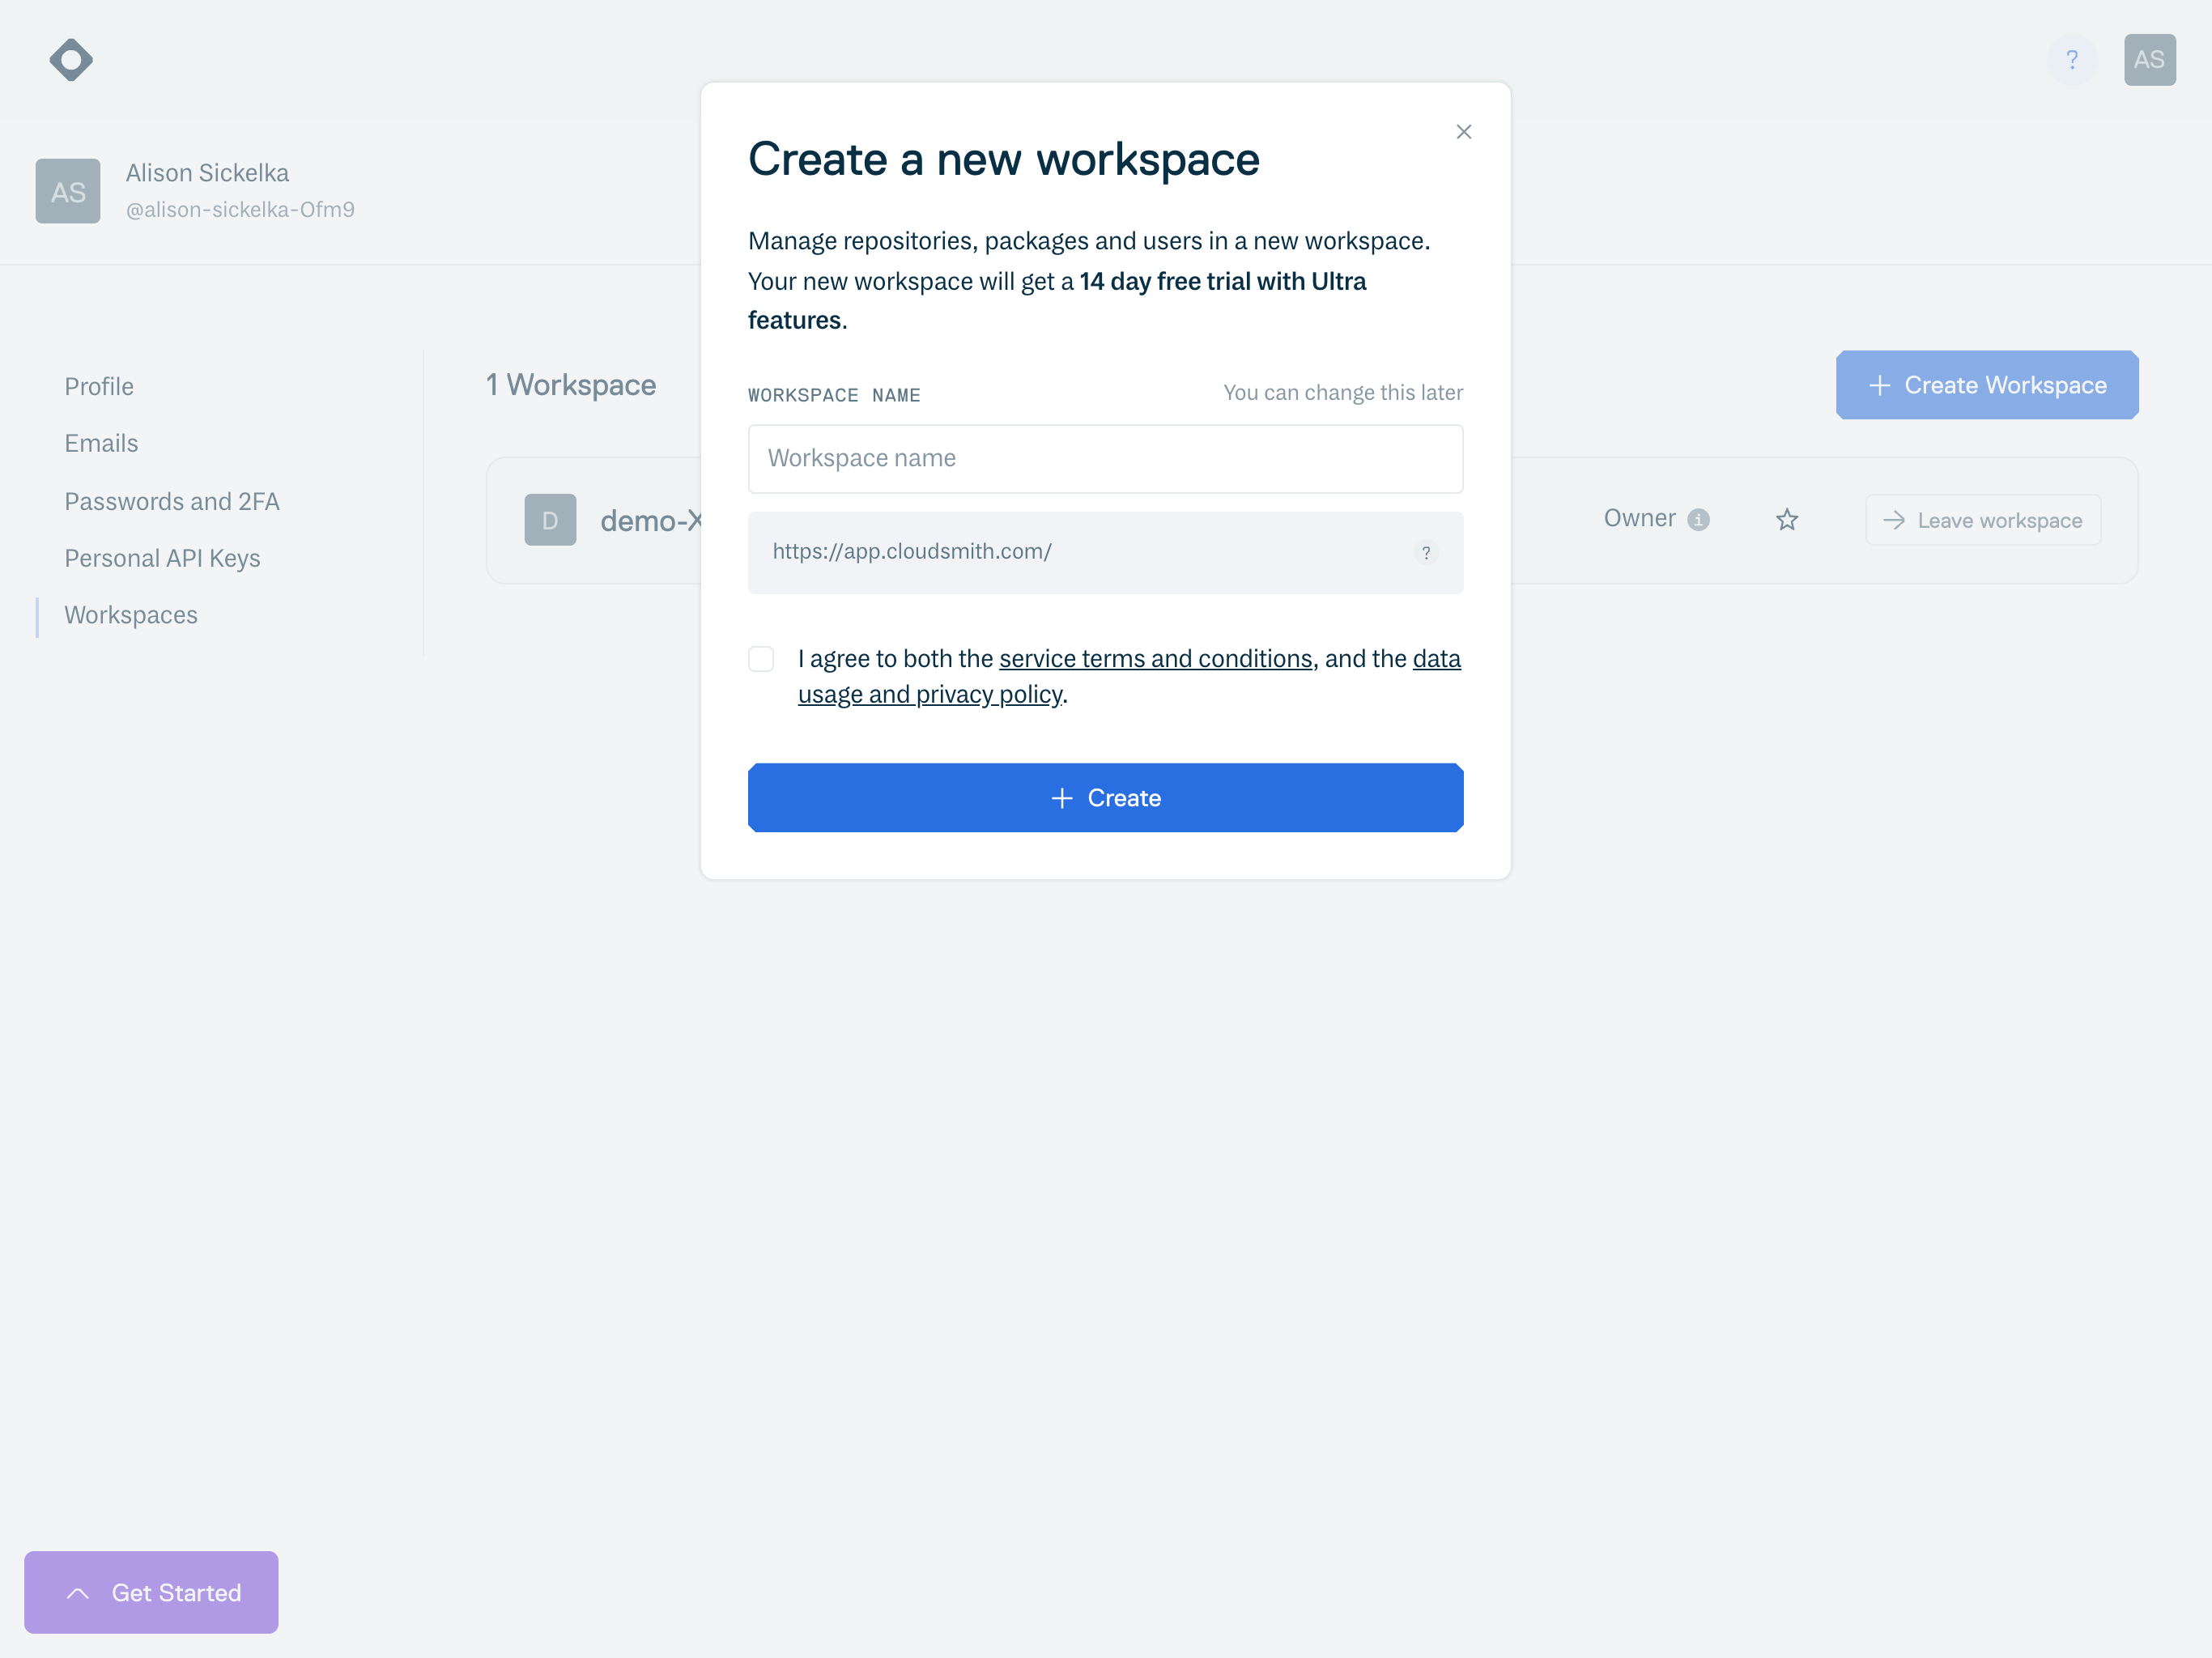
You are now presented with the "Create a new workspace" form. You are required to enter a name for your Workspace (don't worry, we will check your workspace name is unique for you before creating it).
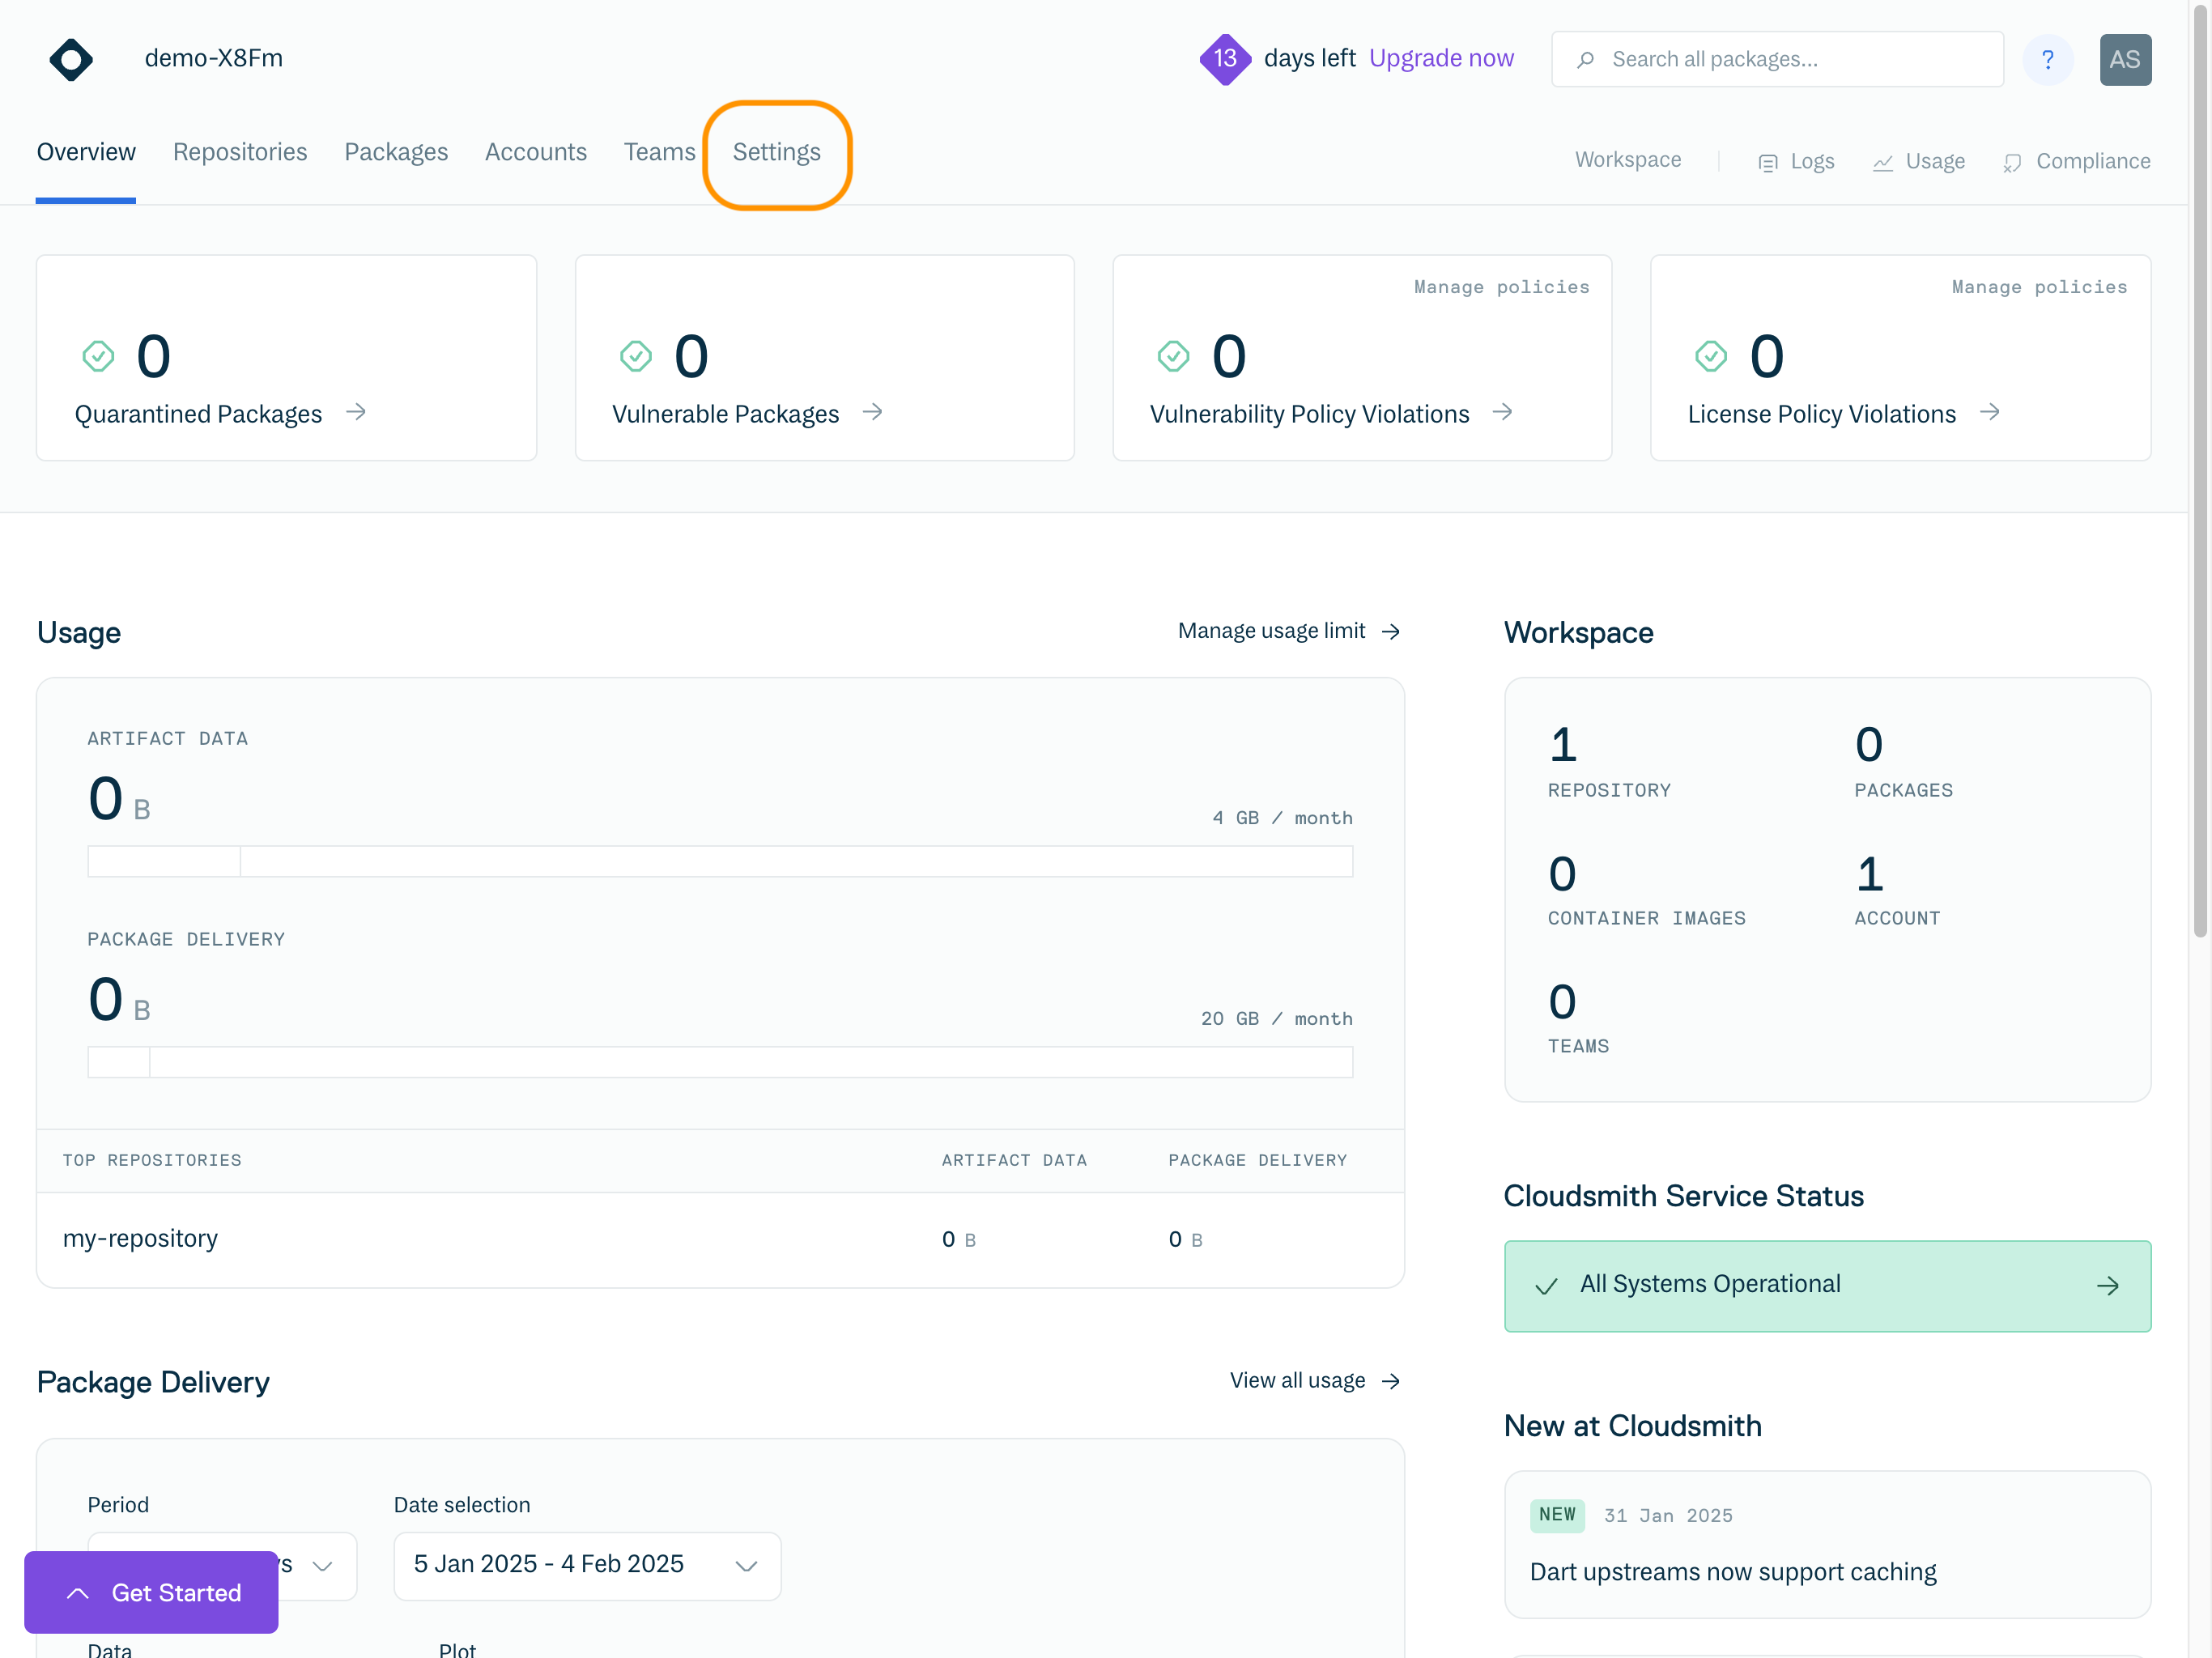
To configure the settings for the Workspace, just click on the Settings menu item:
Workspace Settings
The menu on the left is where you can modify/configure Workspace settings, and has the following sections:
- Workspace
- Billing
- Privileges
- Accounts and Teams
- Authentication
- Custom domains
- Usage limits
- Manage policies
Workspace
The Workspace profile settings are where you configure the Workspace name, avatar and contact email addresses (including billing email address if different from the primary email address):
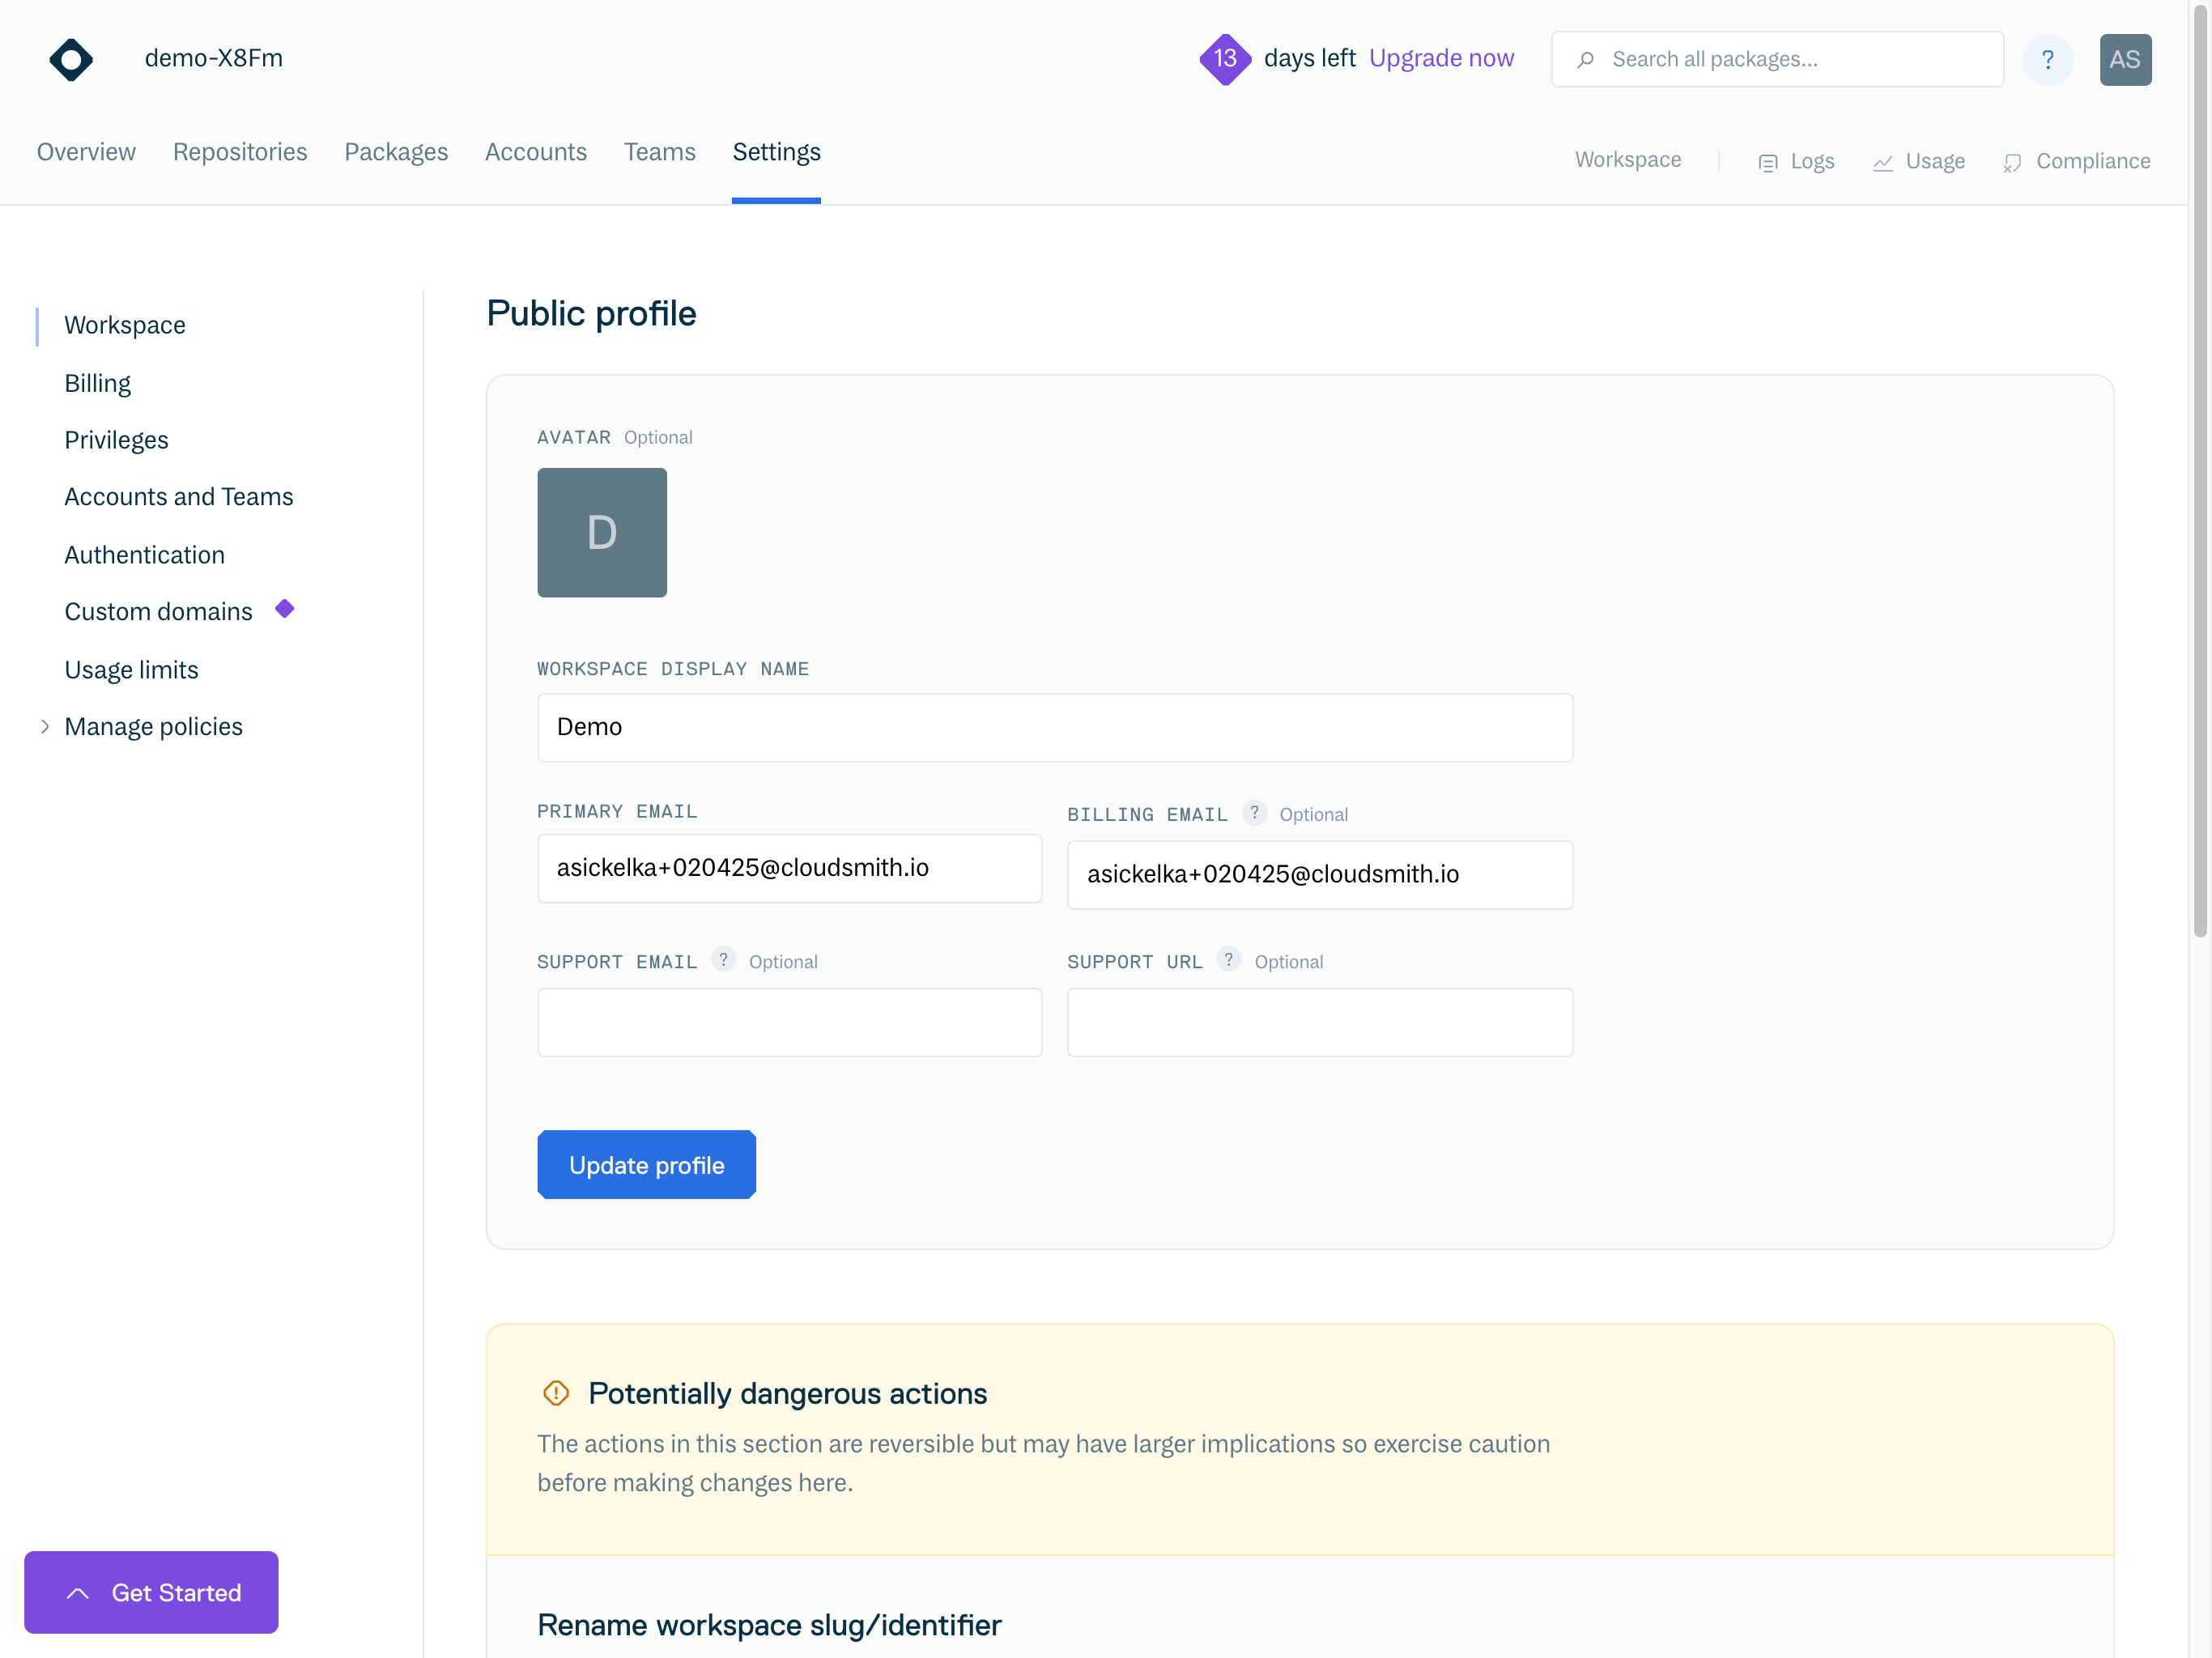
From within the Workspace profile settings, you have the ability to rename your organization's slug/identifier, and if you really need too, you can delete an organization (caution: this is a permanent action and cannot be undone).
If you rename the Workspace, then the URI that is used to connect to any repositories will change. This change will affect any users that currently use the repositories as the URI would no longer be valid.
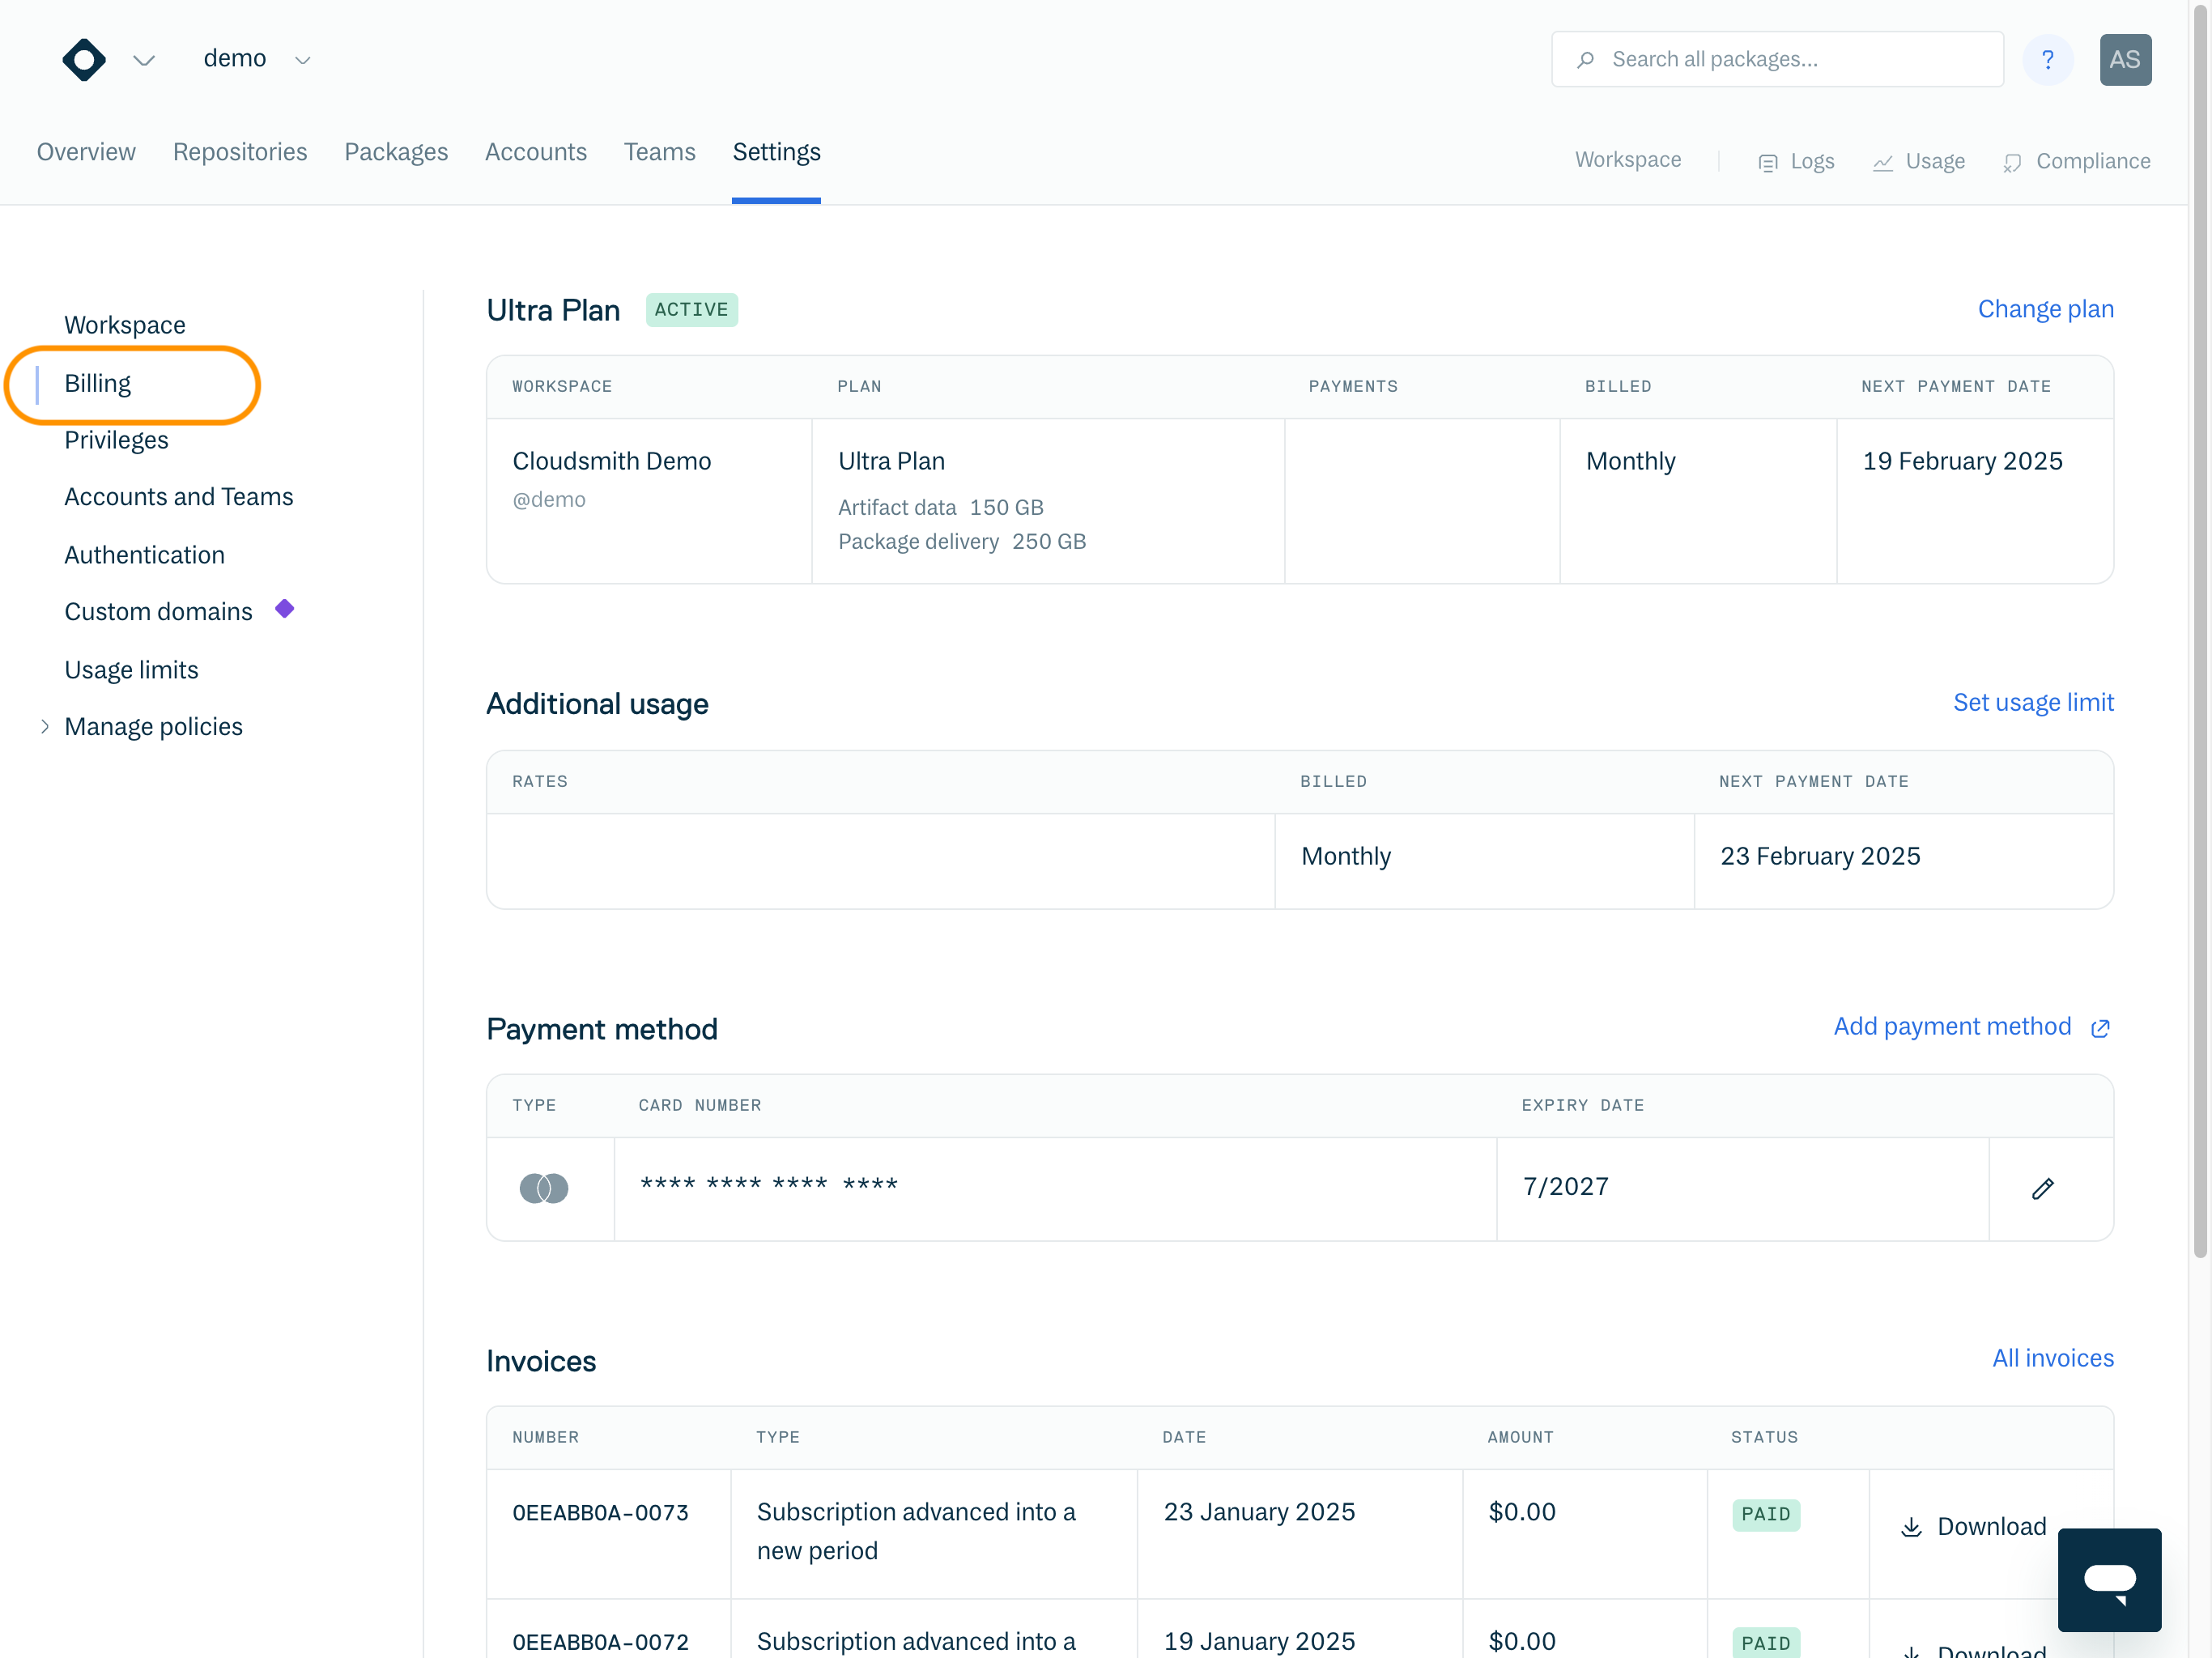
Billing
The Workspace Billing settings are where you add or change your payment source, view your invoices and select / modify your current plan.
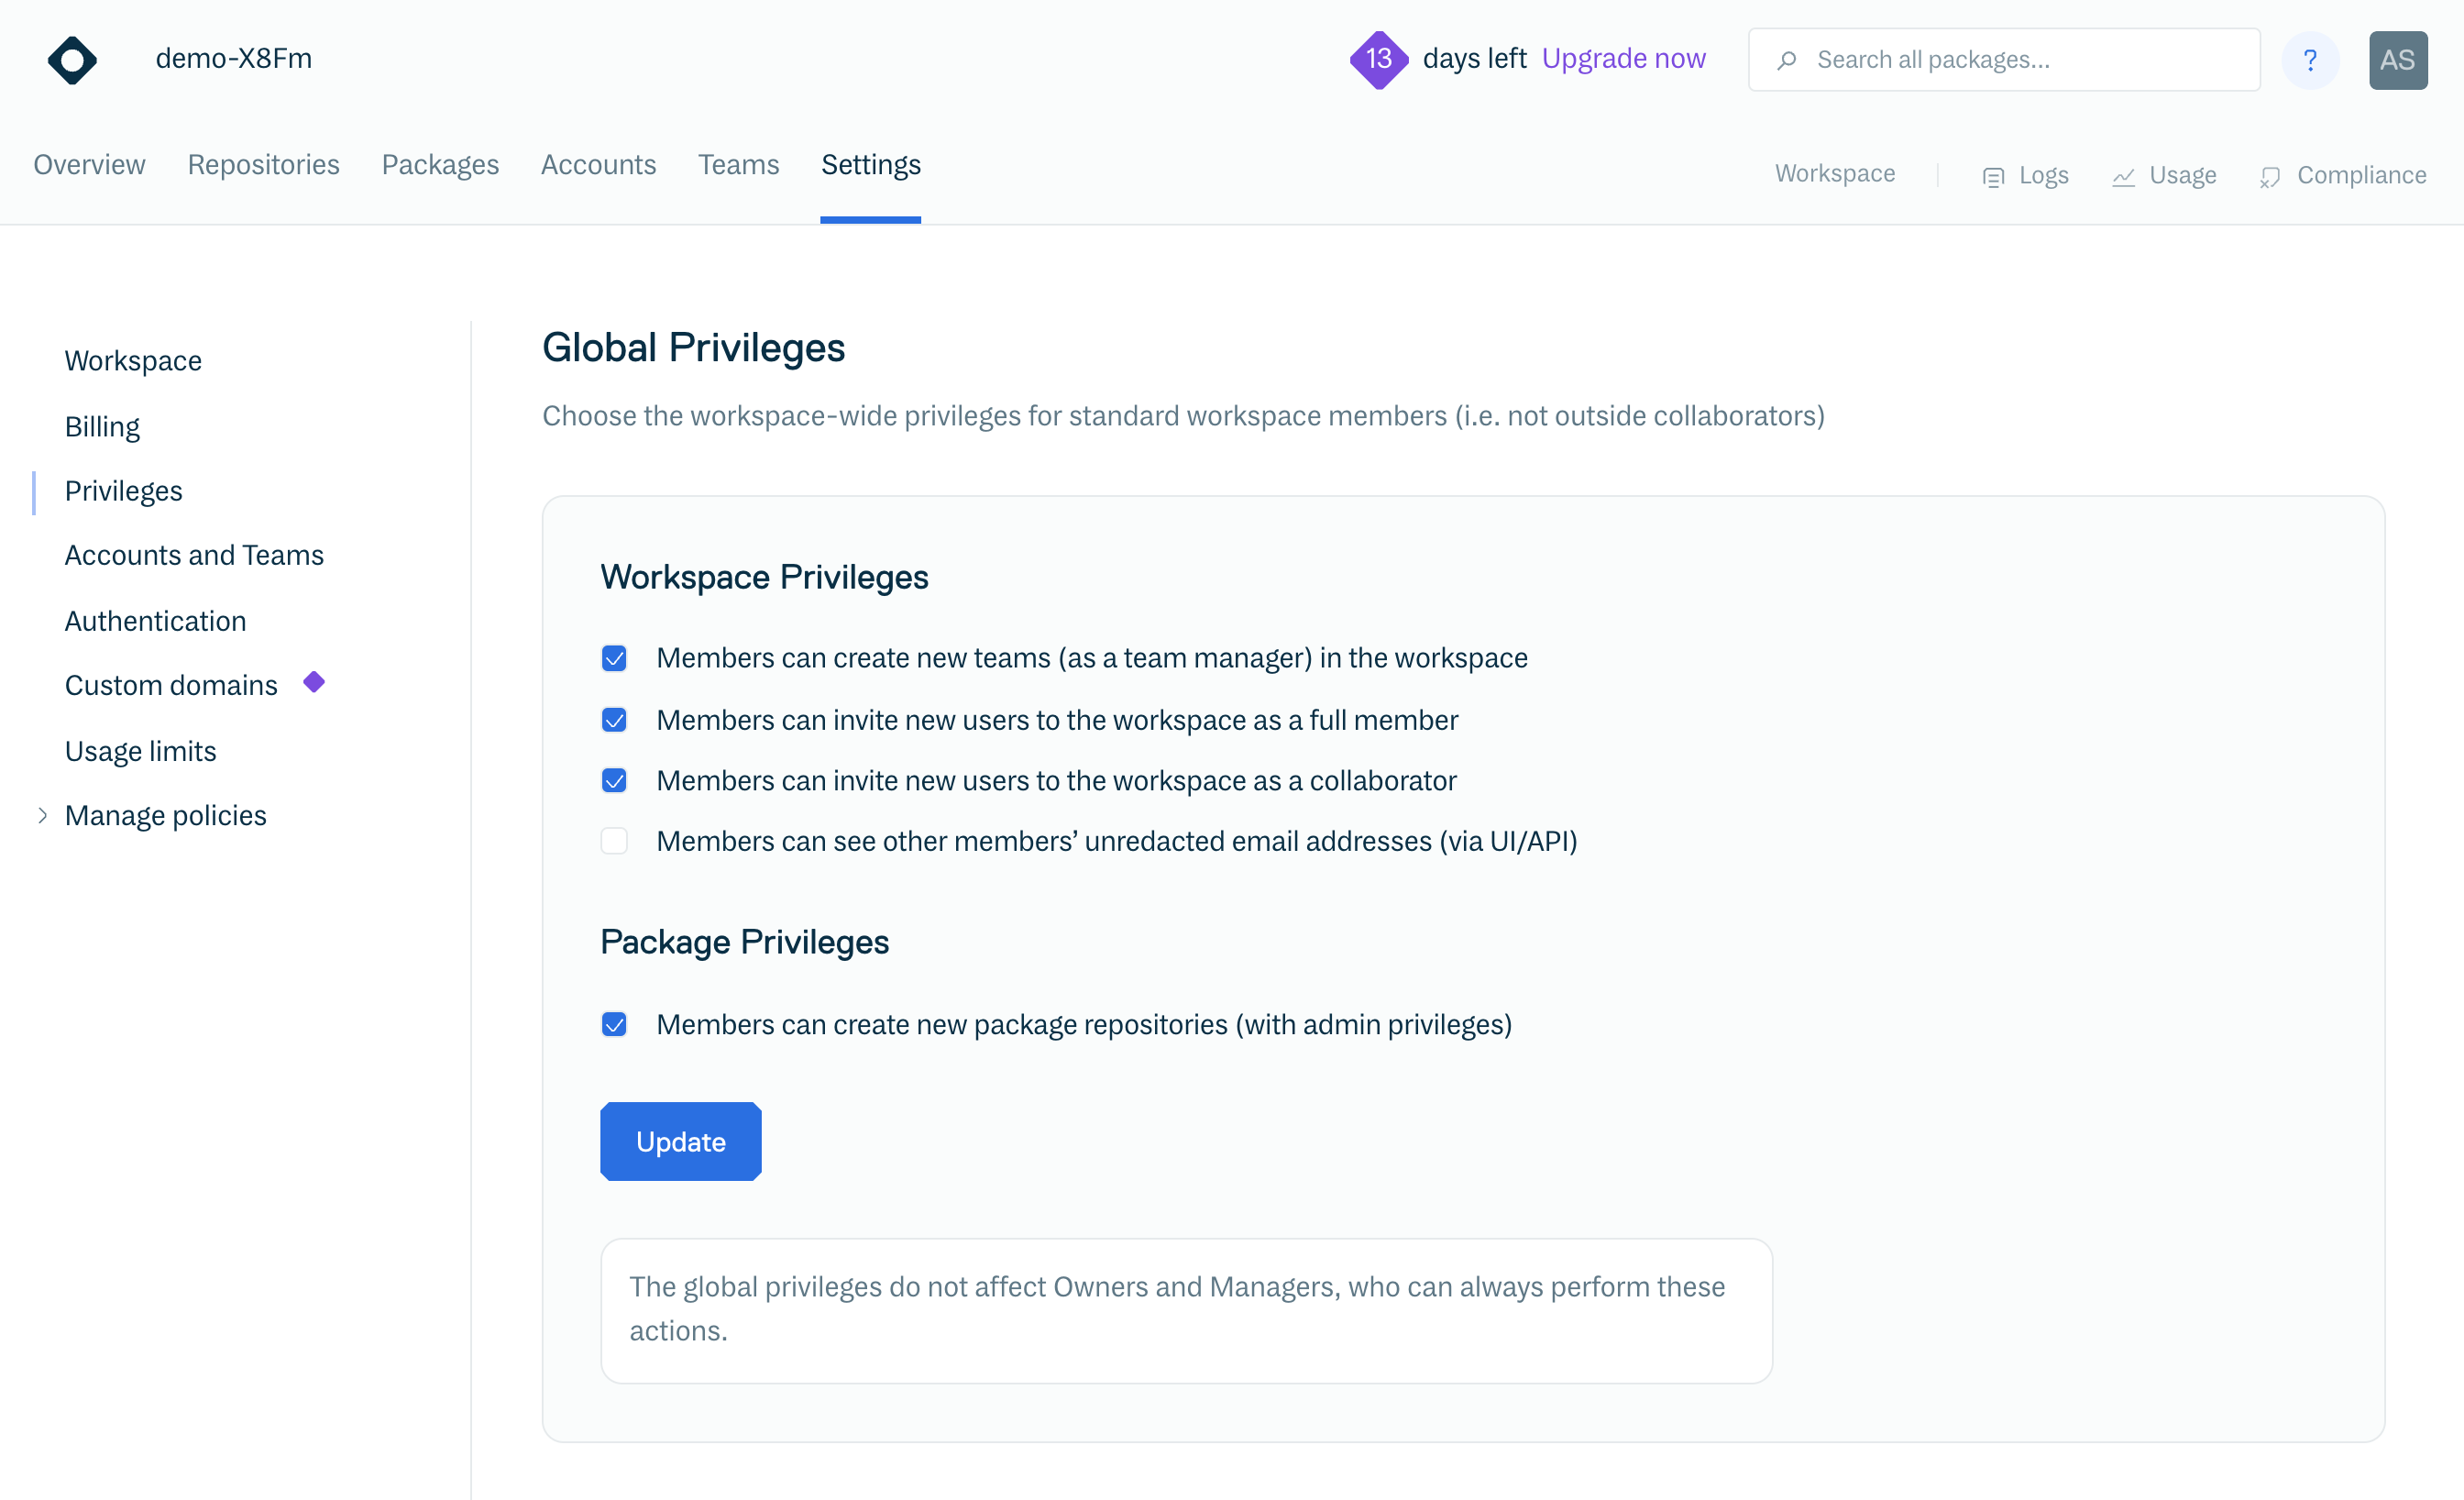
Privileges
The Workspace Privileges settings are where you set global privileges and default object privileges.
Global Privileges
Global privileges settings are where you configure the permissions for current Workspace members to:
- Create new teams in the organization
- Invite members to the organization
- Invite collaborators to the organization
- Allow members to view other members' email addresses
- Create new package repositories (with admin permissions in the new repository)
Default Object Privileges
Default object privileges settings are where you configure the default privileges for objects within a package repository:
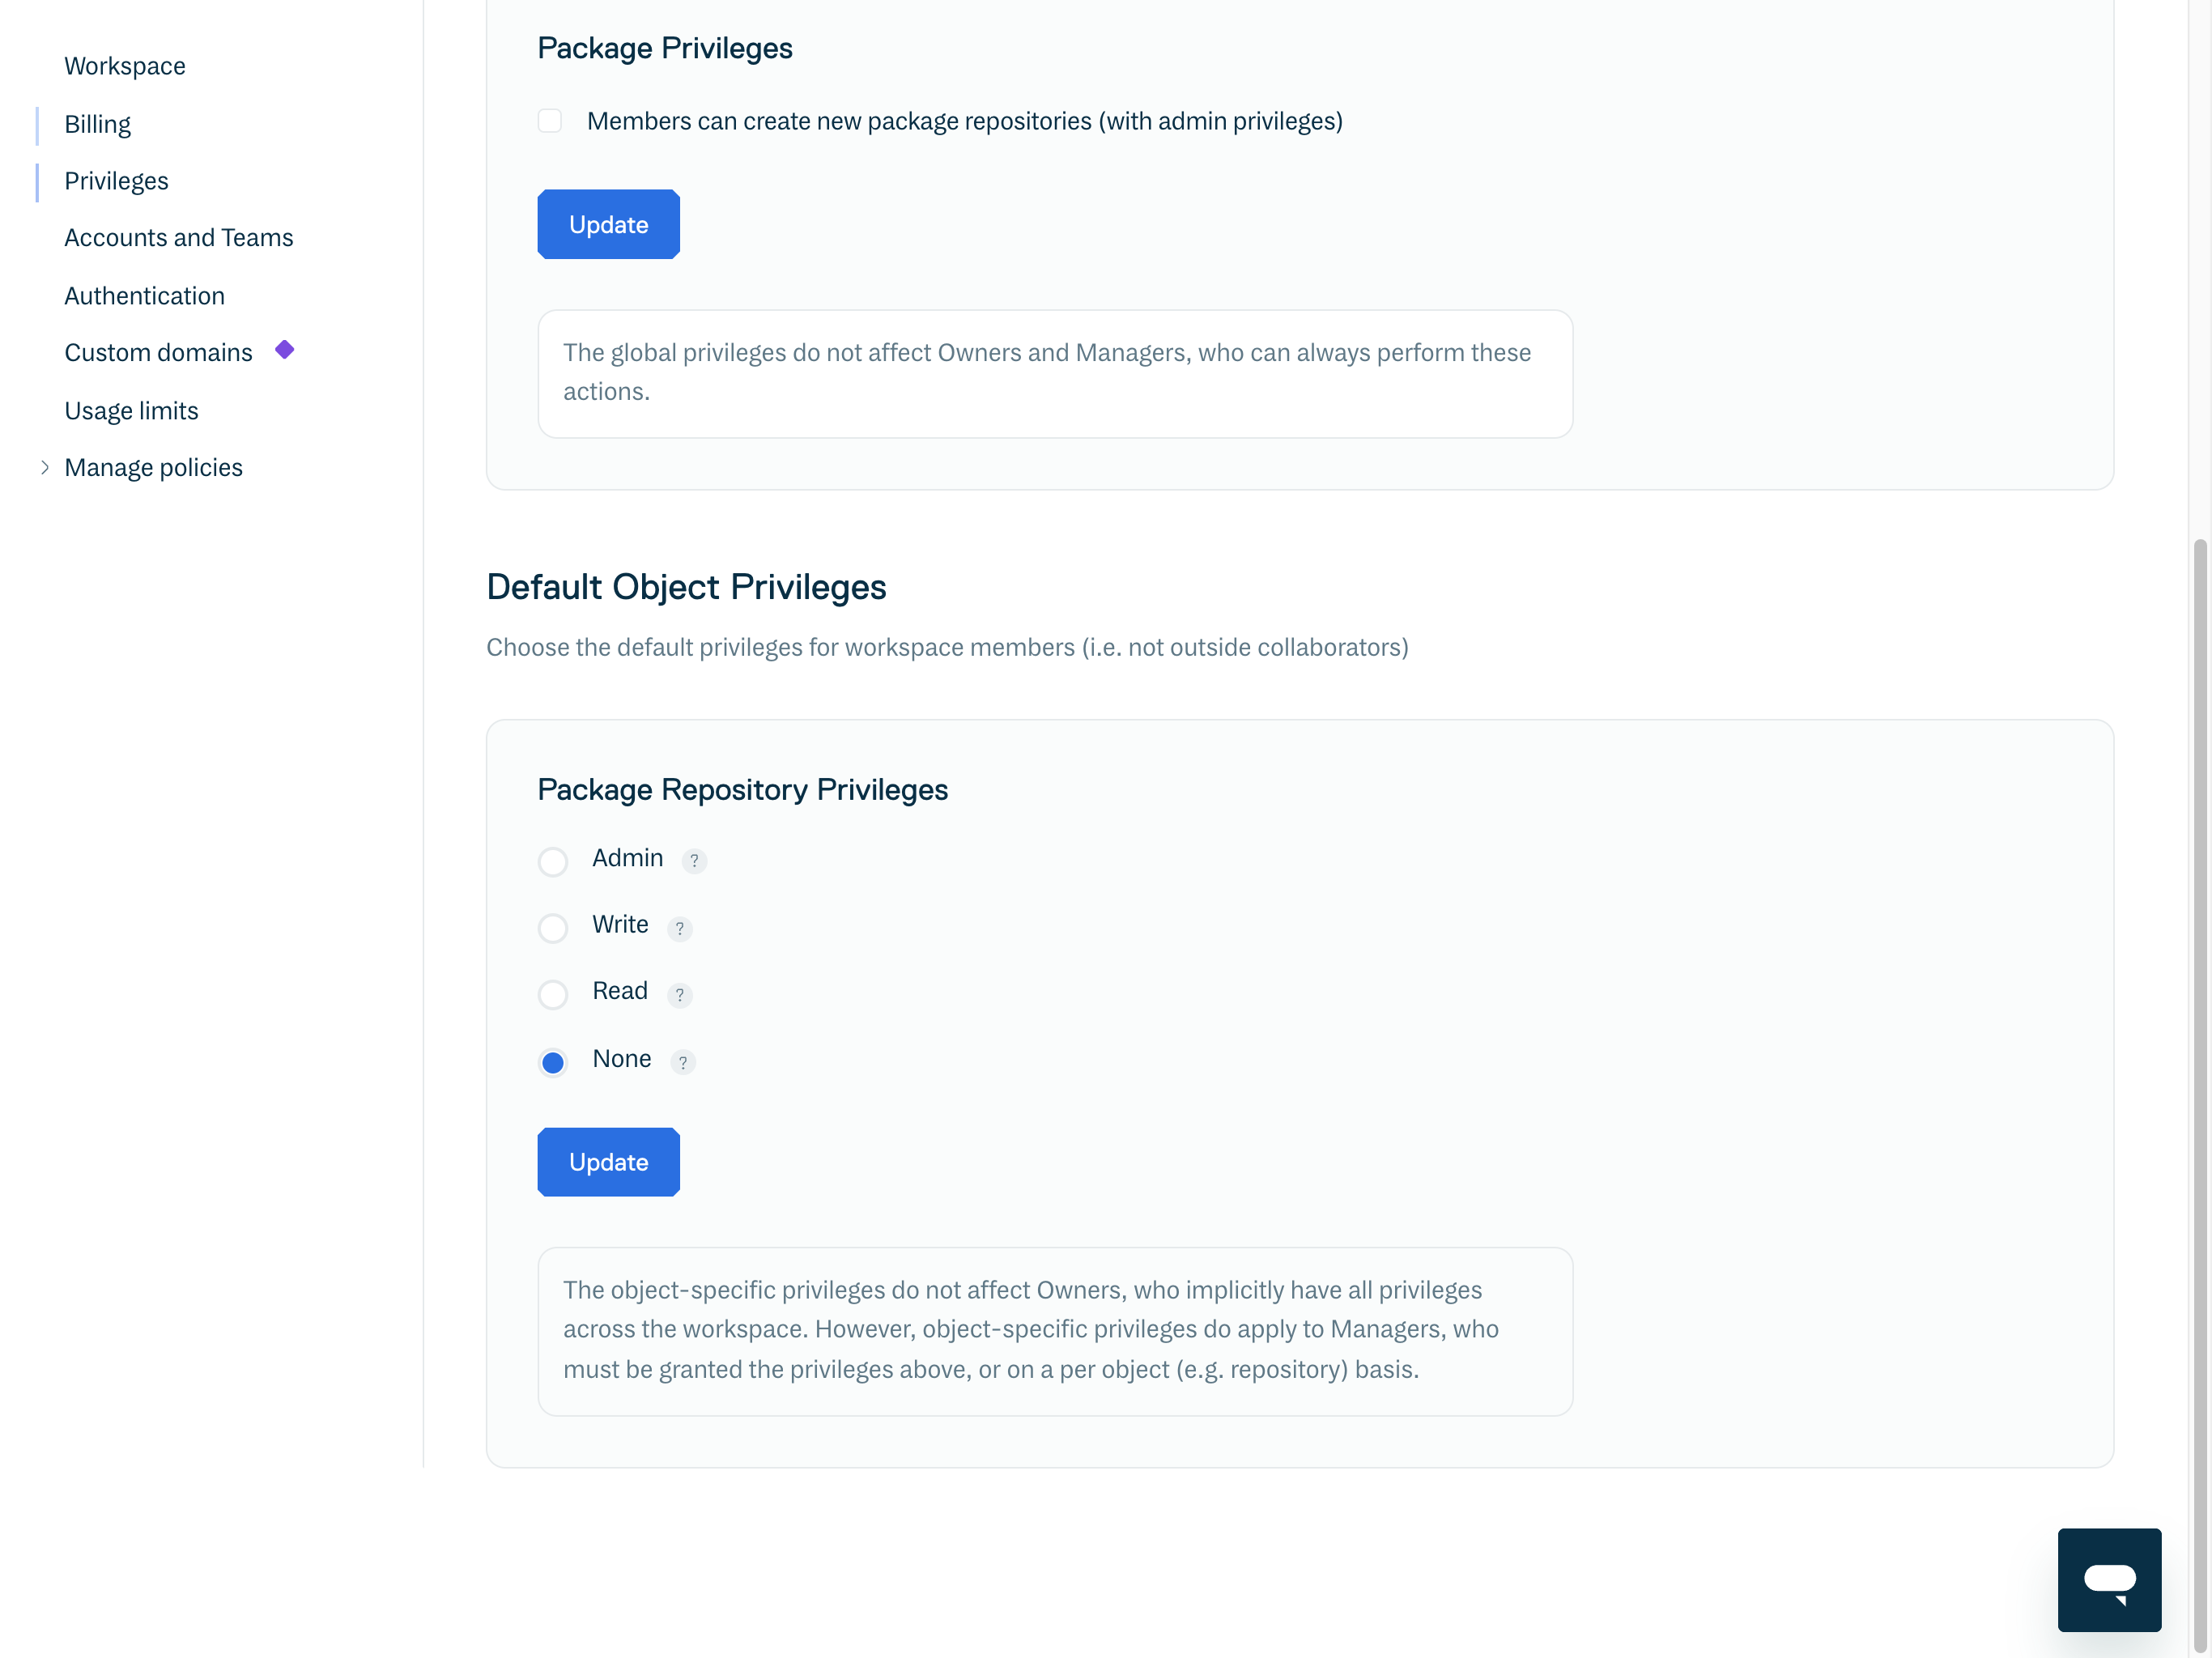
| Admin | Members have full control over repositories |
| Write | Members can upload and download from the repository |
| Read | Members can download from the repository |
| None | Members have no repository access |
Accounts and Teams
Workspace Accounts and Teams settings is used to control the default visibility of teams:
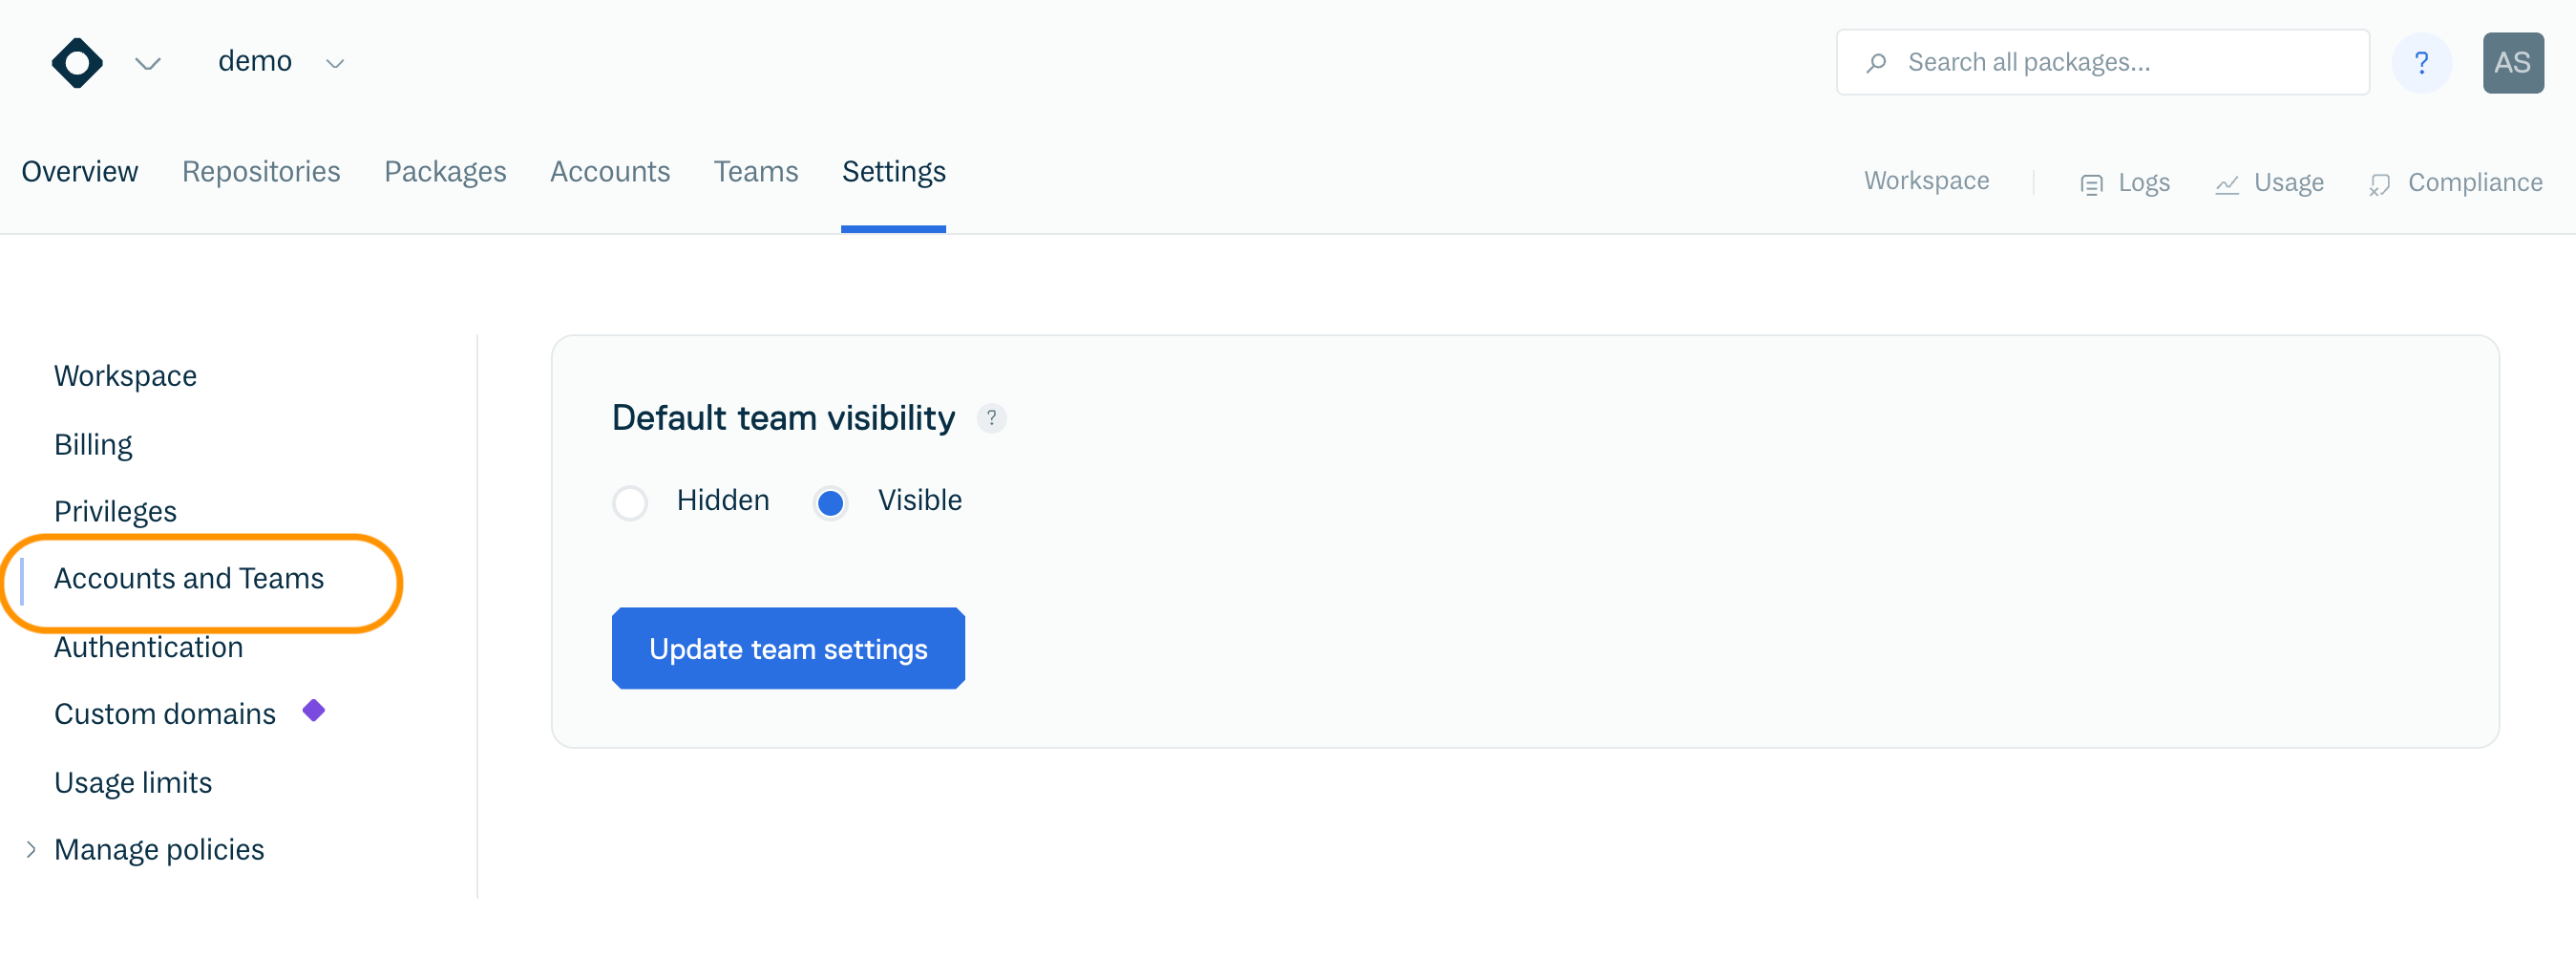
- Hidden - Non-Members are not able to view the team
- Visible - Non-Members are able to view the team
Authentication
Workspace Authentication settings is where you can configure and modify the authentication settings for your users, including:
- Set up and enforce SAML authentication
- Configure and modify SAML Group Sync
- Configure and modify SCIM
- Enforce two-factor authentication
- Create and manage OIDC provider settings
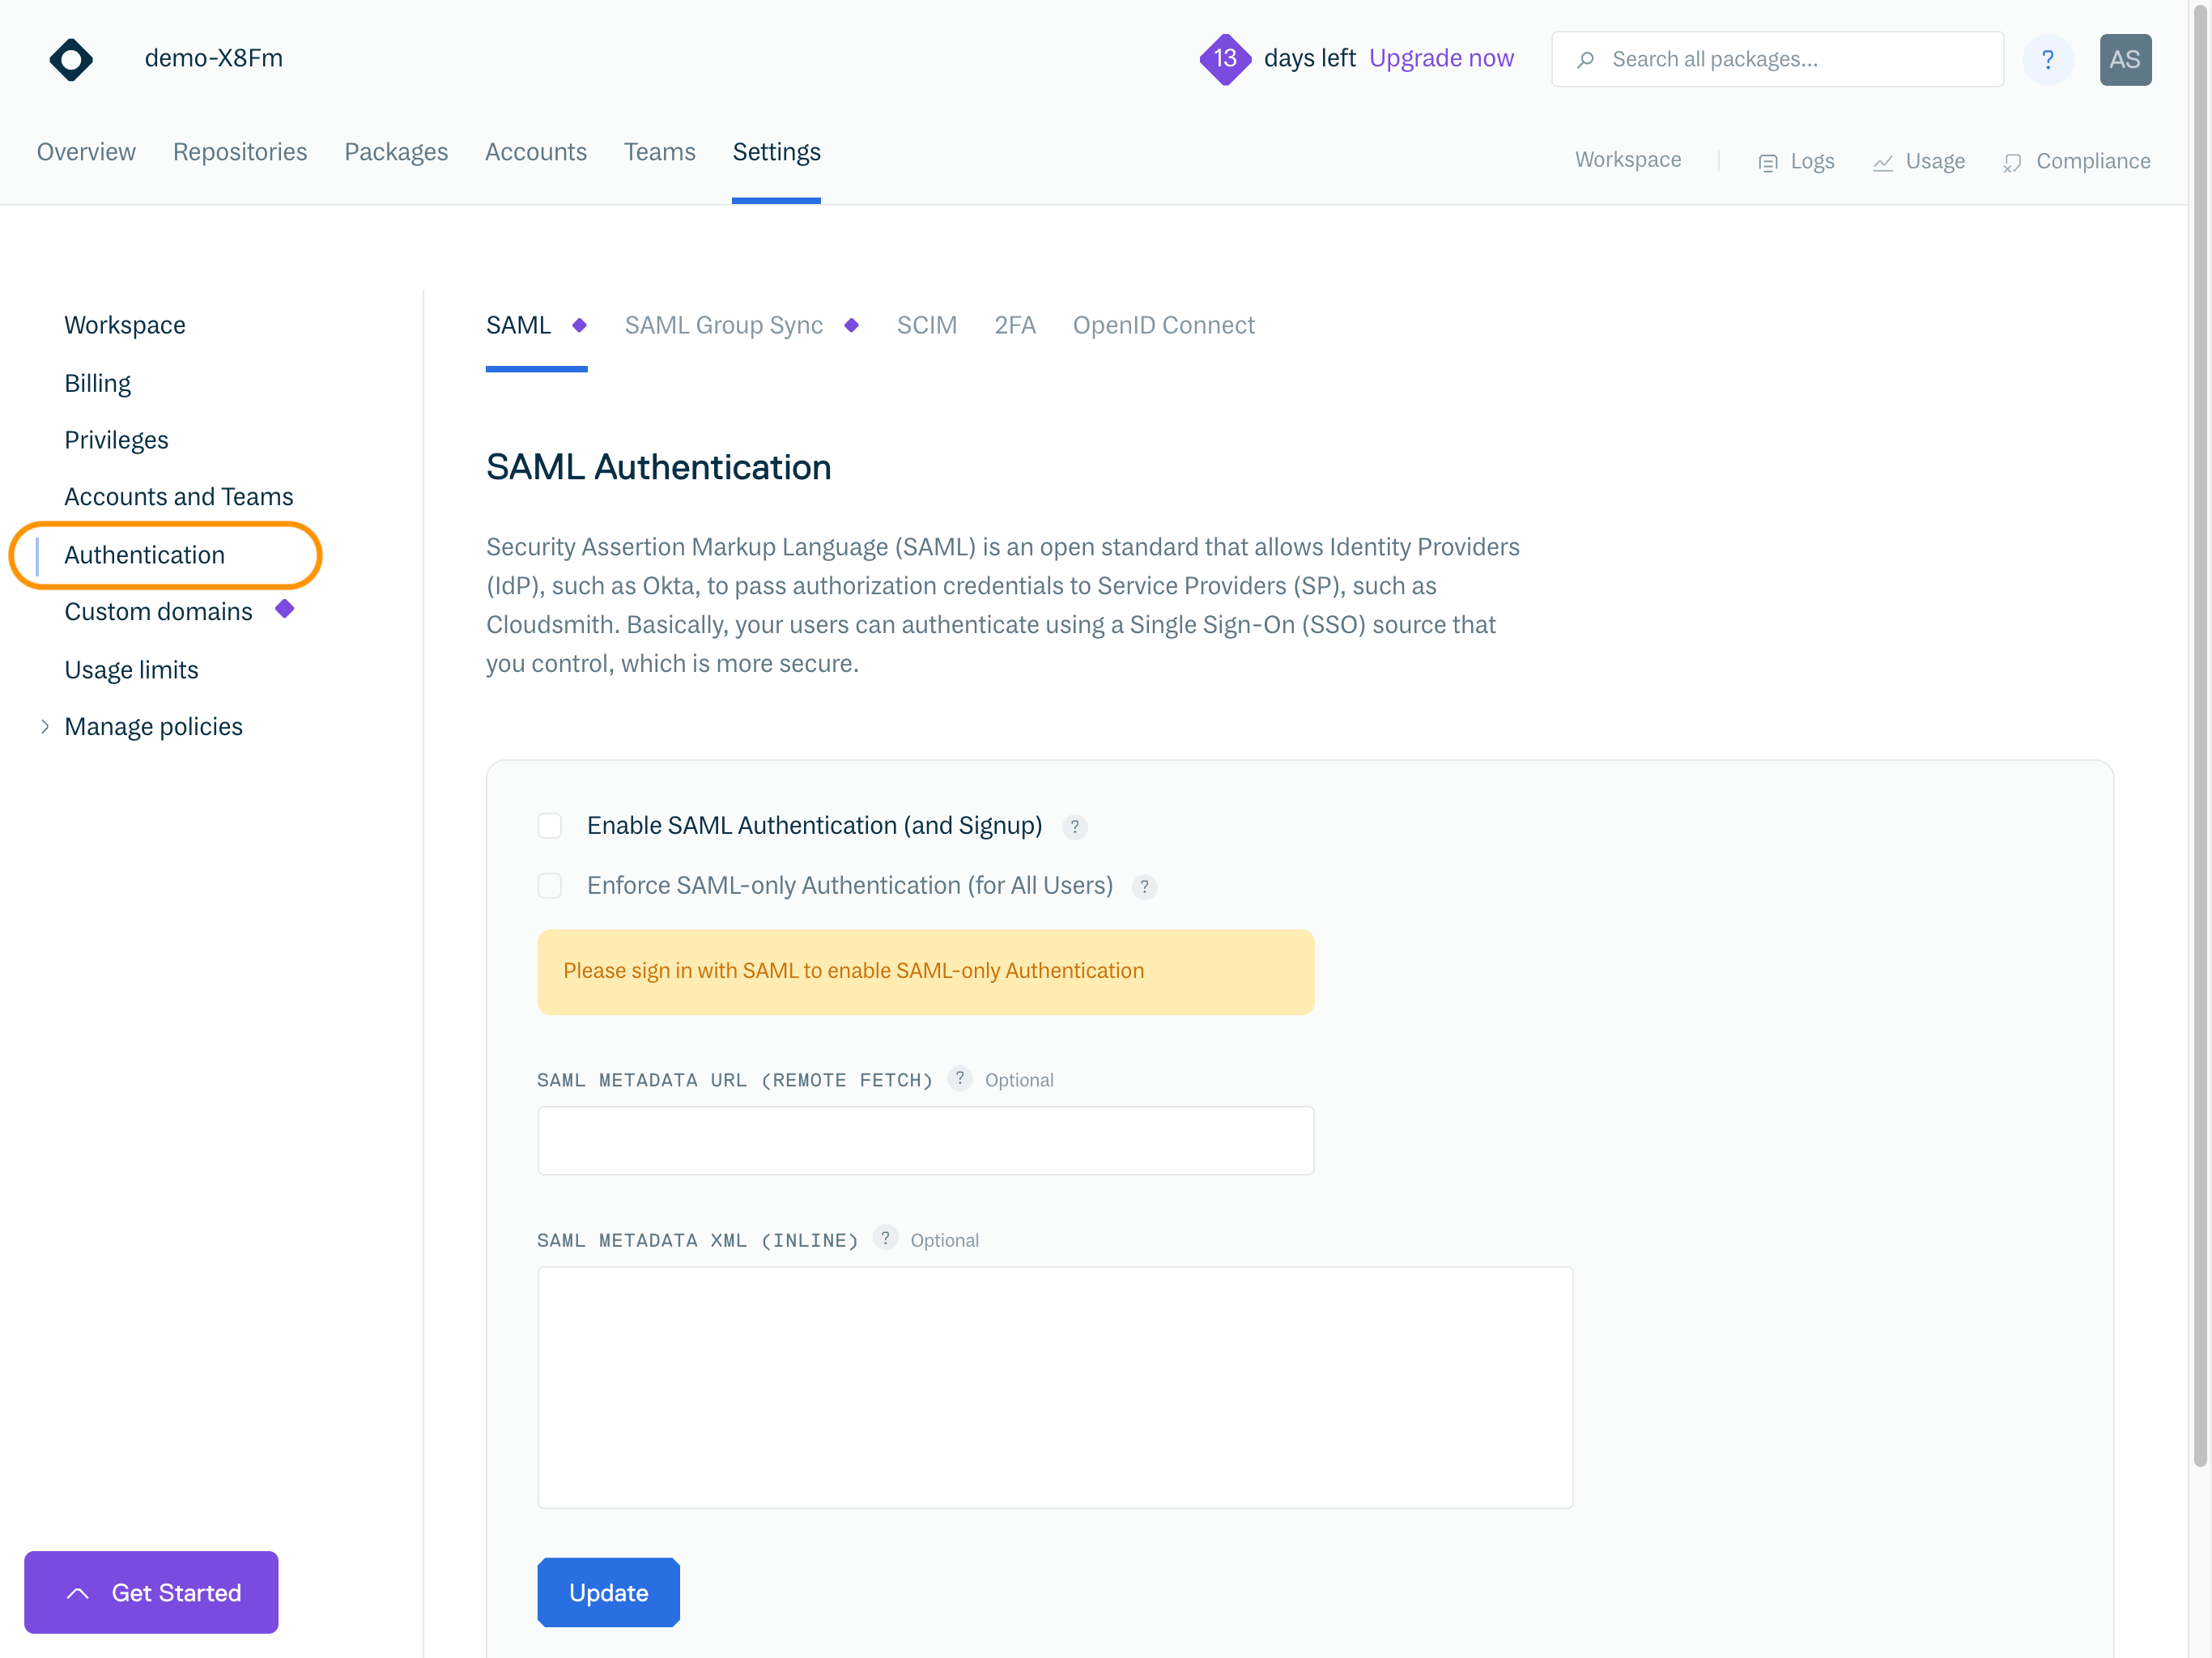
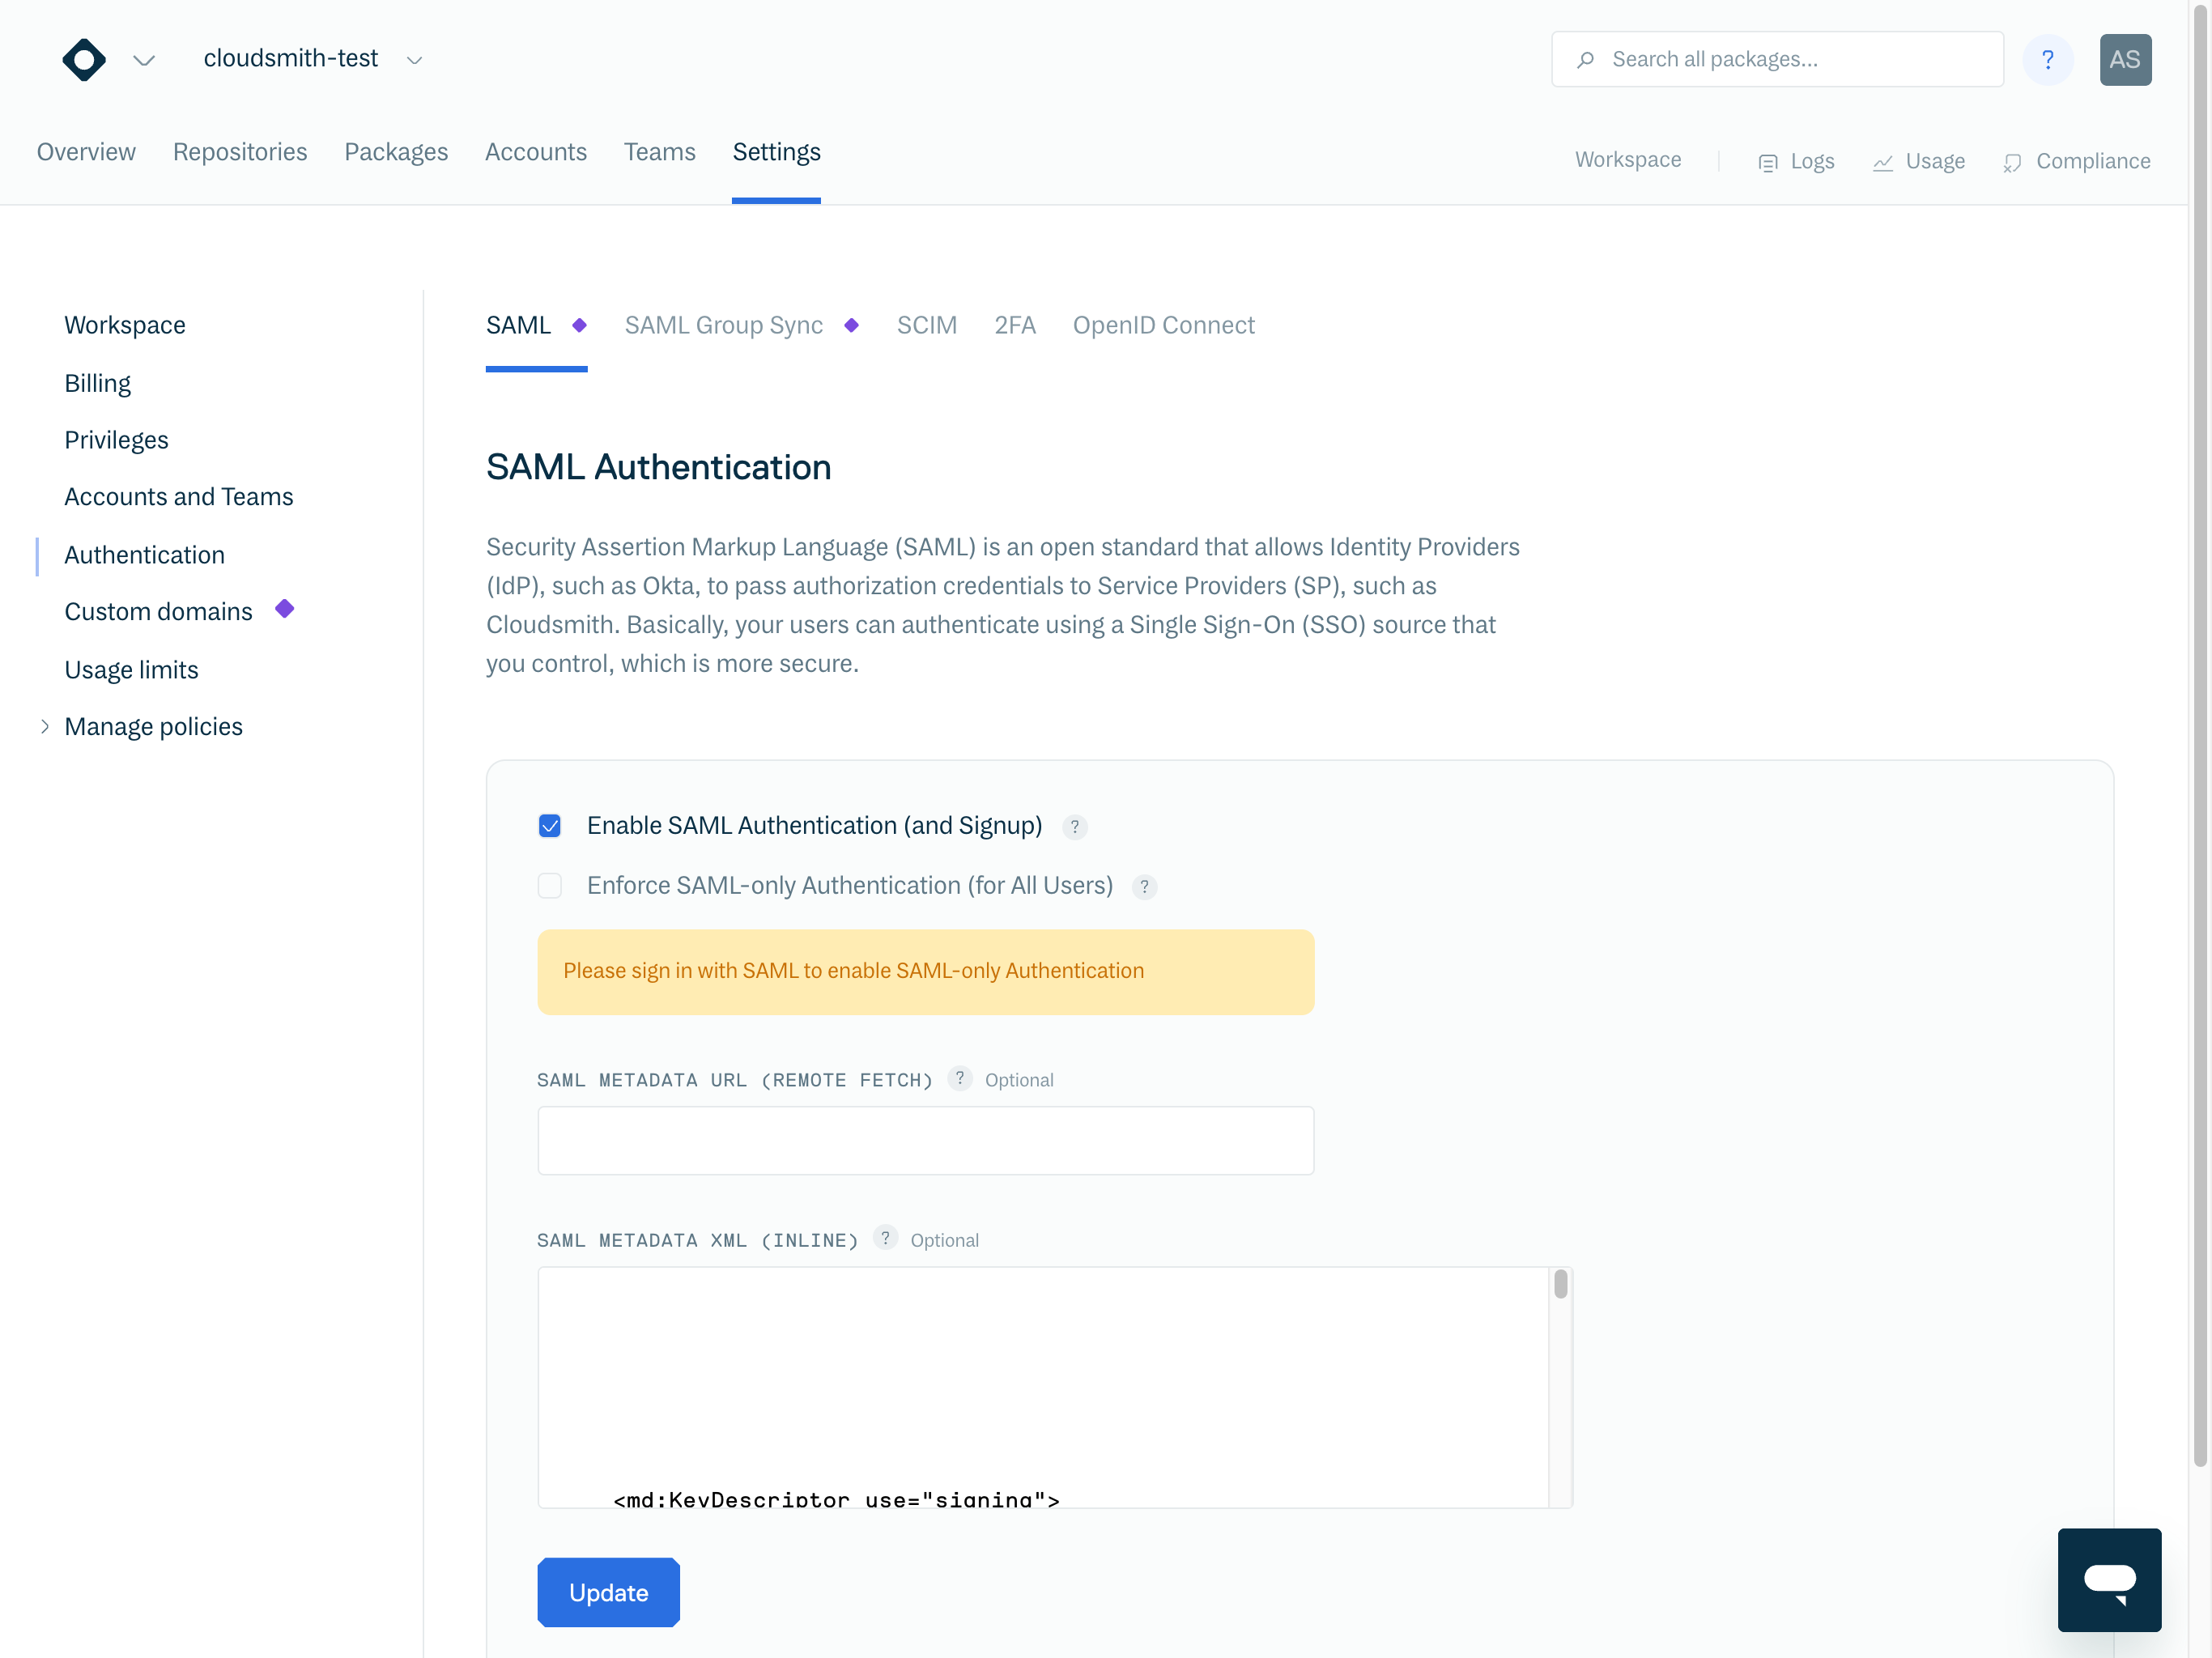
SAML
Workspace SAML settings is where you can enable and enforce SAML authentication. To enable SAML Authentication, you just need to either provide a URL to remote fetch your SAML XML Metadata, or provide the SAML XML Metadata directly inline using the form.
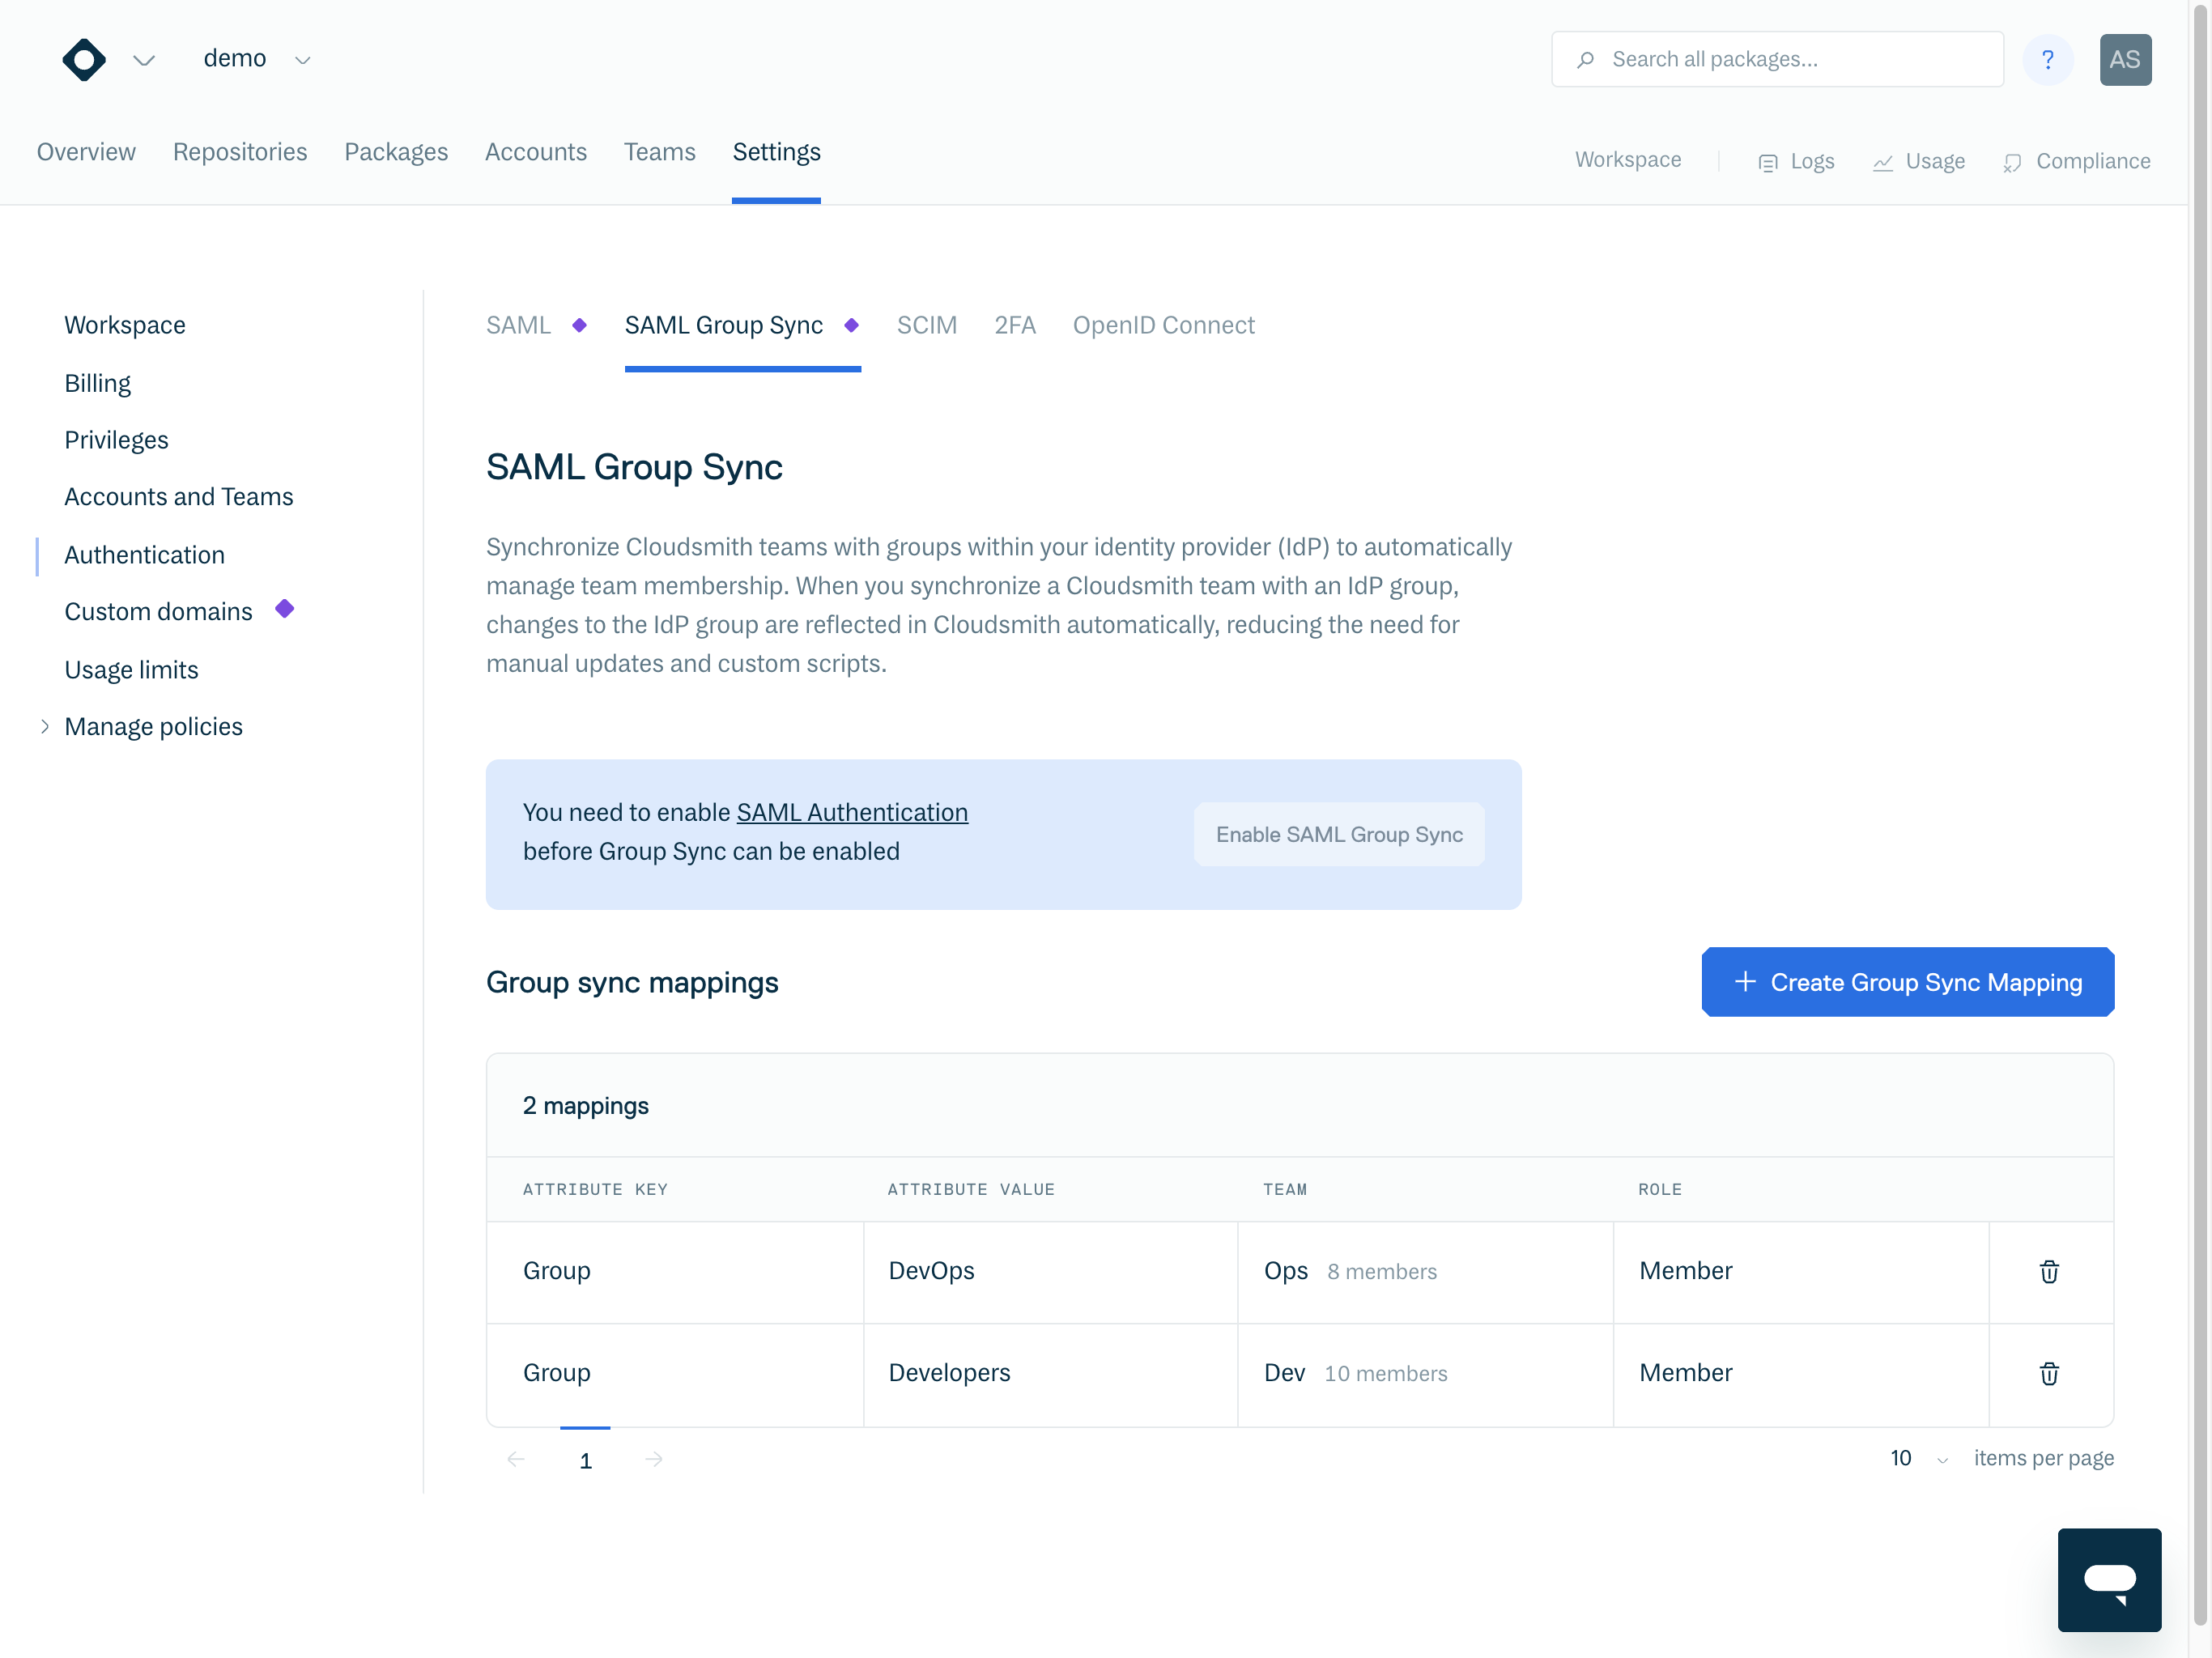
SAML Group Sync
SAML Group Sync is where you can configure automatic mapping of your SAML Groups to Cloudsmith Teams. Please see the SAML Group Sync documentation for further details.
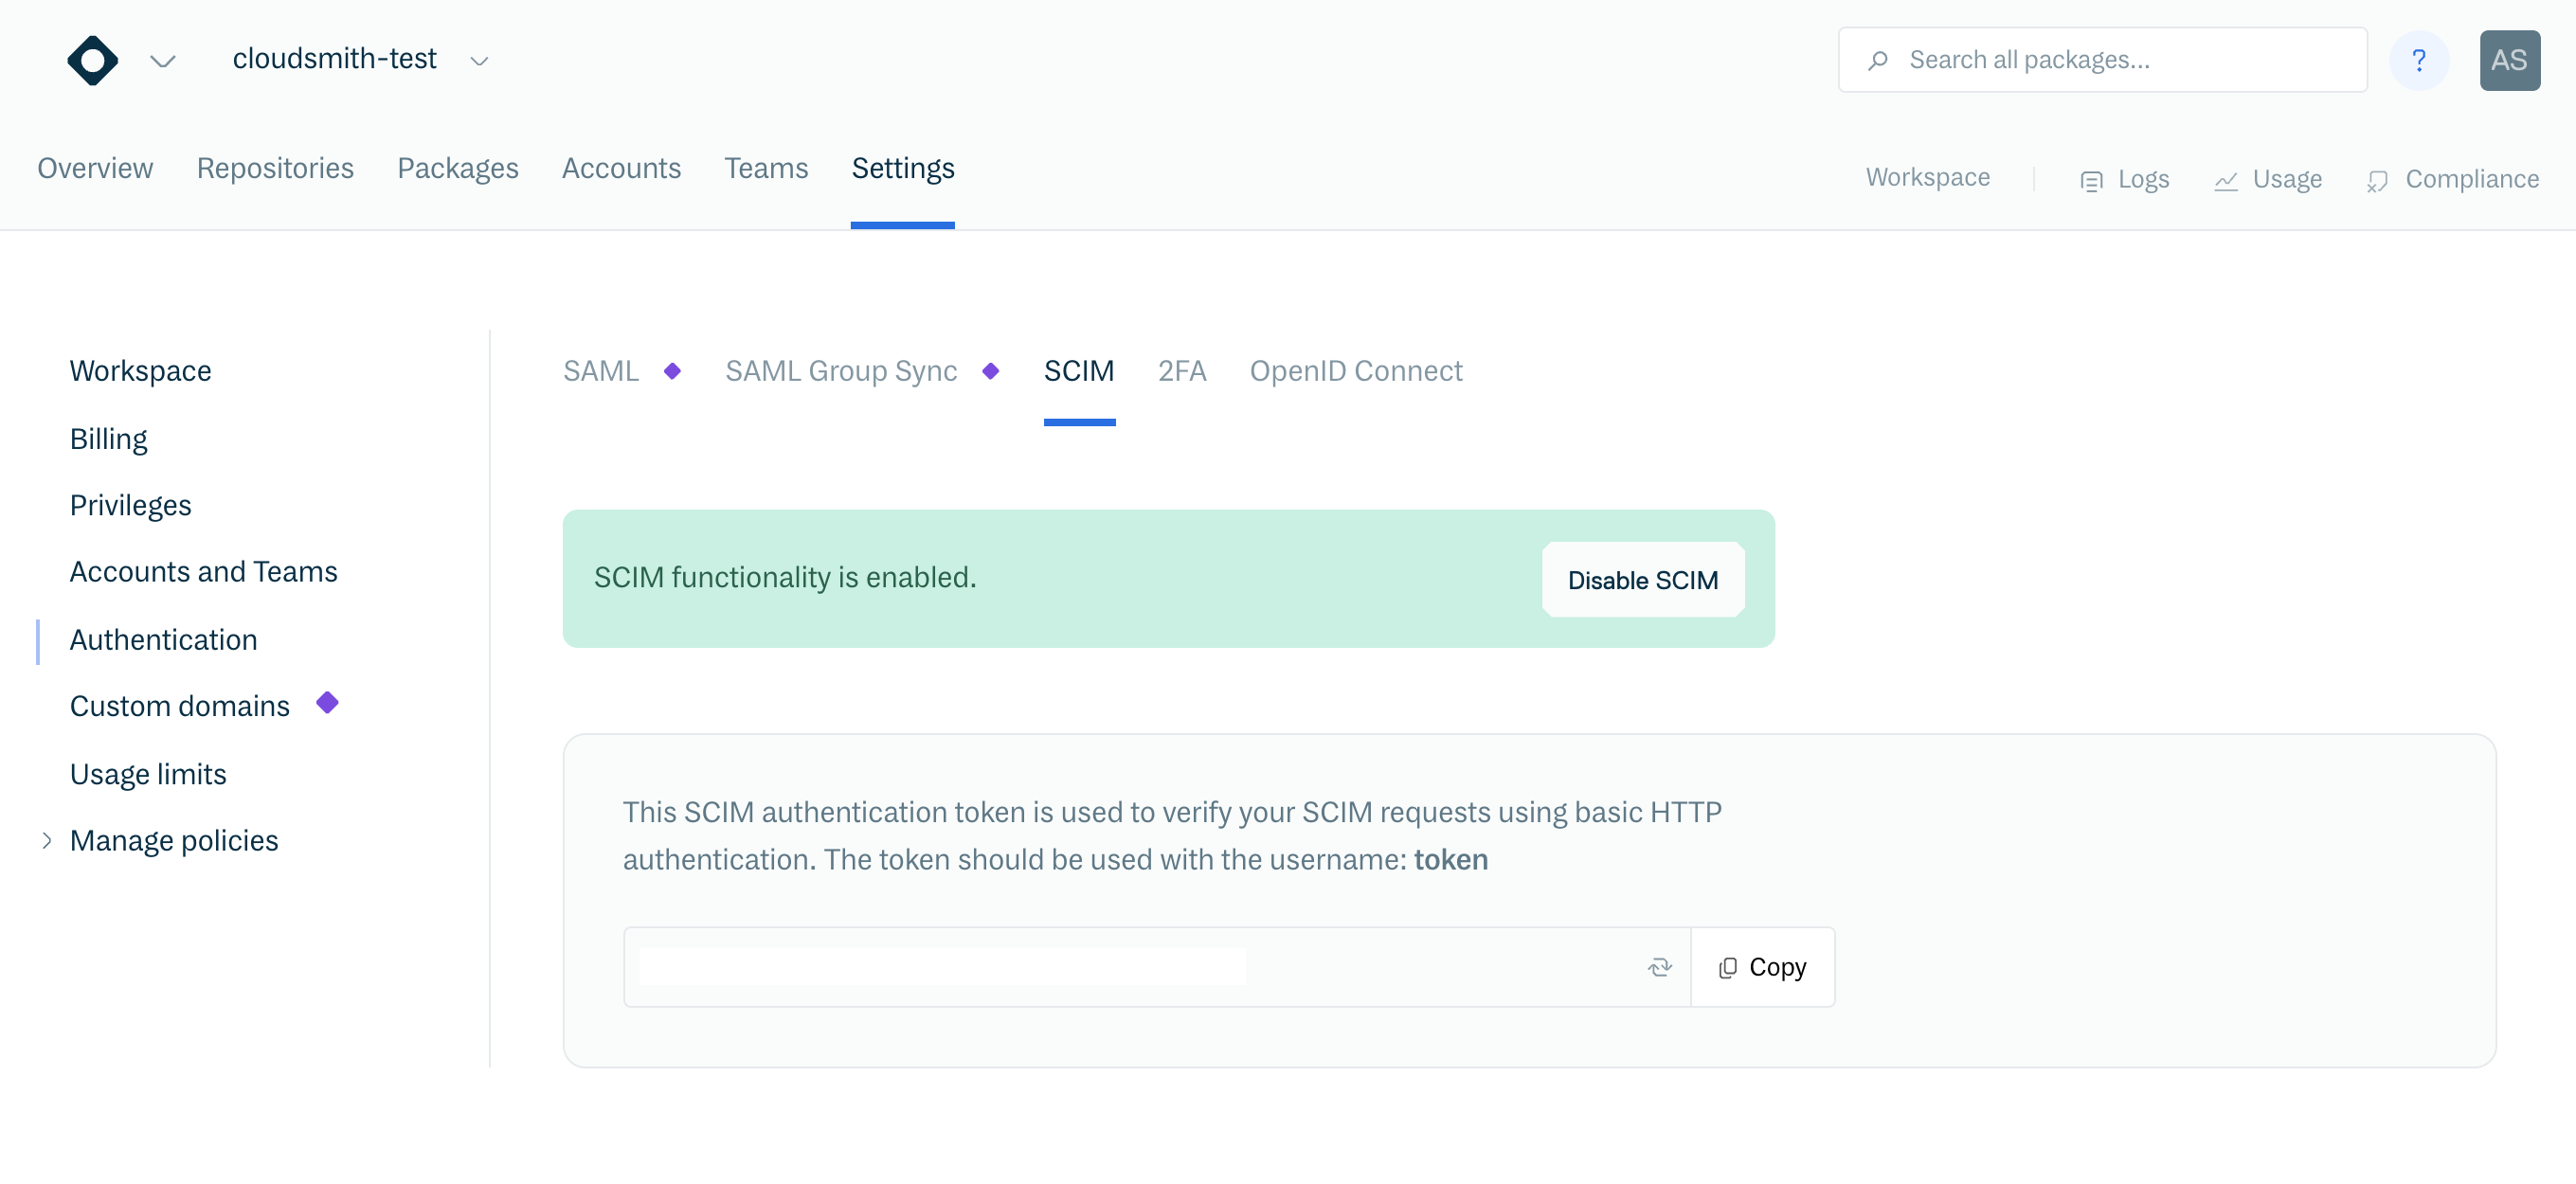
SCIM
SCIM is where you can enable SCIM provisioning and de-provisioning and obtain your username and password to configure SCIM in your chosen Identity Provider. Please see the Single Sign-On with Okta documentation for an example of how you can configure SCIM for an Identity Provider.
2FA
Workspace 2FA is where you can enable Two-Factor Authentication. This will force members to set up Two-Factor Authentication for additional security.
Custom Domains
Custom domains let you utilize branded domains for any endpoint. Custom Domains settings are where you can view what custom domains have been configured for your Workspace account.

Usage Limits
The Usage Limits settings are where you can configure additional usage of artifact data and package delivery for the Workspace.
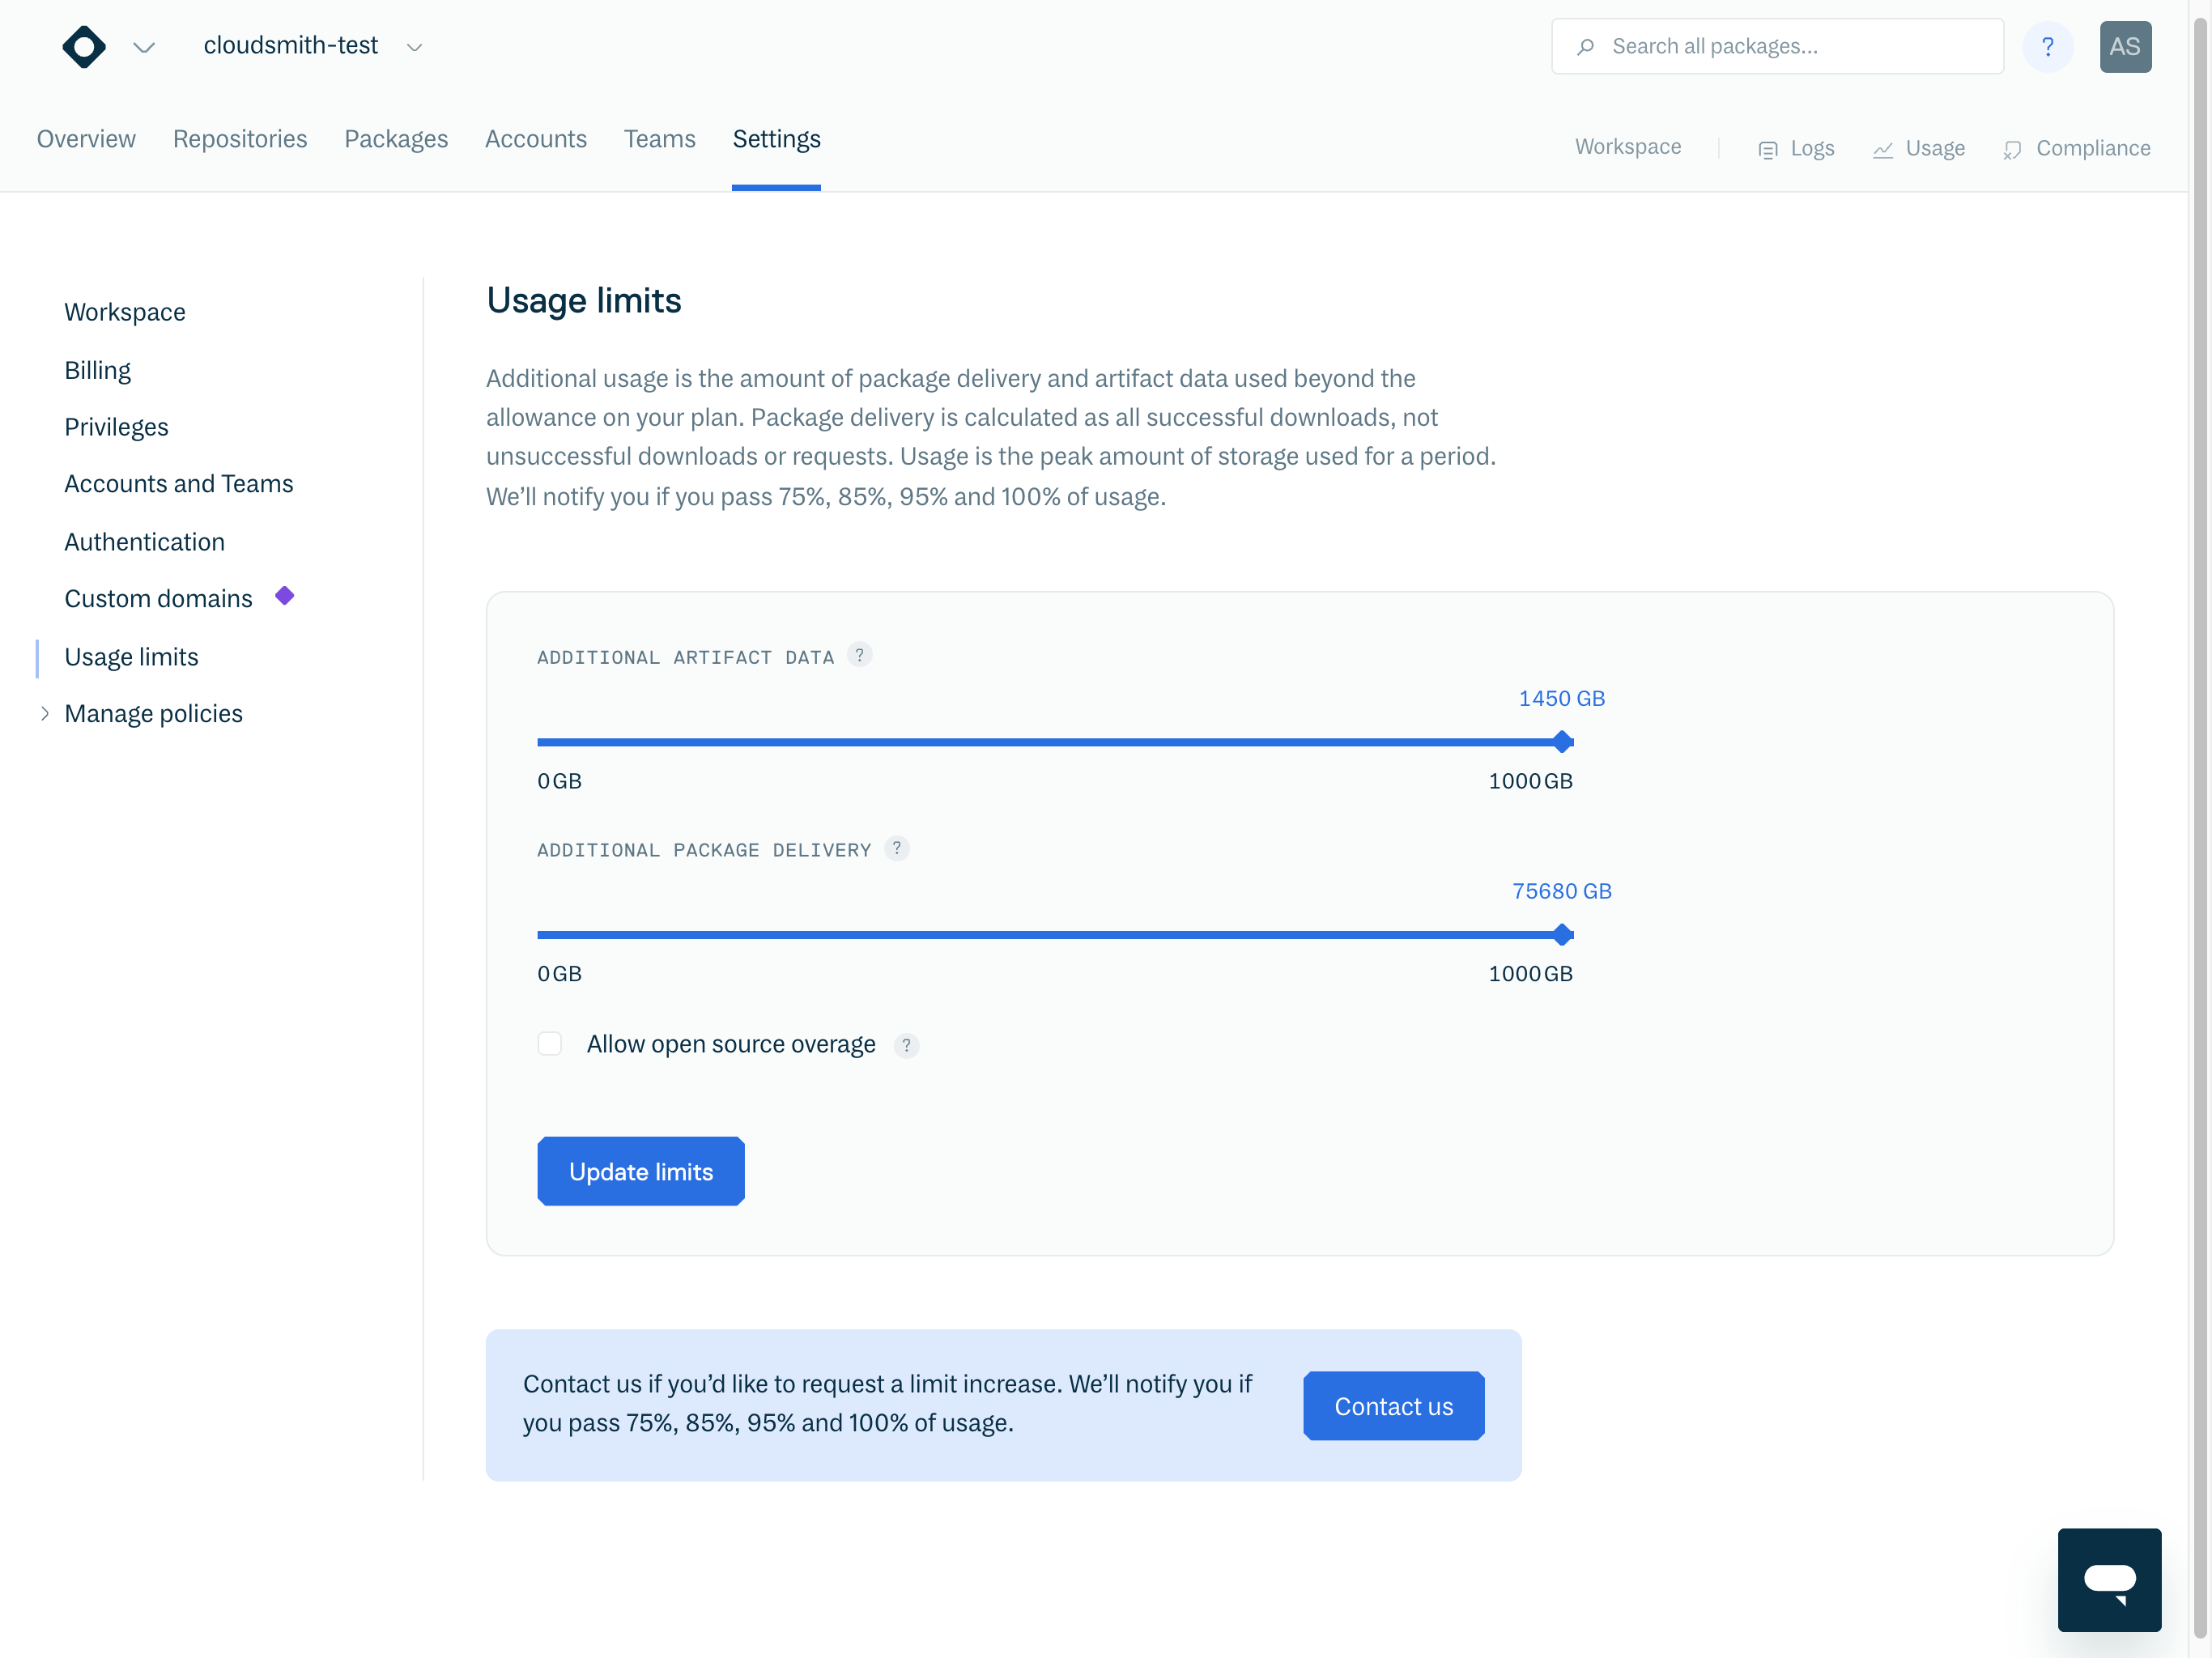
Setting a limit of 0GB will disable any overage
Manage policies
Cloudsmith's Policy Management lets your protect your workspace by defining policies that suit your business. Manage Policies settings is where you can configure and manage your workspace policies. Policy types include:
- License policies
- Vulnerability policies
- Authentication policies
- Package deny policies
Please see Policy Management documentation for more details on each policy type.
Updated 6 months ago